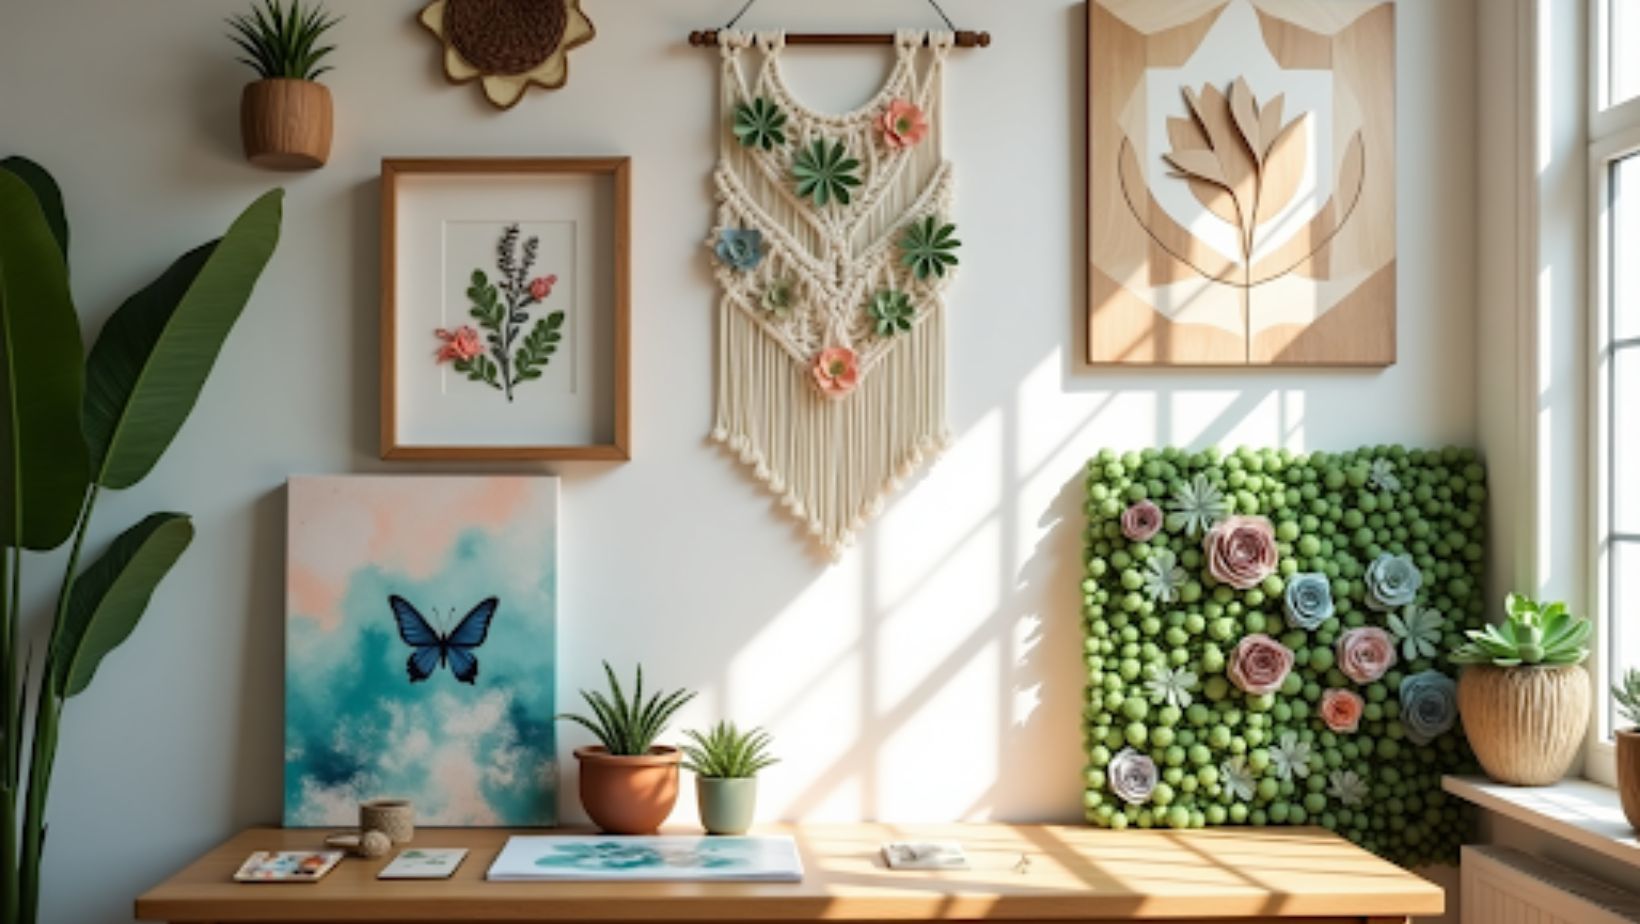
 Beautiful home decor pieces in designer stores often catch the eye, but their steep price tags can make you think twice. You’re not alone in feeling that way.
Over the years, my adventures with arts and crafts have taught me an important lesson—stunning home decor doesn’t have to come with a high price or require professional skills. Some of the most captivating pieces are the ones we create ourselves.
With these six creative DIY projects, you can design a personalized art gallery right in your own home. From elegant wall art to quick, stylish crafts, these ideas bring both beauty and satisfaction. Get ready for the compliments to roll in when guests ask, “Where did you find that?”
Textile Wall Hangings
Textile wall art brings a unique blend of texture and warmth to any room. Exploring different wall art ideas has shown me that textile pieces offer an organic charm that’s hard to replicate with other decor.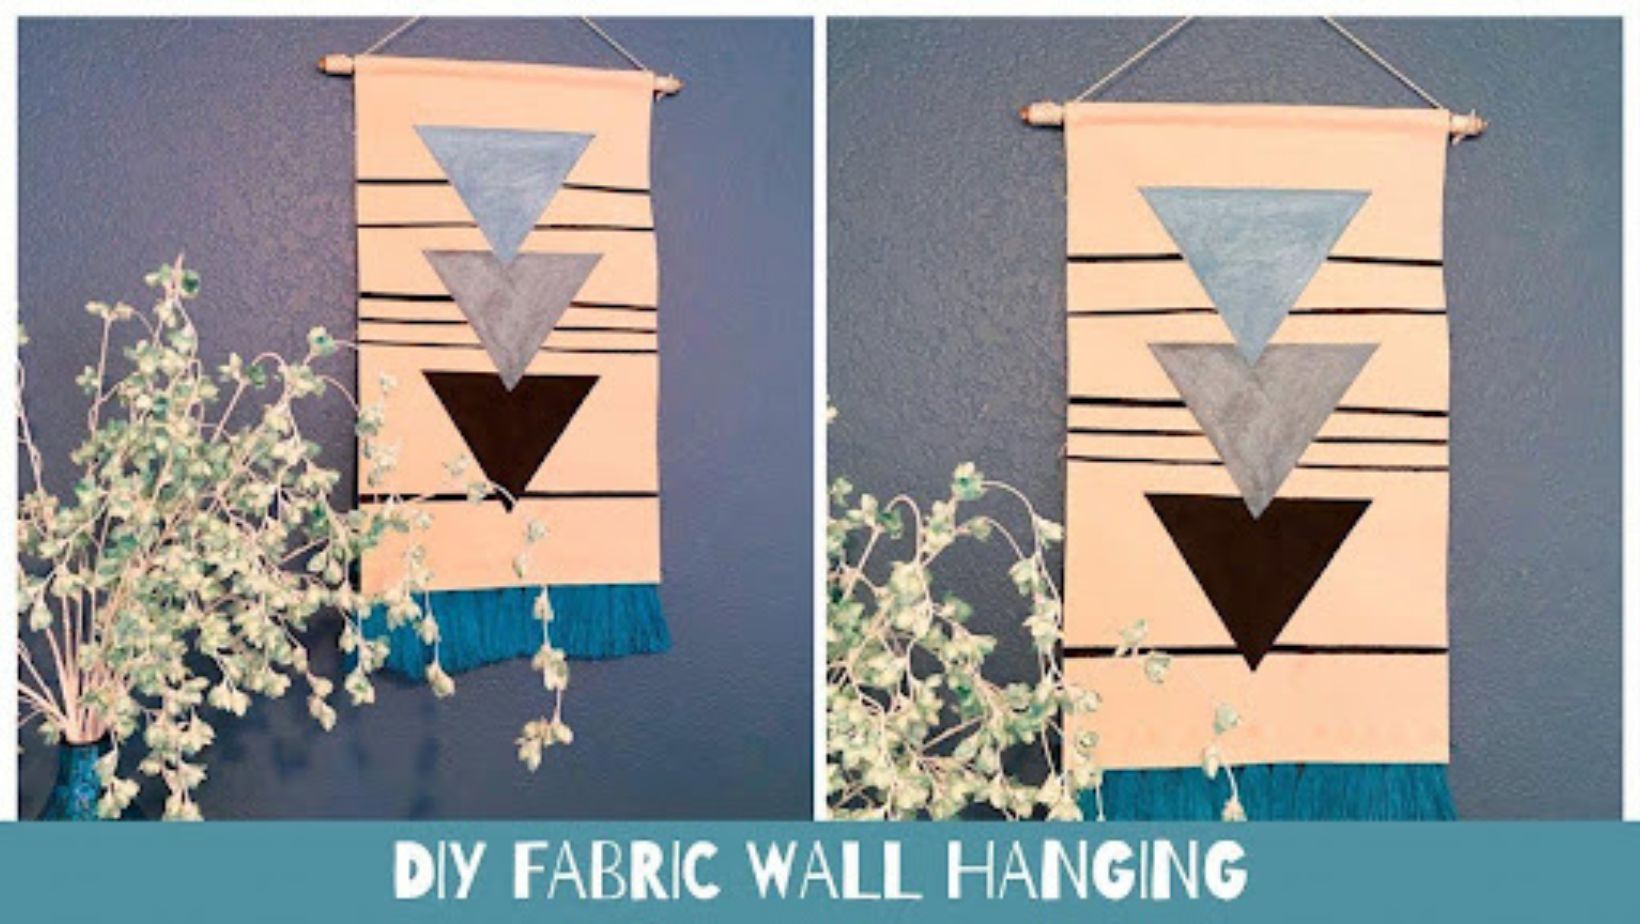
The range of textile wall art is truly impressive. Simple designs can start at $150, while intricate fiber canvases may go as high as $7200. These pieces add depth and dimension, making them perfect for creating a cozy atmosphere in a study or adding a bright, stylish touch to a bedroom.
Here are some textile art styles that caught my eye:
- Macrame wall hangings with diamond patterns
- Large-scale tapestries with contemporary designs
- Handwoven fiber art pieces
- Framed artisanal weaves
- Textile quilts with geometric patterns
Begin weaving or assembling your pieceility of textile wall art makes it special. Stunning pieces range from minimalist designs at $225 to elaborate tapestries at $4000. Each piece tells its story through texture and pattern.
New enthusiasts of textile wall art ideas should start with smaller pieces. Modern dip-dyed wall hangings cost around $400 and are a great entry point into this art form. They add visual interest to neutral spaces effectively.
Botanical Shadow Box Display
Botanical shadow box displays can transform any room, bringing nature indoors with dried flowers and botanical elements arranged as stunning wall art. In my experience, this versatile craft adds a natural and elegant charm that effortlessly enhances your space.
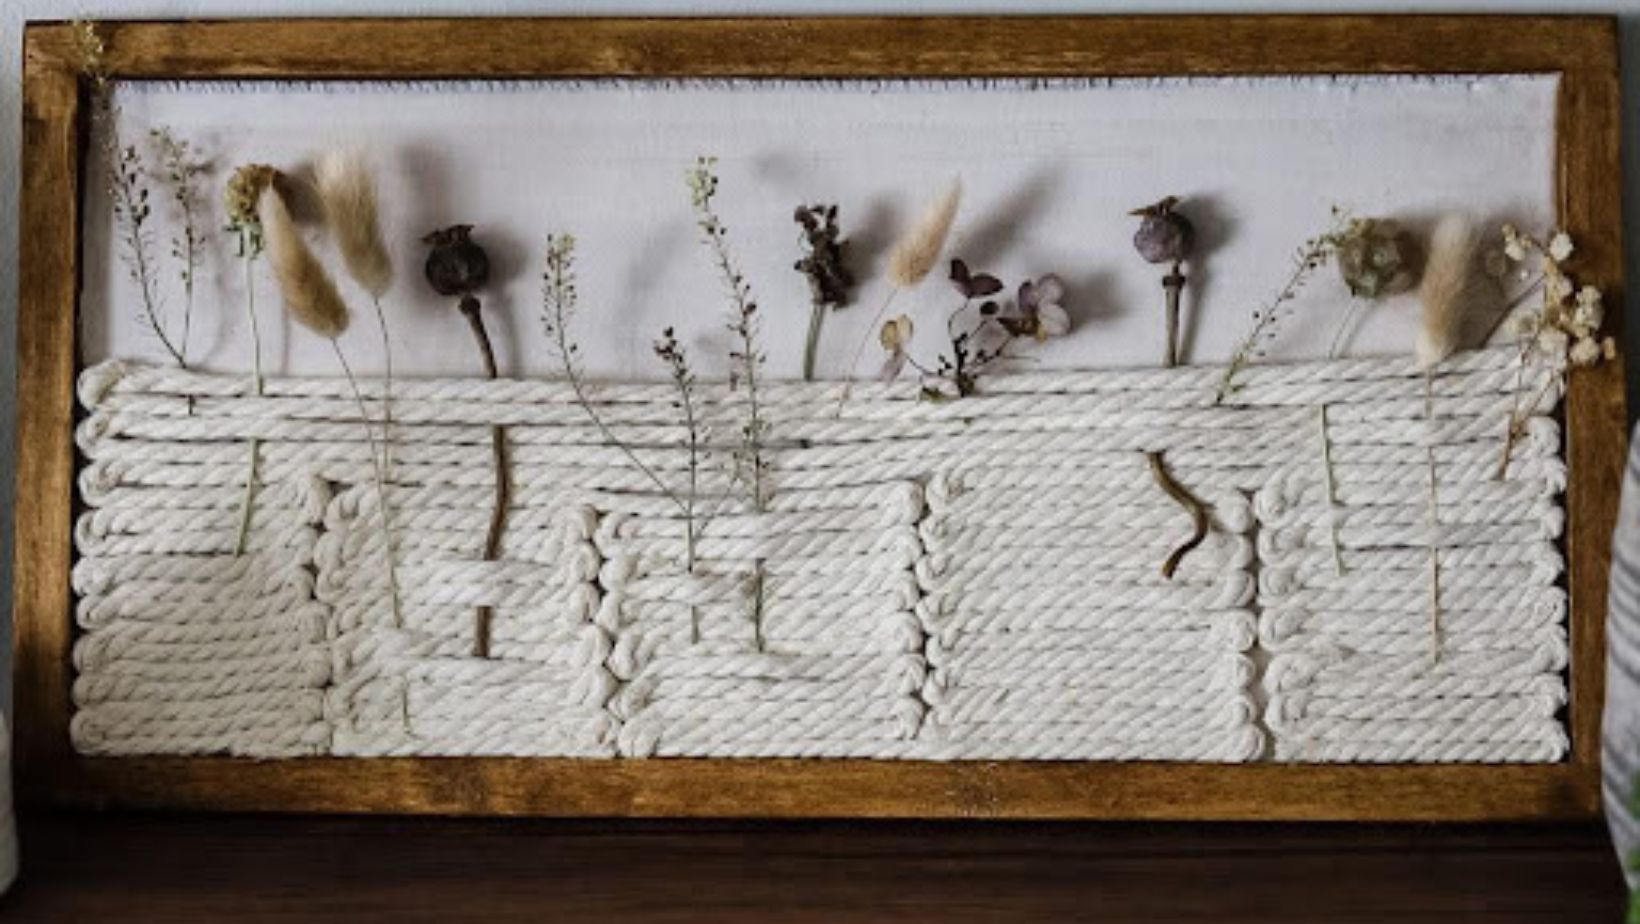 You’ll need these items to get started:
- Shadow box frame (8×10″ or 10×20″ work well)
- Natural elements (dried flowers, leaves, or botanicals)
- Background material (linen, fabric, or decorative paper)
- Adhesive (hot glue gun or craft glue)
- Optional embellishments (ribbon, lace, or decorative accents)
My tried-and-tested process will help you create a beautiful display:
- Pick your background – neutral-toned fabric or paper makes your botanicals pop
- Arrange dried elements before gluing to perfect the composition
- Secure larger pieces first, then add smaller elements
- Add decorative accents like ribbons or lace
- Assemble the shadow box with care to keep dust out
Your display becomes more personal with handwritten notes, vintage postcards, or meaningful quotes printed on decorative paper. These touches turn your DIY crafts into conversation pieces that guests will admire.
Positioning larger flowers in the background and smaller blooms in front creates a layered look that adds dimension. Your display becomes more visually engaging this way. Seasonal elements add extra interest – dried autumn leaves work great for fall displays while pressed spring flowers create a lighter, brighter look.
Geometric Wood Wall Art
I spent time learning about wall decor and found that geometric wood wall art naturally combines modern style with timeless appeal. The retail pieces cost between $500 to $1000+, but I can make stunning pieces for less than $50.
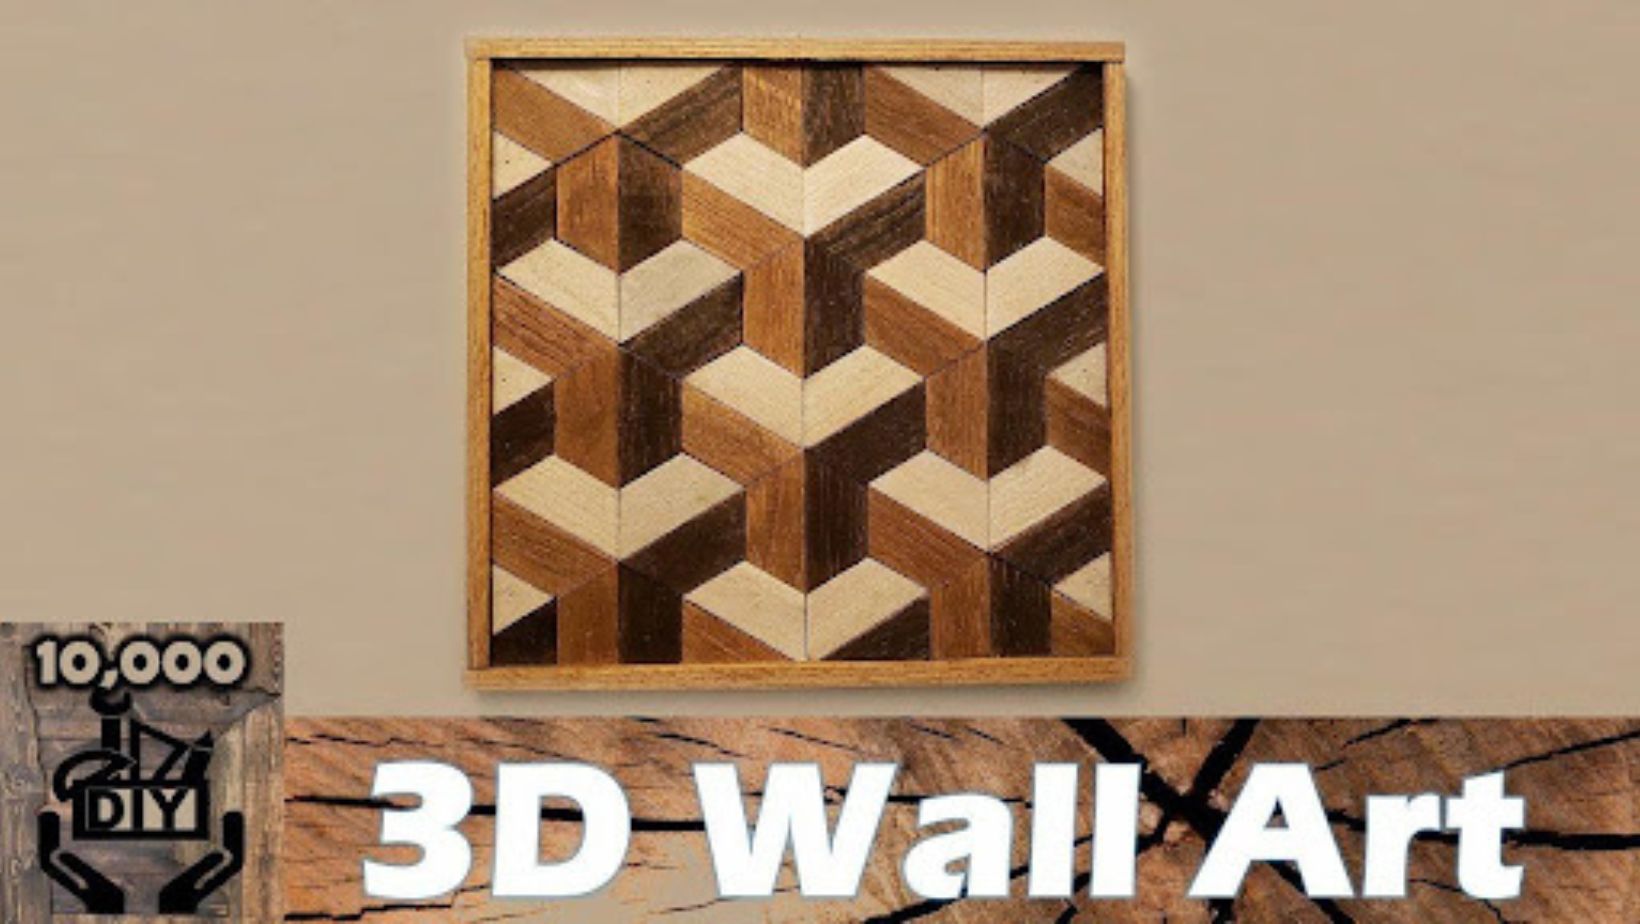 Here are the materials I use for this arts and crafts ideas project:
- 1/4-inch thick plywood for backing
- Wooden dowels (5×8 inches)
- Wood stain (I prefer Early American)
- Wood glue and brad nails
- Simple tools (miter saw, measuring tape, pencil)
The most important part of creating impressive geometric wood art is planning. Start with a simple design to learn the basics before trying complex patterns. This is one of my favorite DIY crafts because you can completely change how the same pattern looks by hanging it upside down.
My process mixes precision with creativity. I divide the plywood into four sections for symmetry. The wooden pieces cut at 45-degree angles create striking geometric patterns.
Experience taught me that patience matters when creating geometric wood art. Clean cuts and smooth sanding make the final piece look better. My first piece took two full days, but creating something that looks as good as expensive store-bought art makes the effort worth it.
DIY Abstract Canvas Art
Abstract canvas art has become one of my favorite arts and crafts ideas. It lets you express creativity freely without formal artistic training. A few simple supplies and techniques are all you need to create stunning pieces that look like expensive gallery artwork.
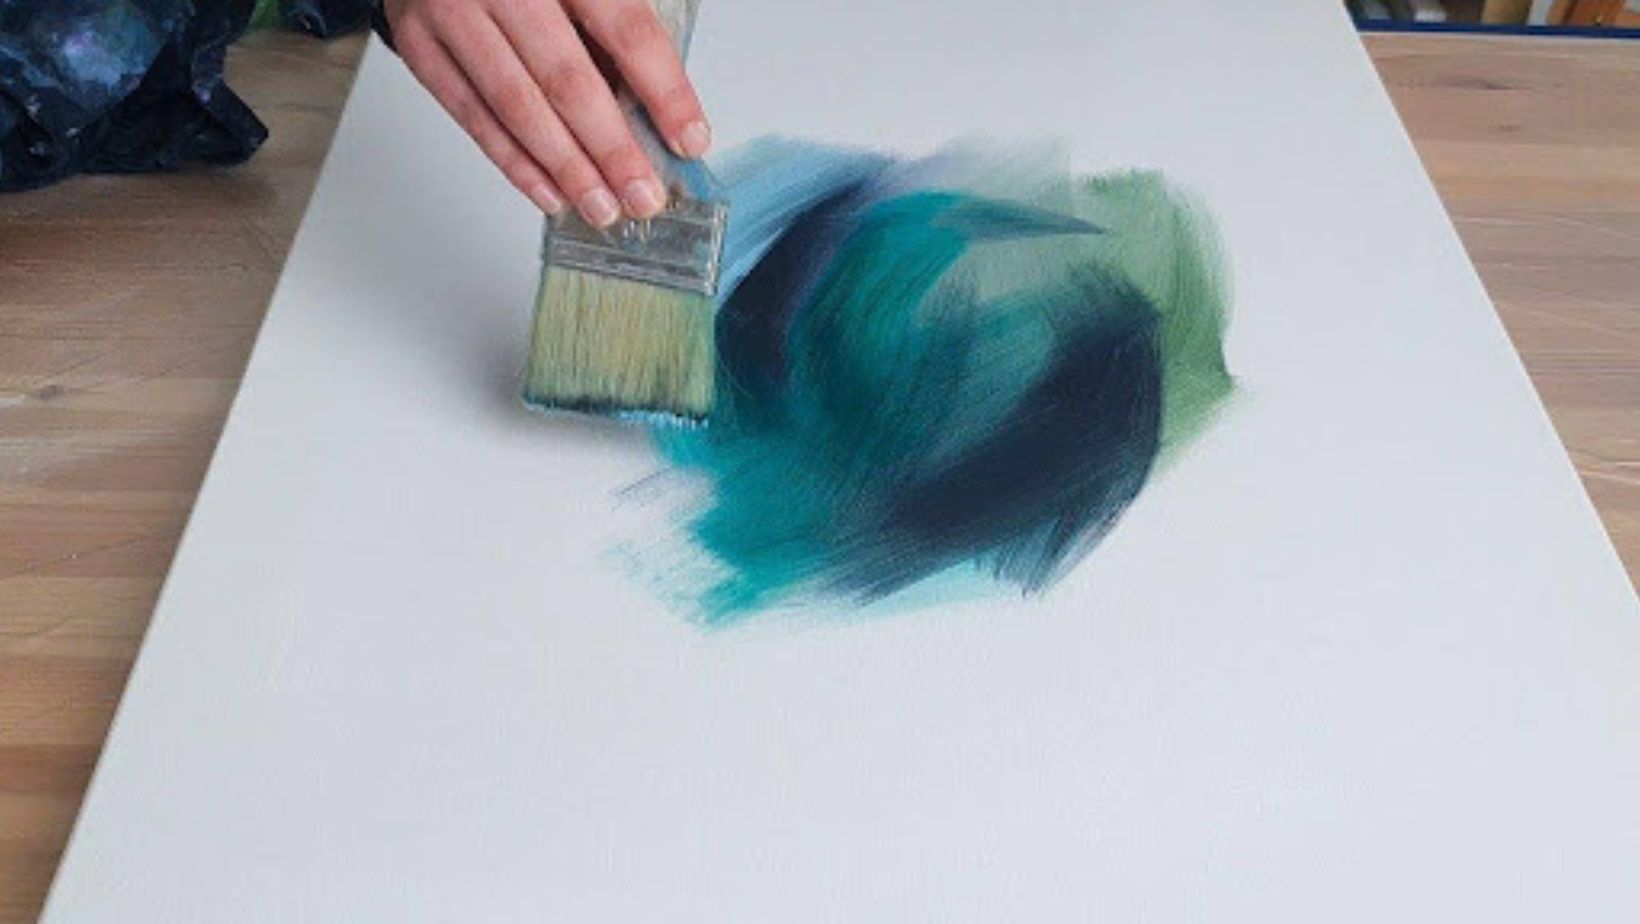 These are the materials I use to create abstract canvas art:
- Pre-stretched canvas (16×20″ or larger works best)
- Heavy-body acrylic paints
- Various brushes and palette knives
- Texture mediums (optional)
- Sealant for finishing
The sort of thing I love about these wall art ideas is how flexible they are. Heavy-weight acrylic paints give the best results. They provide excellent coverage and create various textures. Artists just starting out should use 2-3 colors in similar tones to avoid muddy mixing.
Dry brushing stands out as a favorite technique that creates beautiful feathery textures perfect for abstract pieces. A clean brush with minimal paint can create stunning effects and add depth. Palette knives create thick, textural strokes that stand out from the canvas.
Acrylic washes can create captivating effects. Slightly diluted paint creates transparent layers that add dimension. This works great especially when you want subtle color transitions or atmospheric effects.
If you’re looking for an affordable way to decorate your home, this is a great starting point—especially for creating large abstract wall art that makes a statement. For more inspiration and stunning original art pieces, you can click here to explore beautiful collections.
Paper Quilling Decor
Paper quilling has stolen my heart. It’s one of the most elegant arts and crafts ideas I’ve tried. This delicate art form rolls thin strips of paper into intricate designs and adds a unique dimension to home decor that’s both sophisticated and budget-friendly.
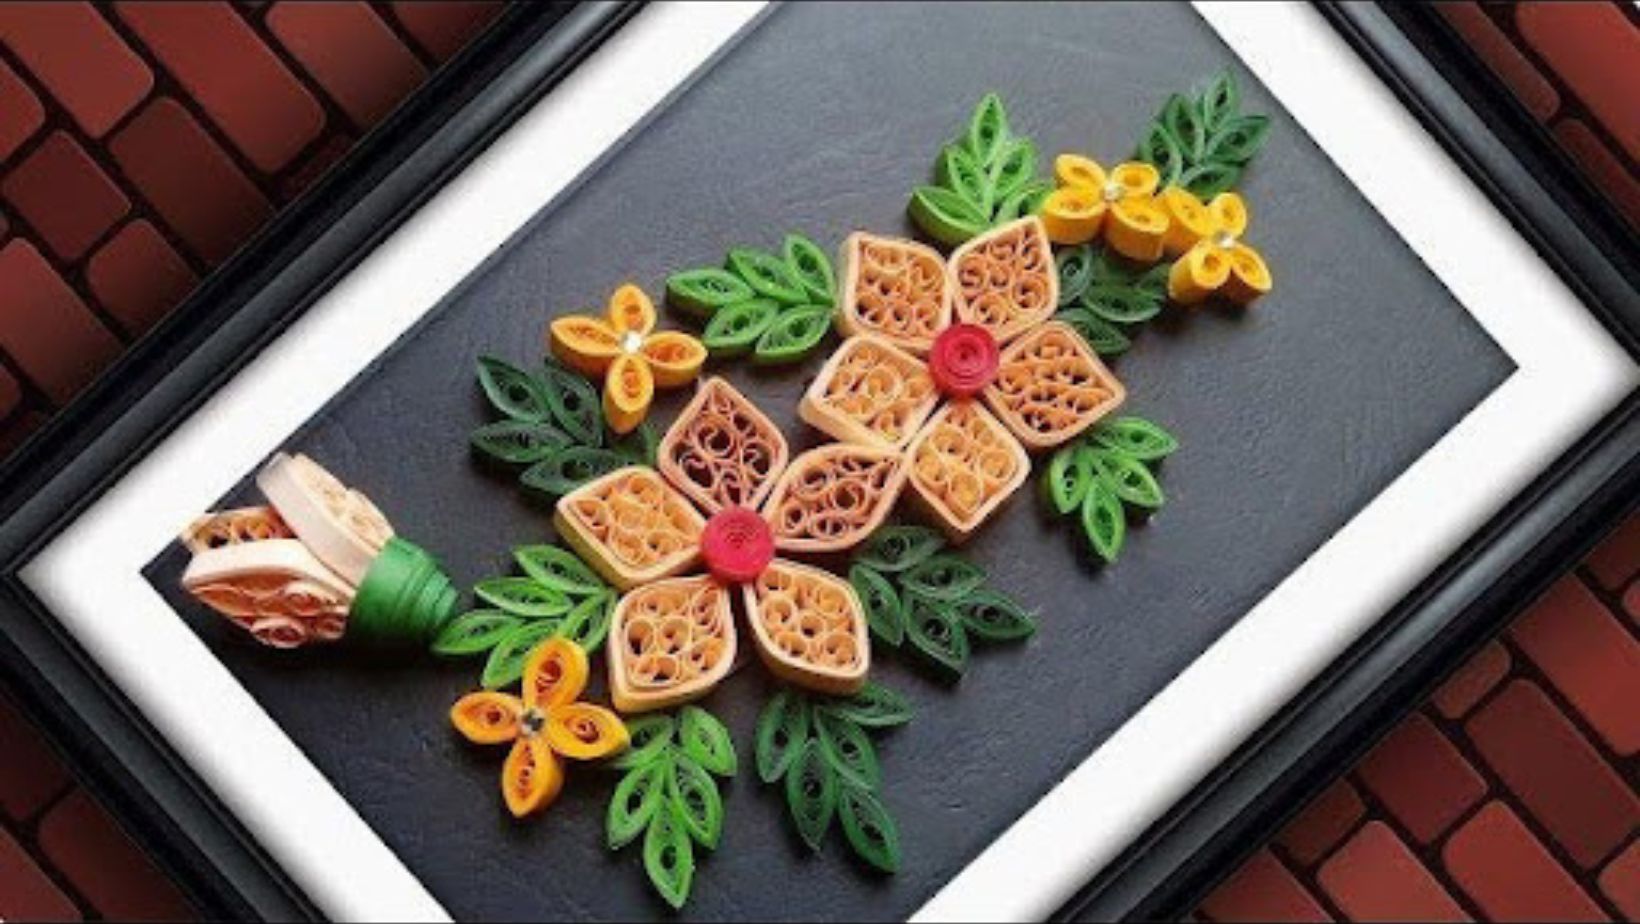 You just need patience with quilling, but the results make it worthwhile. My first steps started with these simple supplies:
- Quilling paper strips
- Quilling tool or toothpick
- Craft glue
- Mounting board or frame
- Scissors
- Ruler
Quilling stands out among wall art ideas because of its versatility. I’ve made everything from simple framed pieces to detailed wall hangings that spark conversations. The art looks striking above a sofa or fireplace.
My best pieces mix different quilling shapes to create depth and visual interest. I completed a shadow box with quilled flowers that used loose coils for centers and teardrop shapes for petals.
Color selection plays a vital role in wall art creation. I work with complementary colors to create striking contrasts, though monochromatic schemes can be stunning. Simple geometric patterns make great starting points before moving to complex designs like flowers or abstract compositions.
Paint by Numbers Wall Art
Paint by numbers has changed how I create customized wall art ideas. After learning about different crafting techniques, I found that using nature paint by numbers kits gives me the perfect mix of structure and creativity.
The quality of materials affects the final result by a lot. My recent projects used high-quality acrylic paints from custom paint-by-numbers kits that came with:
- Pre-printed canvas (16×20 inches works best)
- Numbered acrylic paint set (around 24 colors)
- Set of 3 paint brushes (small, medium, large)
- Wooden or aluminum alloy frame
These arts and crafts ideas help me relax. Painting lets me unwind and create something beautiful. Each stroke helps me forget daily stress and brings my masterpiece to life.
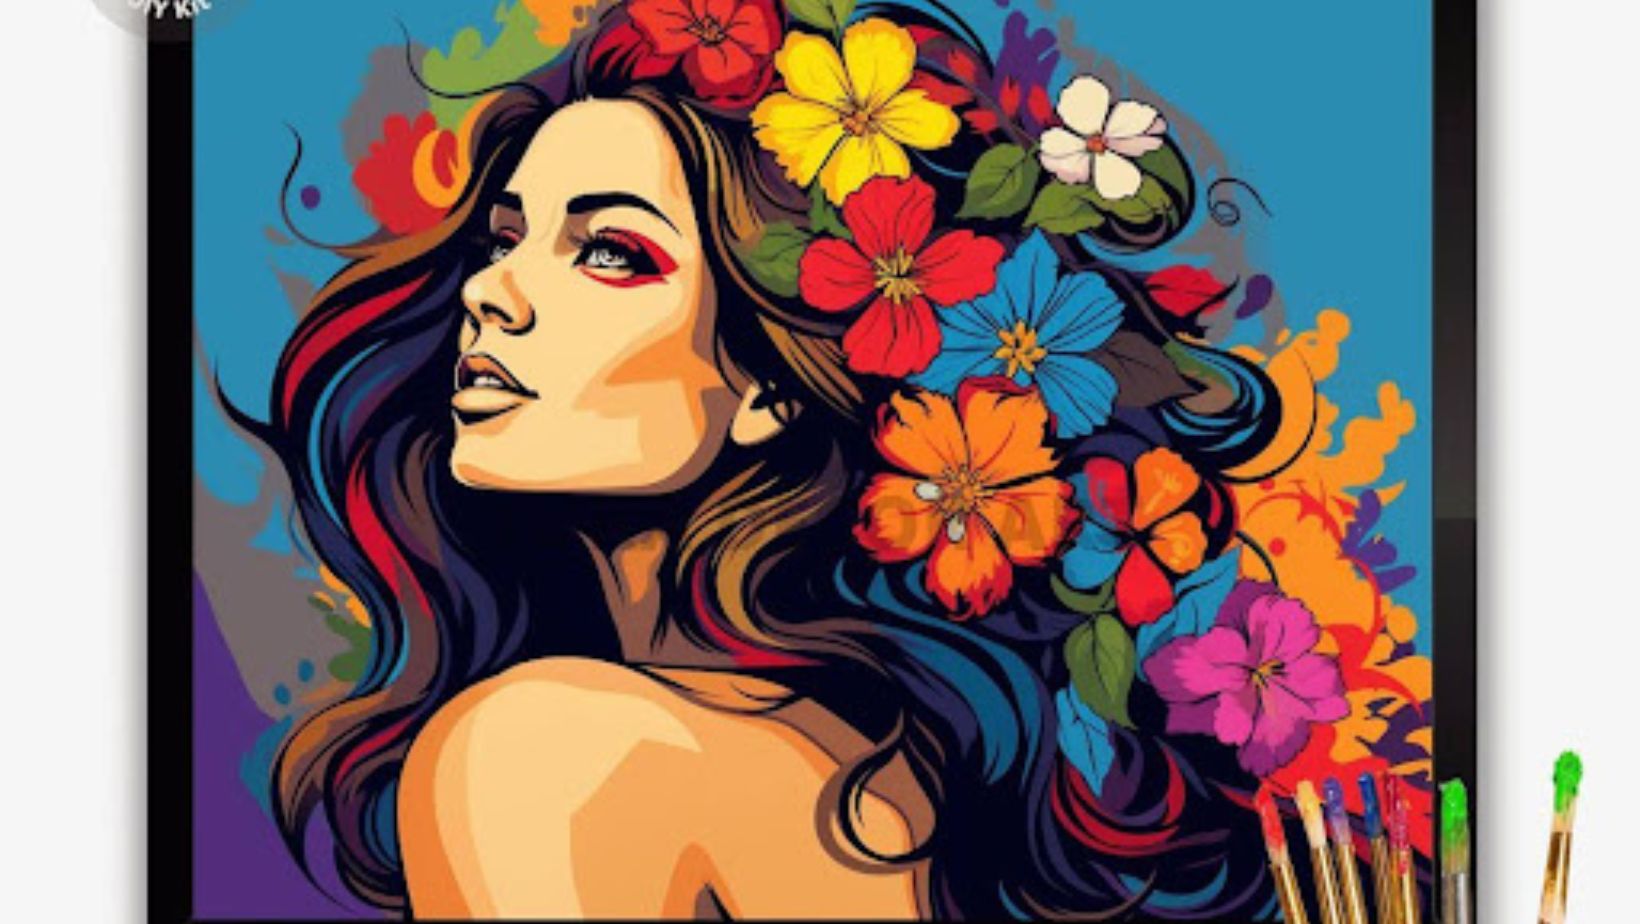 Small areas work best to start with – here’s a tip: toothpicks work great for tiny spaces. Larger areas need the provided brushes. I work from top to bottom to avoid smudging wet paint with my hand or arm.
My best results come from painting one number at a time. This keeps paint from drying out and means less brush washing between colors. Sometimes the first layer won’t cover completely. You’ll need a second coat if you can still see the number through the paint.
Final Thoughts
Creating stunning home decor doesn’t have to be costly or intimidating. These six creative arts and crafts ideas prove that with a little time and effort, you can transform simple materials into personalized masterpieces that rival designer store pieces.
The beauty of these DIY crafts lies not just in the final product but in the process itself. Crafting allows you to relax, express creativity, and enjoy the satisfaction of creating something meaningful with your own hands.
So, gather your supplies, embrace your inner artist, and start crafting today. Your walls are the perfect canvas to showcase your personality and creativity—one project at a time. Guests will marvel at your one-of-a-kind pieces, and you’ll cherish the joy of making a home that truly feels like your own.


