
Achieving a flawless, streak-free self-tan can feel like a challenge, especially when it comes to those tricky, hard-to-reach spots like your back, shoulders, and ankles. With the right techniques and tools, you can achieve an even glow from head to toe. Here are eight expert tips to help you self tan like a pro, even in those difficult areas.
1. Exfoliate Before Tanning
Preparation is key to a flawless self-tan. Exfoliate your skin 24 hours before tanning to remove dead skin cells and create a smooth surface. Pay extra attention to areas like elbows, knees, and ankles, as these spots tend to absorb more product and may look patchy if not properly prepared.
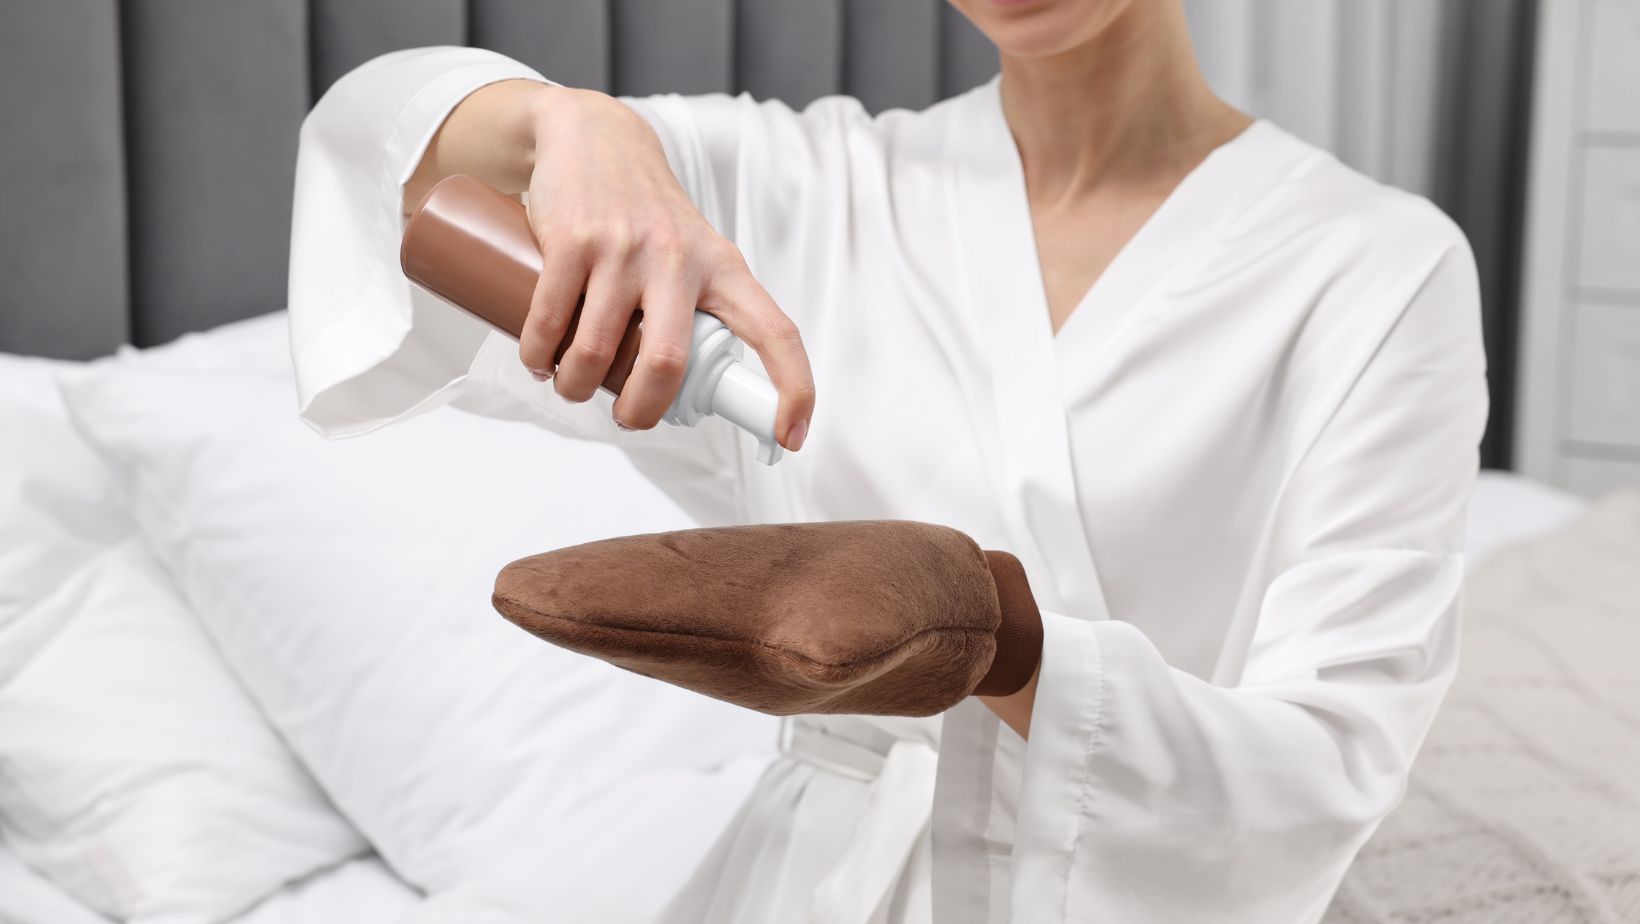
2. Use a Self-Tanning Mitt
A self-tanning mitt is essential for even application and protecting your hands from staining. For hard-to-reach spots like your back, consider a tanning applicator with an extended handle. If you don’t have one, you can improvise by attaching a mitt to a long-handled kitchen utensil with a hair tie.
3. Apply in Sections
Work in sections to avoid missing spots or creating streaks. Apply the tanner in circular motions to each area, starting from your legs and working your way up.
This method not only ensures even coverage but also prevents smudging previously applied areas.
4. Get Creative for Your Back
Your back is one of the trickiest areas to tan on your own. Along with using a back applicator, you can apply tanning mousse to plastic wrap and use a back-and-forth motion across your back. Alternatively, try the “towel trick” by applying the product to a towel, holding both ends and moving it like you’re drying your back.
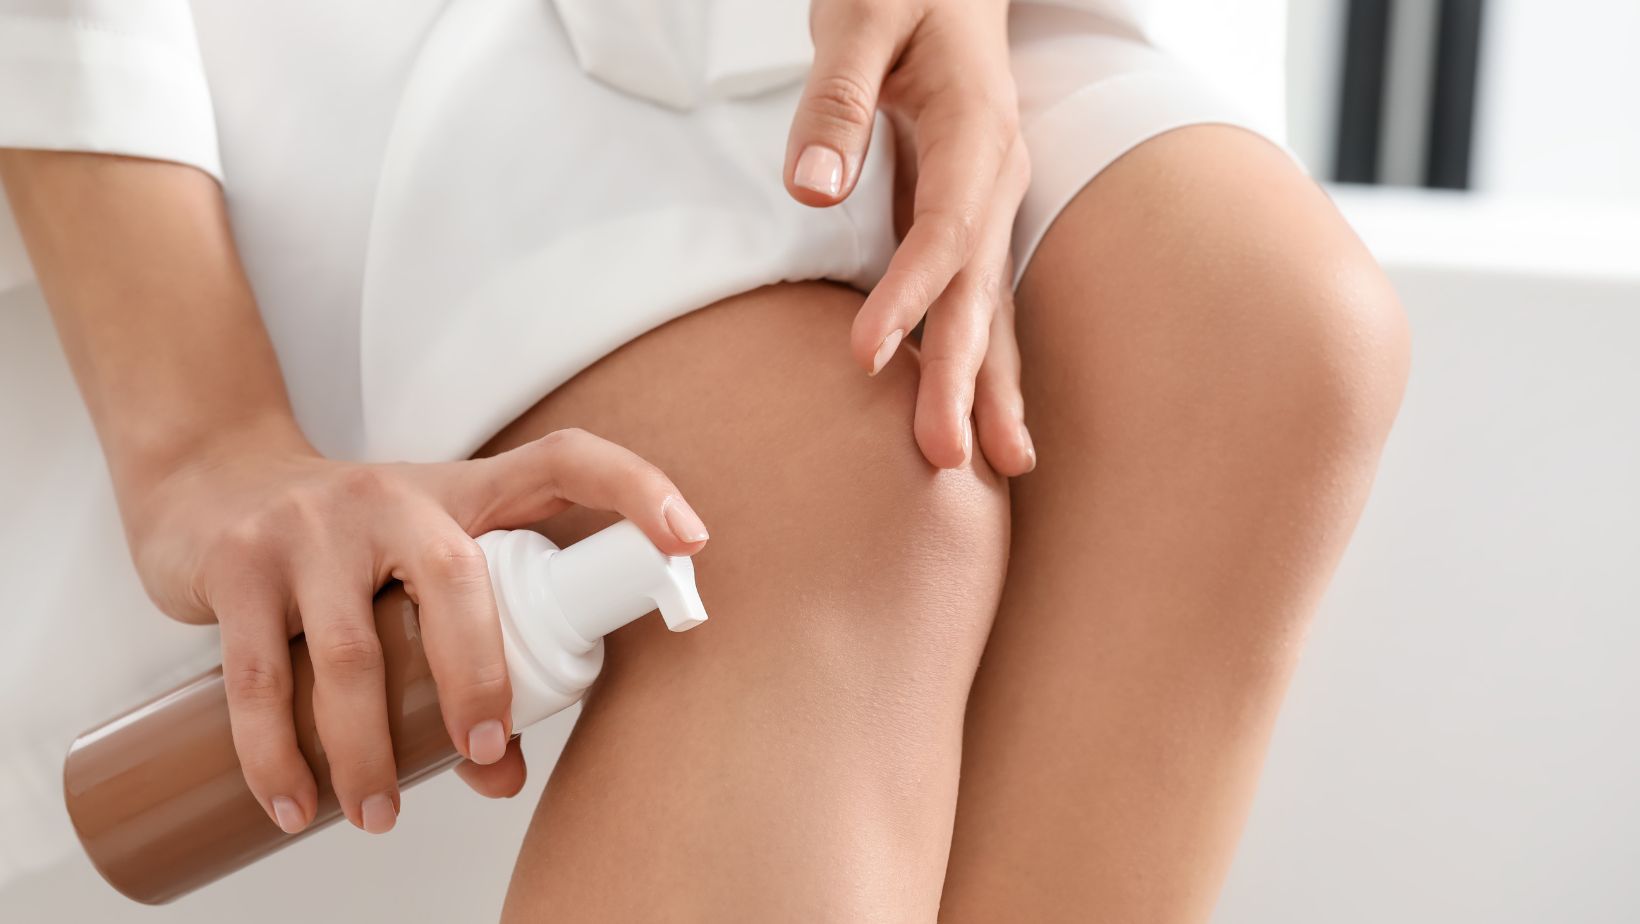
5. Don’t Overlook Elbows, Knees, and Ankles
These areas tend to absorb more product, which can lead to dark patches. Apply a thin layer of moisturizer to elbows, knees, and ankles before tanning. When applying tanner, use less product and blend carefully.
6. Use a Makeup Brush for Small Areas
A dense makeup brush is perfect for blending tanning products into smaller areas like your hands, feet, and around your wrists and ankles. Lightly buff the tanner into these areas to avoid harsh lines and ensure a natural finish.
7. Blend Around Joints and Creases
Joints and creases, like wrists, knees, and elbows, can end up looking uneven if not blended properly.
After applying the tan, bend and move these joints to ensure the product is evenly distributed. Use a dry section of your mitt to lightly blend out any excess product.
8. Perfect the Hands and Feet
Hands and feet are often the tell-tale signs of a self-tan gone wrong. To avoid orange palms and streaky fingers, use a small amount of product and apply with a makeup brush. Avoid tanning your palms, and remember to wipe nails and cuticles with a damp cloth afterward for a natural, sun-kissed appearance.
Conclusion
Mastering these techniques will help you achieve a smooth, even self-tan without needing a helping hand. Preparation, proper tools, and attention to detail are the keys to success. With these tips, you can confidently glow all year round.