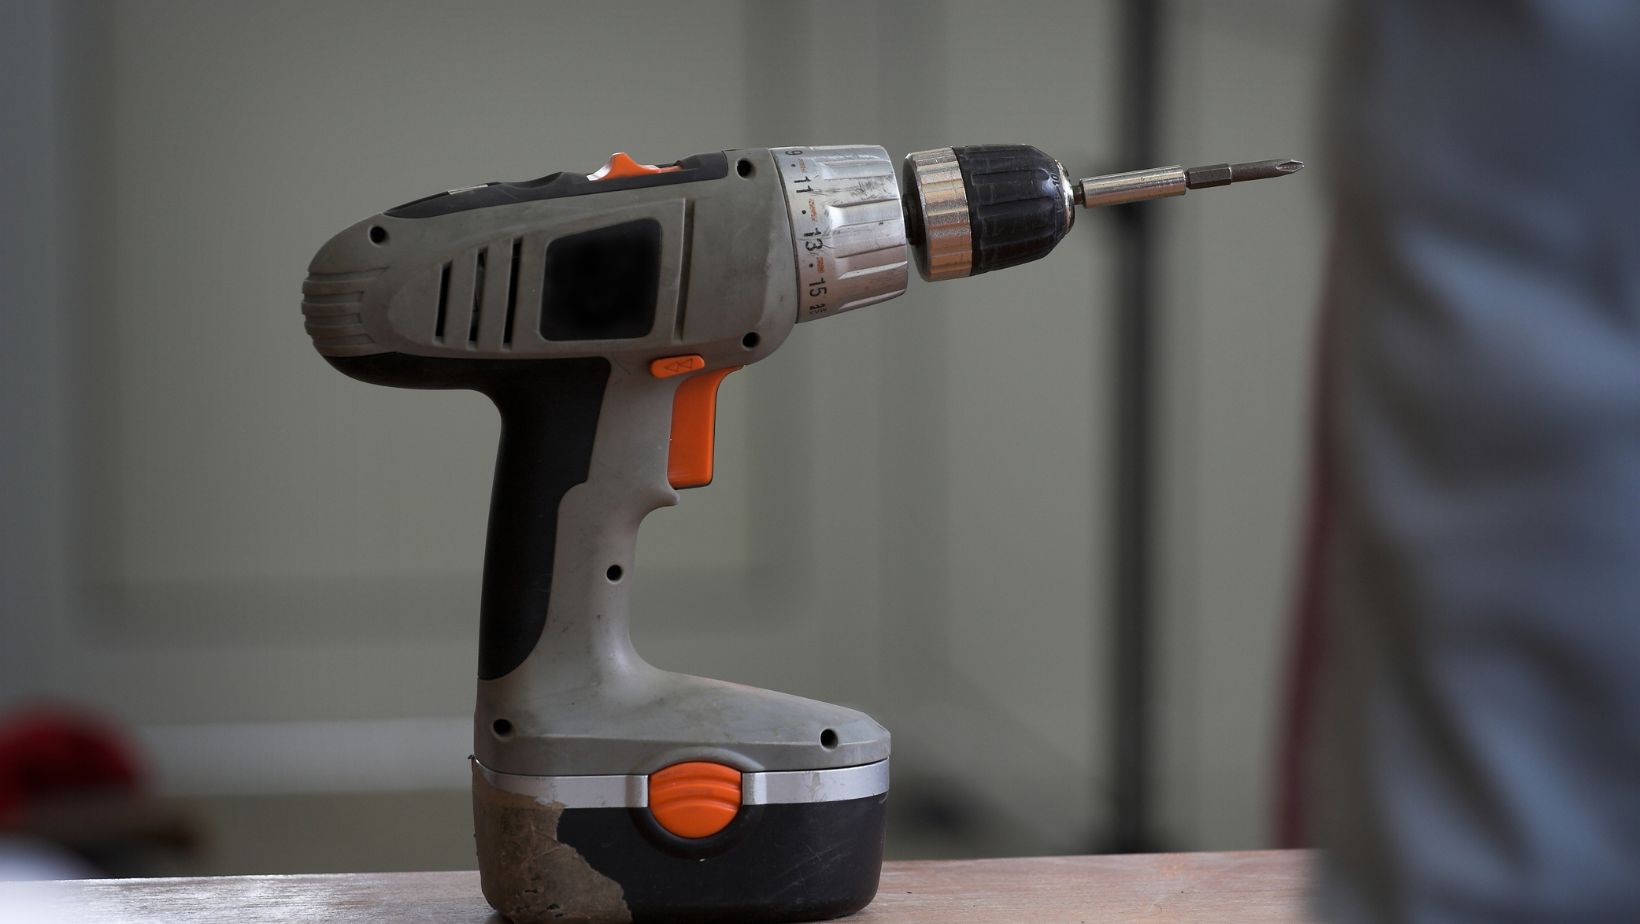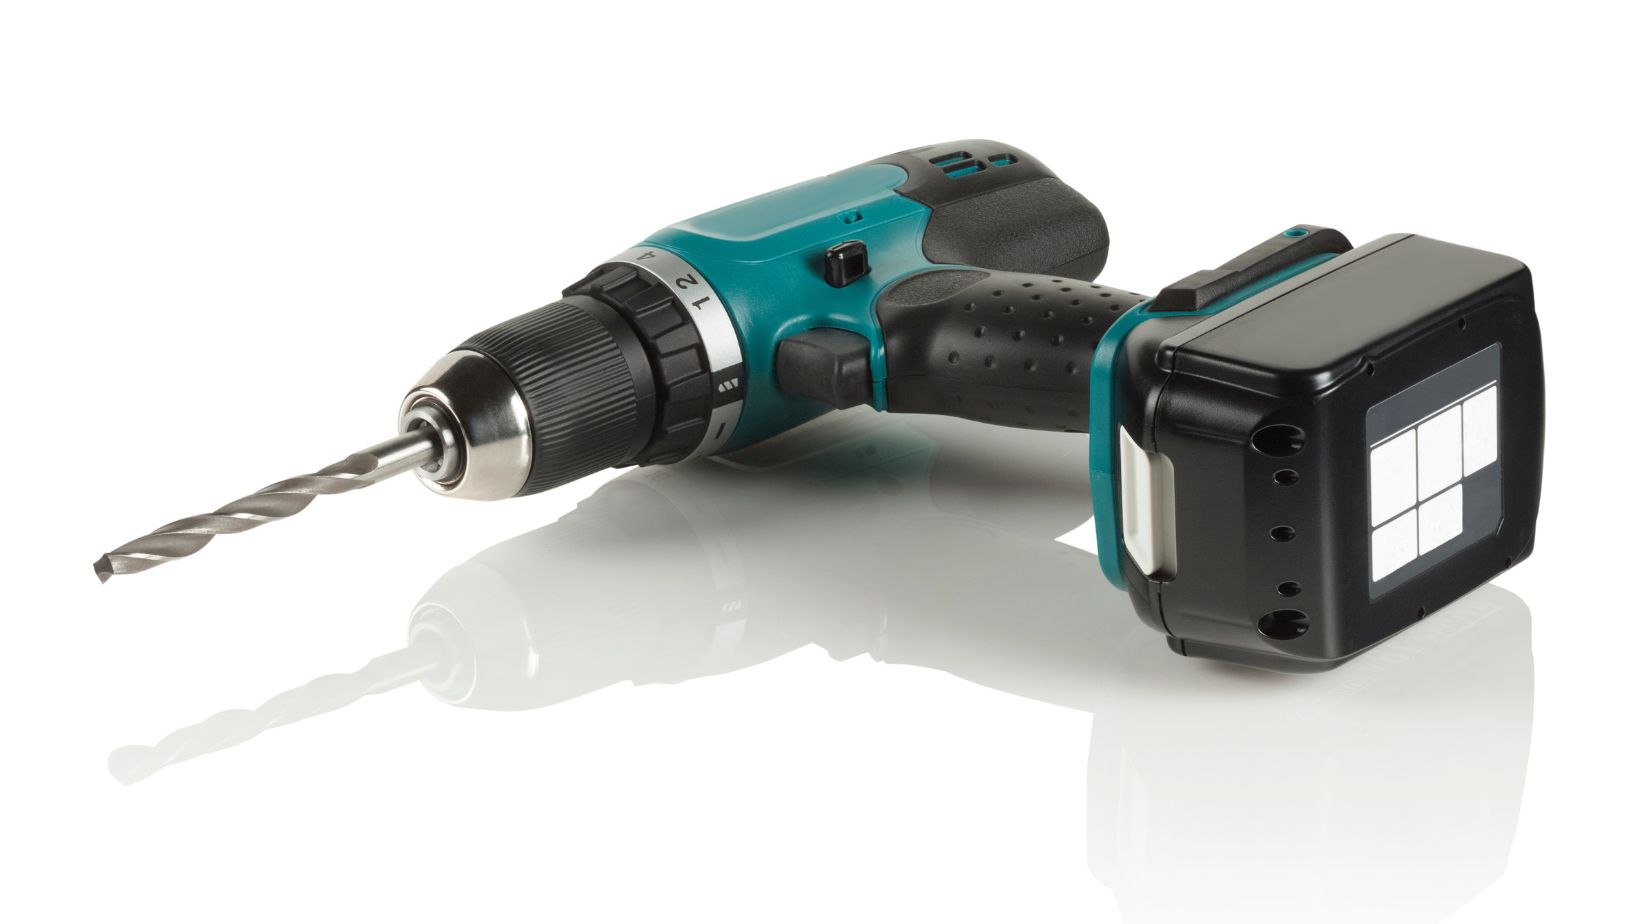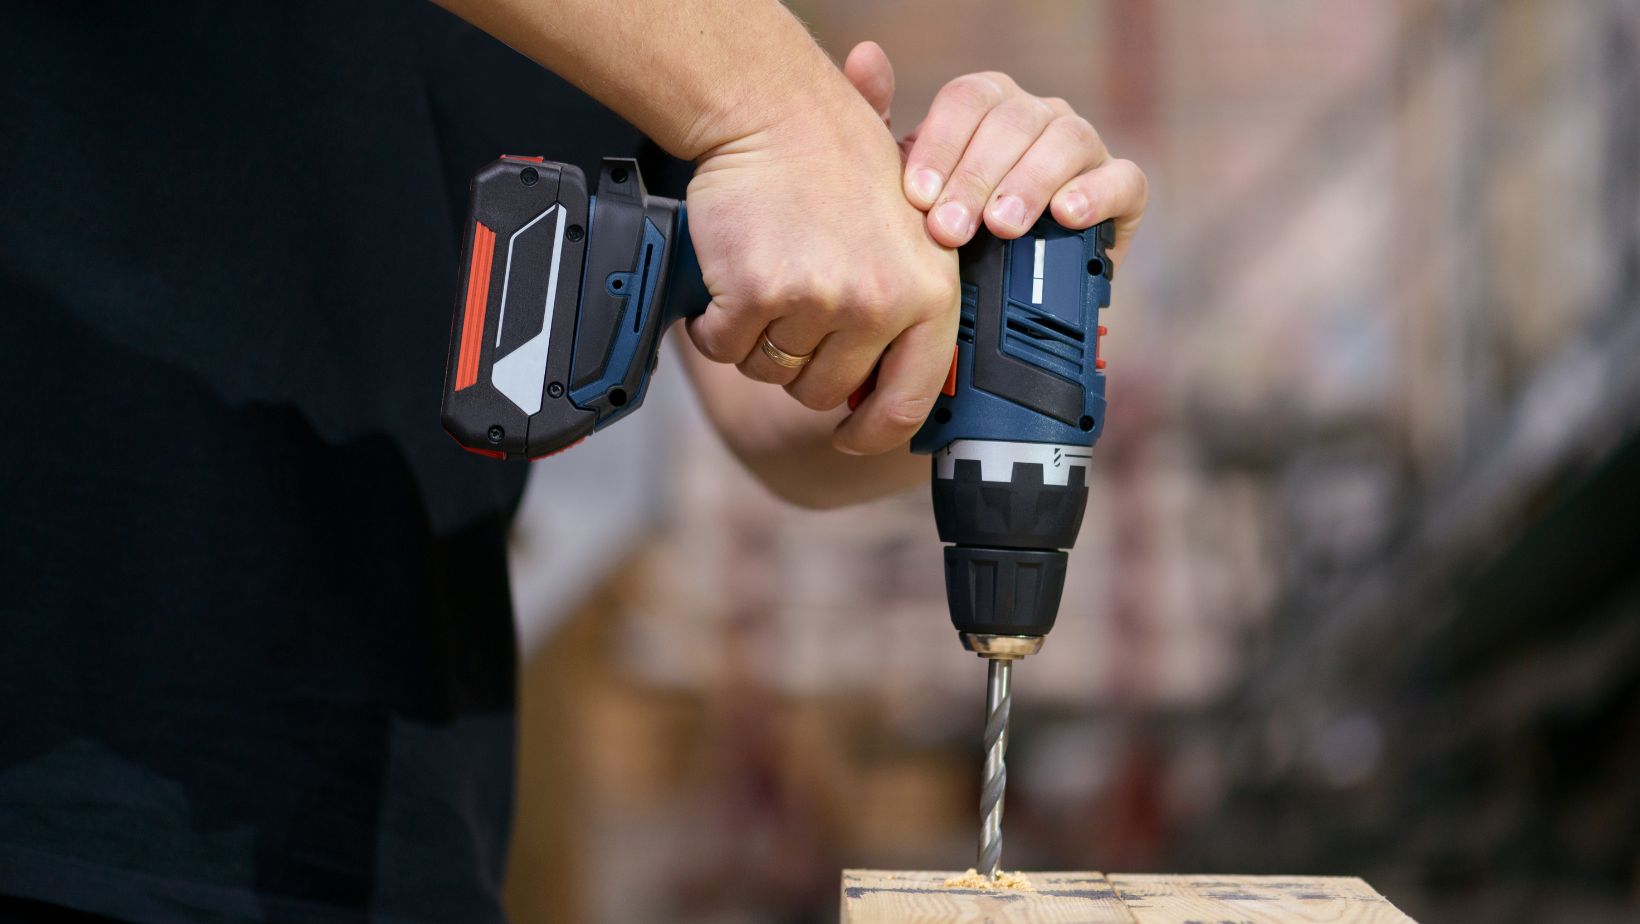
It would be annoying to pull out your cordless drill and find that it needs help with a simple job. Making sure your drill works well every time you need it can depend on how well you take care of it. This blog will cover the essential steps for maintaining your cordless drill.
1. Keep the Drill Clean
After each use, the drill should be wiped down with a dry cloth to remove dust and debris. The area around the vents must also be cleaned, as dust can obstruct the flow of air and cause the drill to overheat. If dirt is difficult to remove, you can use a small brush or compressed air to remove it.
Because water and harsh chemicals can cause damage to the drill, you should avoid using them. Keeping the drill clean helps it work smoothly and prevents any build-up that can cause malfunctions.
Regular cleaning will also make it easier to spot any potential problems early on. Taking a few minutes to clean your grill after use can extend its lifespan.
2. Check the Battery Regularly
The battery of a cordless drill is the source of its power; therefore, it is essential to check the battery on a regular basis. Examine the battery for any indications of damage, such as cracks or swelling, and report any findings. Before using them, always make sure that the contacts on the battery are clean and free of any dirt.
Charge the battery fully before storing it, and avoid leaving it on the charger for too long, as overcharging can reduce its life. It is possible that it is time to replace the battery if it is not sufficiently able to hold a charge.
Your drill will function at its peak level if you use a battery that is in good condition. By keeping an eye on the battery, you can avoid surprises during projects.
3. Lubricate Moving Parts
It is possible to reduce friction by applying a small drop of machine oil to the chuck or any other moving parts. Because of this, the drill continues to function effectively and is protected from wear and tear.

It is important to avoid over-lubricating, as an excessive amount of oil can attract dust and lead to accumulation. The importance of lubrication cannot be overstated, particularly if you use the drill frequently or in environments that are dusty.
Remember to check your user manual for specific guidance on what parts need lubrication. By taking this step, you help the drill operate smoothly for a long time.
4. Inspect and Replace Worn Parts
Check for any cracks, chips, or loose components, paying particular attention to the chuck and the casing on the device.
To avoid more serious issues, it is best to replace any component that appears to be worn out. Do not disregard minor problems, as they have the potential to grow into more significant problems over time.
You should also check the bits that you use because bits that are dull or bent can put strain on the motor of the drill. Regular inspections can prevent costly repairs and keep the drill in good condition. Being proactive with maintenance ensures that the drill remains safe to use.
5. Store the Drill Properly
Place the drill in a location that is cool, dry, and away from direct sunlight, moisture, and temperatures that are extremely high or low. When you want to protect the drill from dust and accidental damage, you should use a case or bag.
If you are not going to be using the drill for a while, make sure that the battery is removed from it. Proper storage not only protects the drill but also extends the battery life. This step can make sure your drill is ready to go when you need it. A well-stored drill will perform better and last longer.
6. Use the Right Bits and Accessories
Pick out bits that are the appropriate size and type for the project you are working on. Using the wrong bit can damage both the bit and the drill and even cause injury. Make sure the bits are securely tightened in the chuck before starting.

Also, inspect the bits regularly for wear or damage and replace them if needed. Using quality accessories can improve the performance and lifespan of your drill. This simple step helps to ensure your drill operates safely and efficiently.
7. Test the Drill Before Each Use
Before starting any project, it’s a good idea to test your cordless drill. Run the drill for a few seconds without a load to make sure it’s working properly. Listen for unusual sounds, such as grinding or rattling, which can signal a problem.
Check that the battery is charged and the bits are secure. If the drill is not working as expected, don’t ignore the issue—address it before starting your work.
A quick test helps catch problems early and keeps your projects running smoothly. Taking a few moments to test the drill can save time and trouble down the line.
Keep Your Cordless Drill in Top Shape
Remember, a well-maintained drill not only saves time but also makes your work easier and safer. Invest a little time in upkeep now, and your cordless drill will be a trusted tool for years to come. Keep your cordless drill in top shape and enjoy smooth, hassle-free projects!


