

Let’s be honest. All of us have something to worry about, and when it comes to kids, it may seem like big, monstrous things lurking under the bed or whirling around in the children’s minds. It is a forgotten homework task, a confrontation with a peer, a fear of a dark room, but these fears are quite real to them. However, what would happen should they have a friendly monster whose sole occupation was to eat those worries?
Here is the world of the DIY Worry Monster Box, a remarkable creation from the Social-Emotional Learning (SEL) sensation that teaches children how to understand and manage their emotions, express compassion to others, and make responsible choices. It is a physical object and a playful means of providing your young ones with a feeling of control over their anxieties.
The best part? They get to “feed” their worries to a monster, making the process of sharing feel safe and even fun. GranaWin casino achieves the same level of safety for adults who love to game online, allowing players to unlock big, real-life rewards!
What is a Worry Monster Box?
Imagine a small, decorated box with a big, googly-eyed face and a chomping clothespin mouth. This friendly creature sits on a shelf or bedside table, always hungry and always ready to listen. The concept is beautifully simple, as when a child has a worry (big or small), they write it down or draw it on a small piece of paper, then they open the monster’s clothespin mouth and “feed” the worry inside.
The box acts as a safe container for difficult feelings and anonymizes the worry. This functionally takes its power away, as instead of it being a scary thought stuck in their head, it becomes just a piece of paper inside a box. The physical act of writing and feeding helps externalize their anxieties, separating them from their identity.
How to Build Your Own
You Will Need:
- A small, sturdy box with a lid (a tissue box, a small shoebox, or even a clean cardboard food box works perfectly)
- A wooden spring-clothespin
- Googly eyes (the bigger, the better!)
- Construction paper/ craft foam in different colors
- Scissors (safety scissors for little ones)
- Glue (a hot glue gun is best, but strong craft glue or tape works too)
- Markers, crayons, or paint
- Yarn, pipe cleaners, or feathers
- Small slips of paper or sticky notes
Step-by-Step Assembly
Step 1: Create the Face
Begin by putting the face of the monster in position. The lid of the box is usually the ideal location, allowing your child to draw or paint a backdrop color for the face. Will it be blue, green, or a mad mottling of the colors of the rainbow? There’s no wrong answer! This is their creation.
Step 2: Attach the Chomping Mouth
Glue the clothespin to the middle of the face of the box horizontally, and the pinched part ought to be turned outwards, so that it can open and close like a mouth.
This should be done by an adult in case you use a hot glue gun. Stamp it and keep it in position until the glue dries. Ensure that the mouth opens and closes easily.
Step 3: Bring It to Life with Features
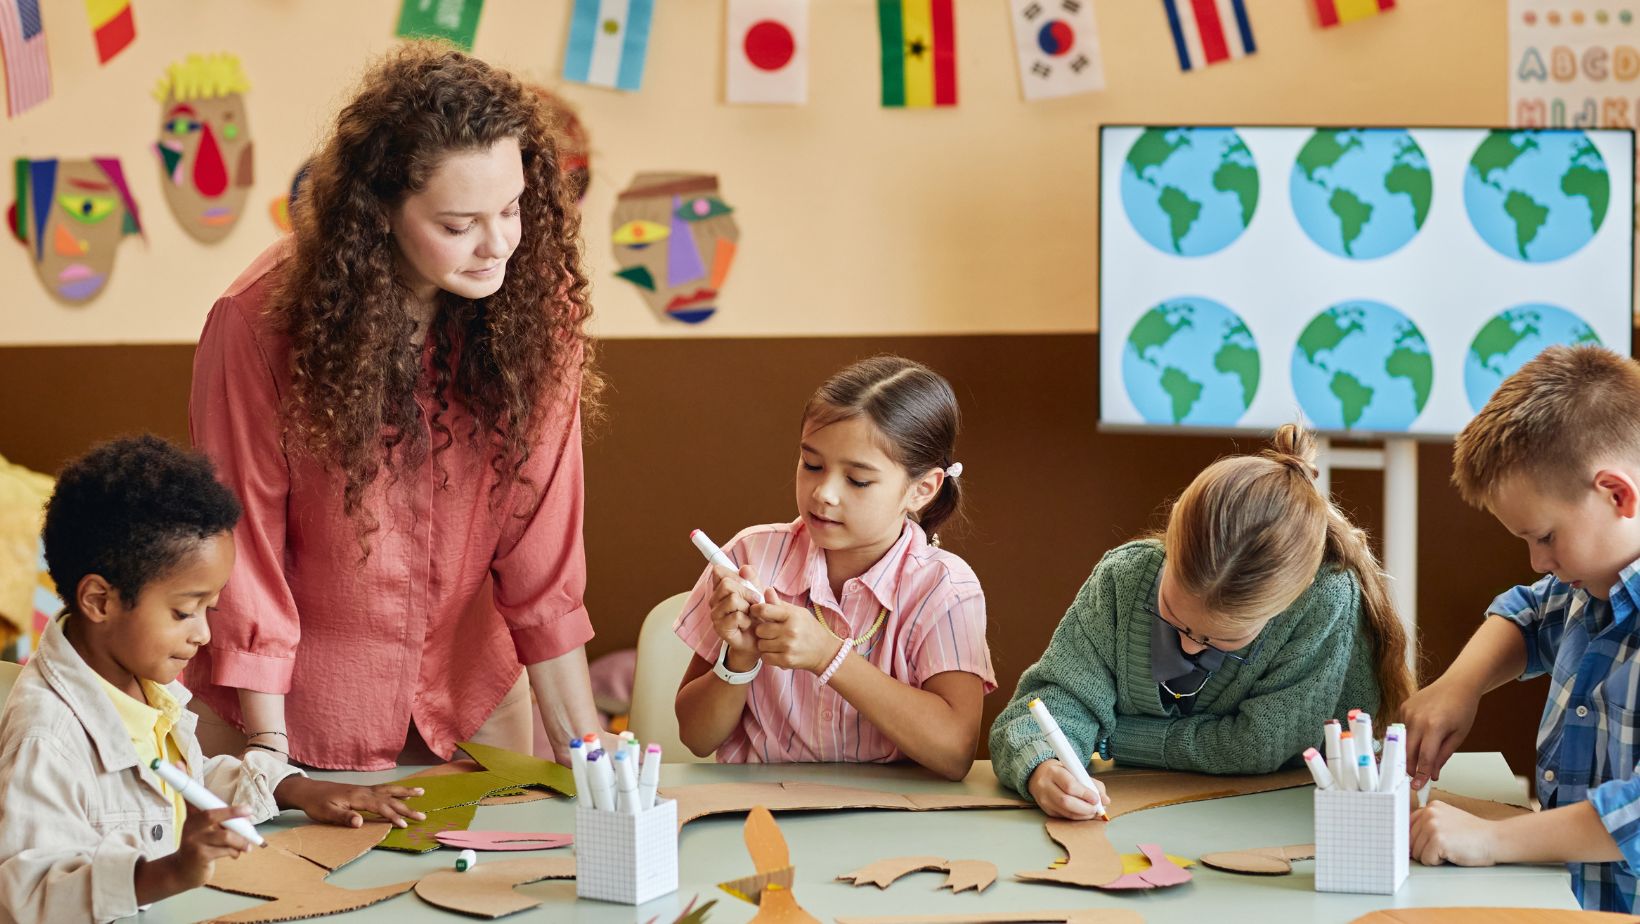
Now for the creativity! Glue the googly eyes above the clothespin mouth. Will your monster have two eyes? Three? One giant eye in the middle? Next, use the construction paper to cut out features like eyebrows, nostrils, sharp teeth, or even horns for the top of the box. Glue these on around the face. Angry eyebrows make for a funny, grumpy personality, while kind, curved eyebrows create a gentle friend.
Step 4: Decorate the Monster’s Body
The box itself is the monster’s body. This is where your child can really go crazy! They can glue on yarn for hair or add scales made from overlapping circles of paper. There is no limit. The more ownership they take in decorating it, the more connected they will feel to it.


