

Are you looking for a fun and relaxing craft that anyone can enjoy? Diamond painting might be just what you need. Despite the name, it is not as complicated as traditional painting. In fact, it is much simpler. You do not need any special artistic skills to get started. All you need is a diamond painting kit, and you are ready to create something beautiful.
In this post, you will learn how to make your own diamond painting. First, you need to understand what diamond painting is and the tools you need to begin practicing this craft.
What Is Diamond Painting?
This is a craft that involves placing ‘diamonds’ onto a pre-printed canvas. These diamonds actually are rhinestones with a flat side and a square or circular shape. With the square diamonds, you will create an art piece that looks more complete. Meanwhile, the round diamonds are easier to place.
To know where to put the diamonds, you should examine the symbols or colors on the template. When you place these colored diamonds next to each other, you can make an image that resembles a mosaic. Then, you can use the art piece you have created as home decor or a gift.
Generally, you can practice this craft so long as you can handle a pen with some precision. Therefore, this craft is perfect for children and adults. In fact, it can help you relax and improve your motor skills.
What You Need in a Diamond Painting Kit
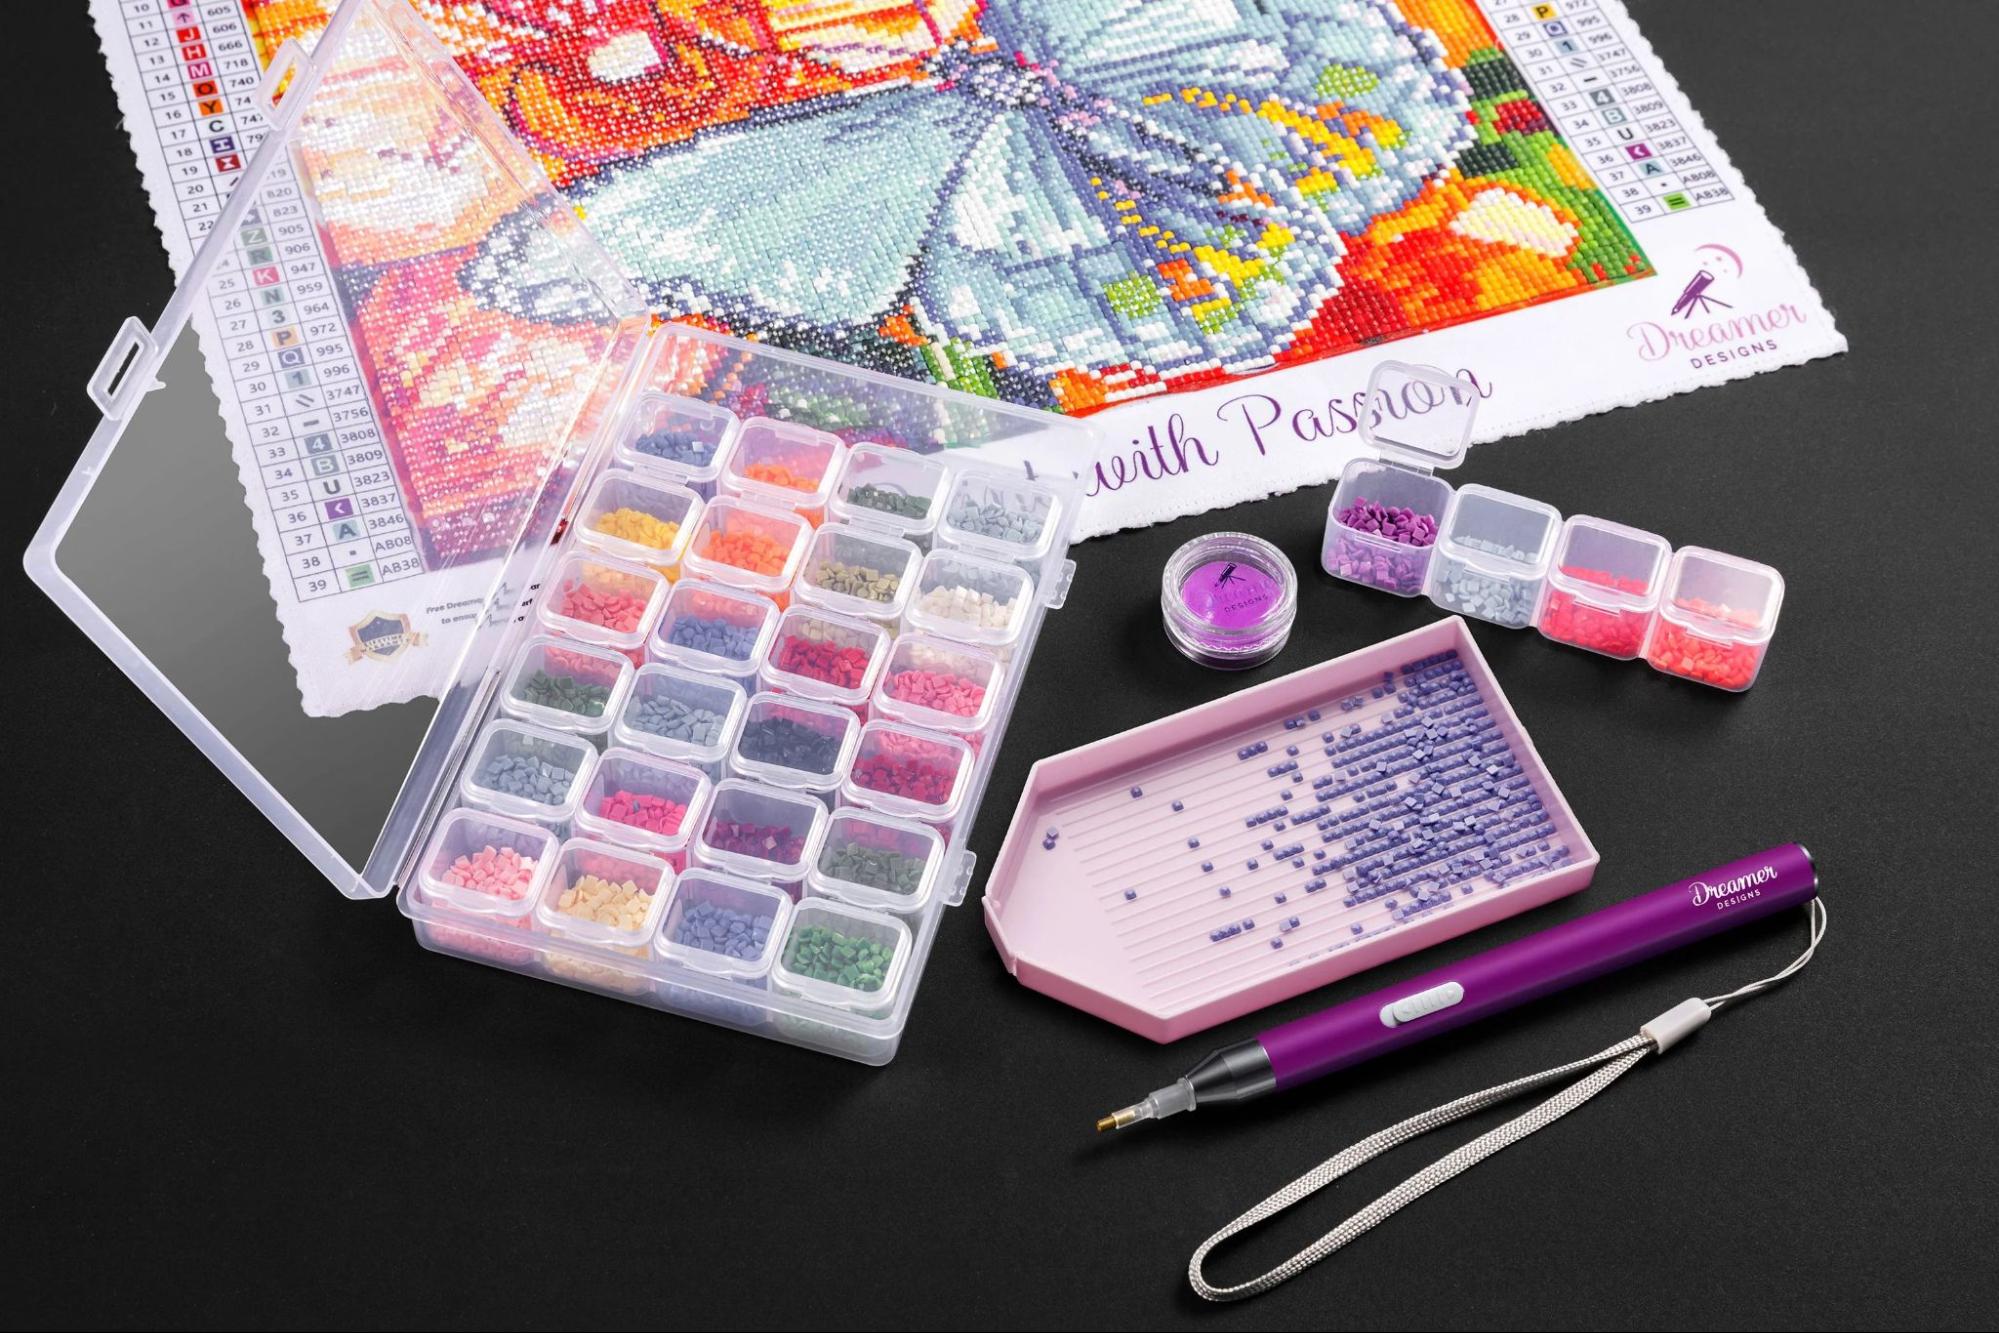
You will need the following tools to make a diamond painting:
- Diamonds: You will need diamonds whose colors will match the final artwork.
- Wax: You will use wax to pick up the diamonds.
- Pen: This pen will have a tip small enough for you to carefully place diamonds. It may also have another side that allows you to pick up multiple diamonds at a time.
- Tray: This is the receptacle for the diamonds. It will help you align them for you to easily use them.
- Tweezers: With tweezers, you will be able to adjust the placement of your diamonds.
- Canvas: This is an adhesive template with a grid of symbols or colors. You will place the diamonds on it to make your painting.
How to Paint with Diamonds
This craft is simple, but it can take 15 – 50 hours to complete. The length of time depends on the complexity and size of your canvas. Yet, as you become more familiar with this craft, you will be able to complete a diamond painting faster.
To paint with diamond, you should use the following steps:
-
Lay out Your Kit
To begin painting with diamonds, you will need to take your kit out of its packaging and lay it out on a clean, flat surface. You should make sure not to throw away your packaging since it is a convenient storage space in between your crafting sessions.
-
Fill Your Tray
Now that you have laid out your kit, you should fill your tray with the diamonds you will need. You should examine the canvas to know which colors you will start with.
-
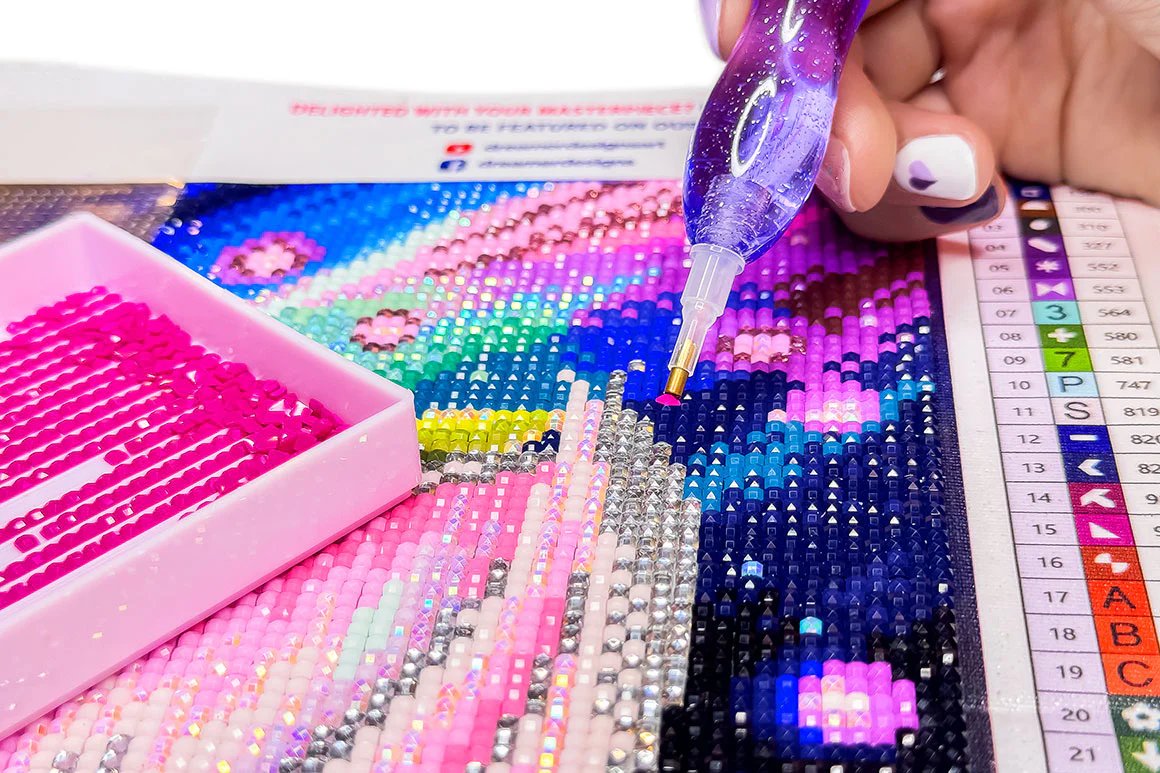
Dip Your Pen in Wax
Once you have filled your tray, you should dip your pen in wax to gather a small amount of the sticky substance on the tip.
-
Pick up Diamonds
After you have dipped your pen, you should use it to pick up a diamond.
-
Peel back Protective Film
When you have a diamond stuck to your pen, you will need to peel back a small portion of the protective film.
-
Place Your Diamonds
Finally, you will need to place the diamond on the adhesive canvas while matching the symbol or color on the template. You can place diamonds by color or by section. In the end, you will have a beautiful art piece you can display in a frame or even hang on a hanger bar.
Coolest Tips and Tricks to Paint with Diamonds
You should use the following tips to practice this craft with ease:
Be organized: You should keep your kit organized to avoid losing any tools or diamonds. If you have discarded the packaging, you should place all of your tools in a clear box.
Review your crafting list: Before starting a painting session, you should verify that you have every tool you need.
Invite friends or family: You should invite others to join you in this activity. It will be an entertaining bonding activity, and you will be able to finish your art piece faster.
Work from top to bottom: You should start placing the diamonds from the top. This will prevent you from leaning on diamonds you have already placed and moving them. As for which side you should start with, you should work starting from the left if you are right-handed and vice versa.
Flatten out your canvas: If your canvas has creases, you should apply weights on it, such as books, to flatten it.
Where to Purpose a Diamond Canvas Kit to Get Started
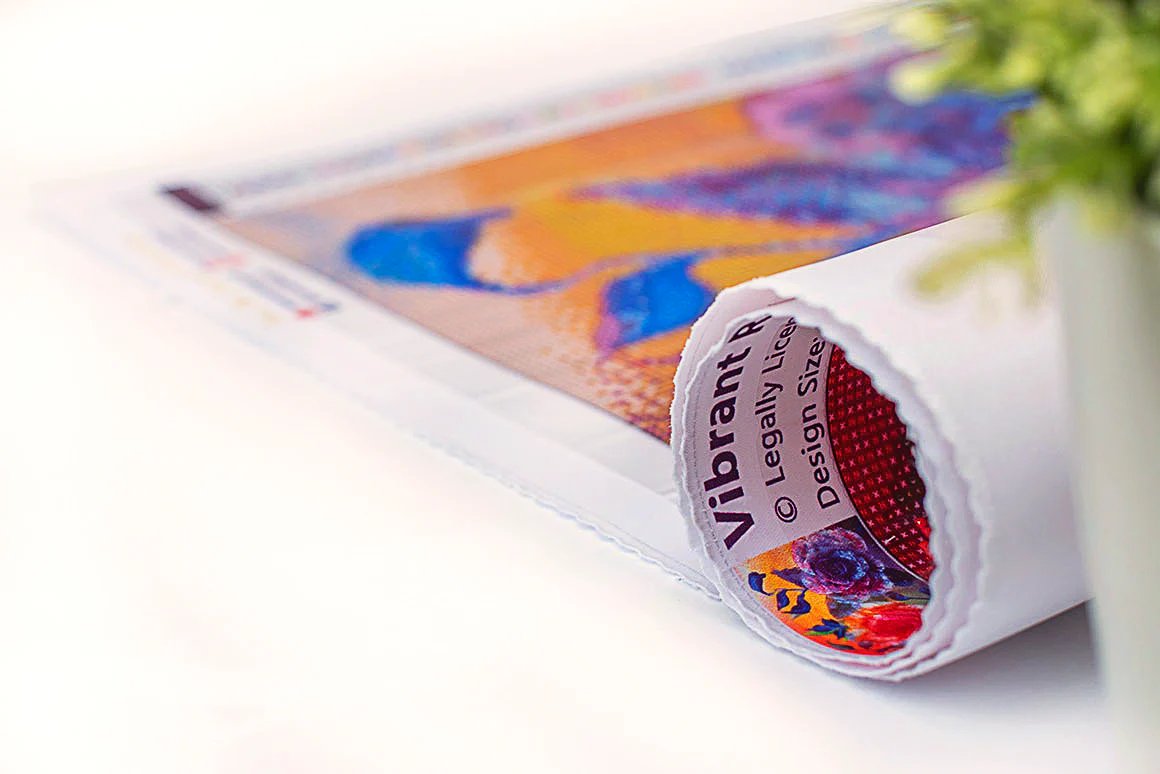
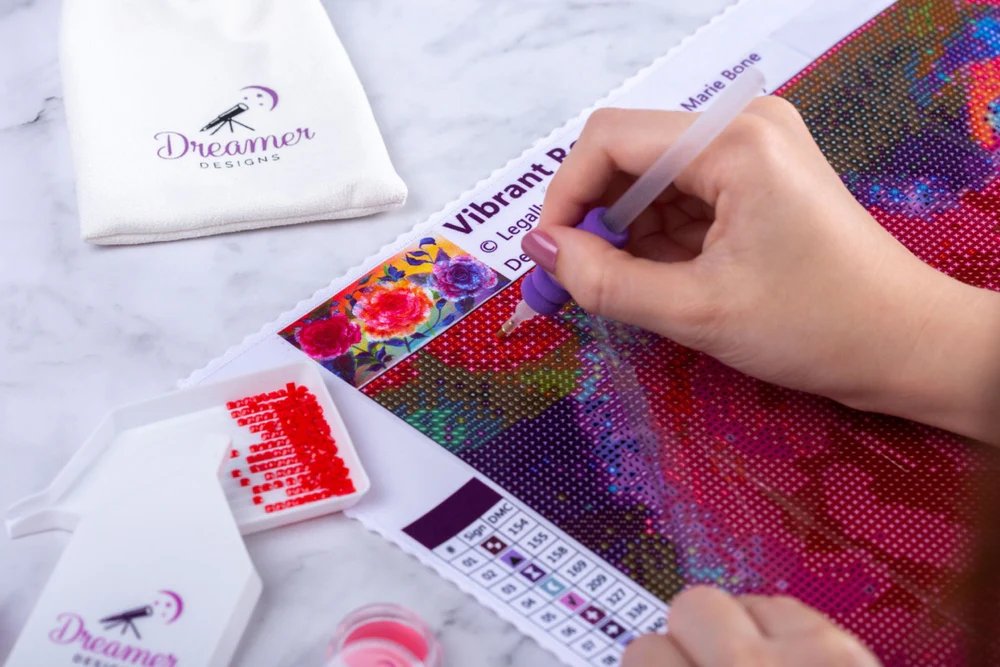
You can get started with diamond painting by getting a kit from Dreamer Designs. They have over 600 kits to choose from, giving you a wide variety of styles. Furthermore, they print on ultra-high-quality canvas with vibrant colors.
Each of their kits comes with licensed artwork, giving you access to designs you will only find on their website. Plus, you can even make your own kit by uploading your picture to create a unique diamond painting.
Recap
Now you know what diamond painting is and how to paint with diamonds. This craft requires a kit that contains an adhesive canvas, a pen, diamonds, wax, a tray, and tweezers. With the steps listed above, you can use these tools to assemble a stunning art piece.
This fun craft is beginner and child-friendly. You can even create a diamond painting as a group. Try out this craft with a kit from a website with interesting designs, such as Dreamer Designs. With their kits, you will be able to make gorgeous and unique artworks.


