

I’m the kind of person that sees something that goes in the trash and wonders “Can that be reused or re purposed?”. This happens with toilet paper rolls, milk jugs and CoffeeMate creamer bottles. The problem with wanting to “re purpose” everything is having a place for the final project. Things headed for the trash usually end up there unless I have an idea for it.
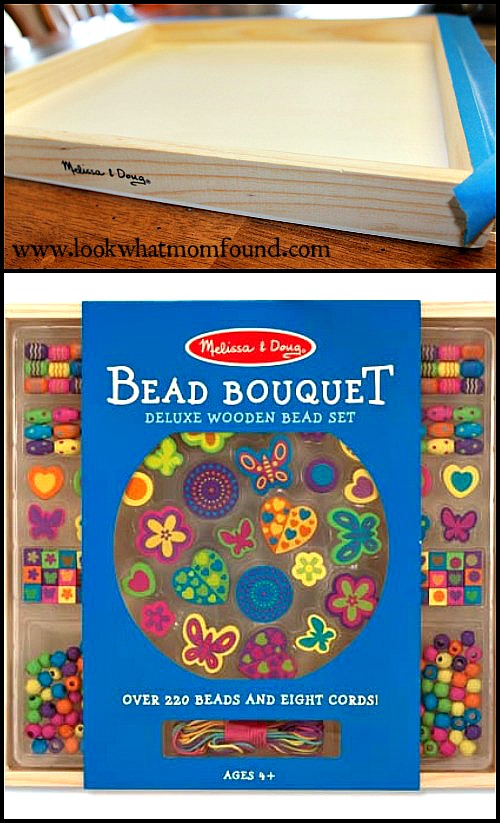
For Christmas Shae received a few Melissa and Doug bead kits. I love Melissa and Doug toys because they are wood and non-toxic and last forever. I especially love the bead kits because they come in this simple wood trays that DON’T have lids. Not having a lid usually isn’t something I would applaud but that just meant I could dump the beads together in a box and set the tray aside for something prettier.
This is my something prettier. My make-up collection is getting out of hand. The vanity drawer that is dedicated to brushes has to make way for real cosmetics. I figured I could make a pretty-fied tray to sit on my vanity to house the brushes and fragrances and it would still look organized.
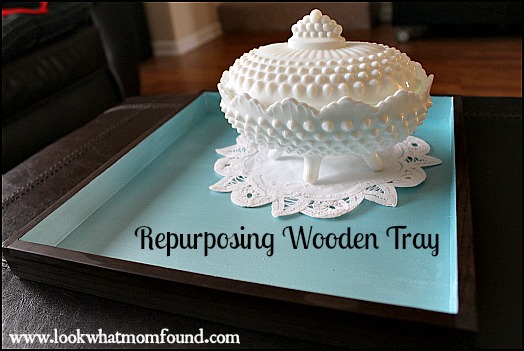
The tray ended up looking nicer than anticipated and is now sitting in the coffee table with my grandmother’s handmade doily and treasured milk glass. I’m not sure if this is its final resting place but for now it works to showcase these things that mean a lot to me.
The tray is a simple, lightweight, pine tray. There was nothing special about it except it was a blank canvas for so many ideas.
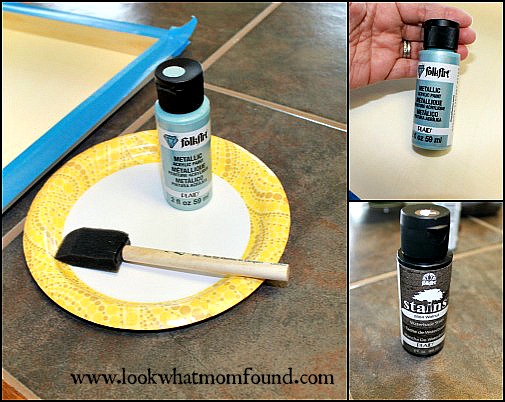
Supplies
- Wooden tray
- Acrylic Metallic Blue Paint
- Waterbased Walnut Wood Stain
- Polyurethane Spray
- Painters Tape
- Foam brushes
- Paper plates or palettes to hold paint
- Decorative details, optional
Instructions
I prepped my tray by vigorously wiping with a dry microfiber towel, being sure to remove any adhesives. My tray had a mark in the shape of a strip of tape but I wiped until it wasn’t sticky. I then taped off top edges to keep the paint off. I applied 3 coats of Metallic paint in order to get the shiny finish.
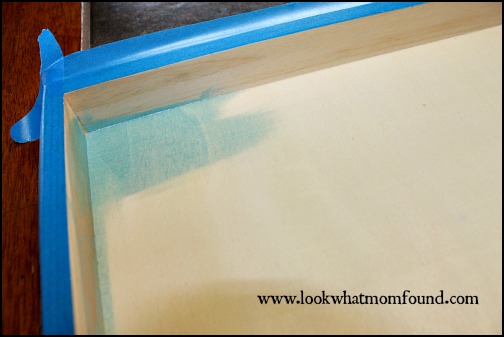
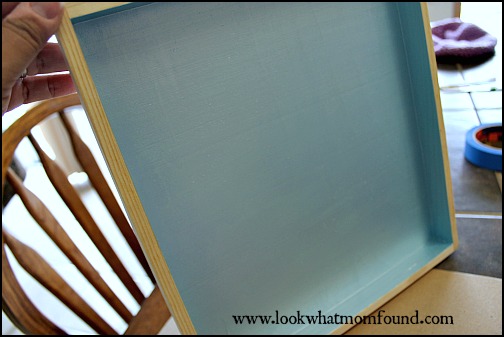
After a couple hours I removed the tape and applied new painters tape on top of the blue so the stain didn’t drip onto the tray. As you can see the Melissa and Doug logo is still there, I thought about sanding it off but ended up leaving it.
![]()
I applied 3 coats of stain, letting each one dry in between. I wanted a deep brown color but still wanted to see the wood grain.
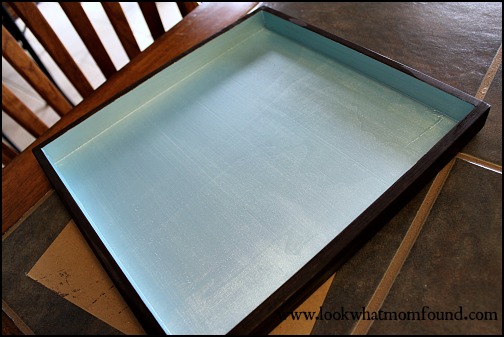
The next day and day after I sprayed thin but thorough coats of Polyurethane to protect against scratches and nicks. I made sure to get all sides, inside and out.
The tray ended up with a slight gloss but still looks like wood where it should. The tray was no additional cost, the paint and stain cost me less than $3 and the clear coat is something I always have on hand for projects. This thrifty little project makes me smile.
An old frame would work well for a tray too. A couple coats of paint can transform almost anything.


