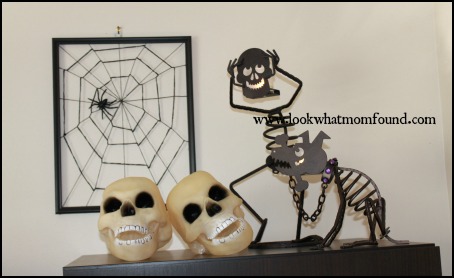
I love decorating for the holidays, all of the holidays. Fall and Halloween themed decor is something I’m still building because I feel like I don’t have enough. Creating my own decor is always fun.
This spider web was created quickly and easily and CHEAPLY. From start to finish this took 1 hour including glue drying time.
Materials Needed
- large picture frame ($1, dollar store)
- black embroidery floss or yarn
- plastic spider
- clear, white or silver glitter glue
- tape
- glue
Instructions
Start with removing the glass and backing from your frame. If you prefer to paint it a different now is the time.
Create your base web by simply crisscrossing from corner to corner and side to side pulling the strings firm but not super tight. Tape them firmly to the back of the frame. I looped my threads around the intersection to give it some strength and bulk.
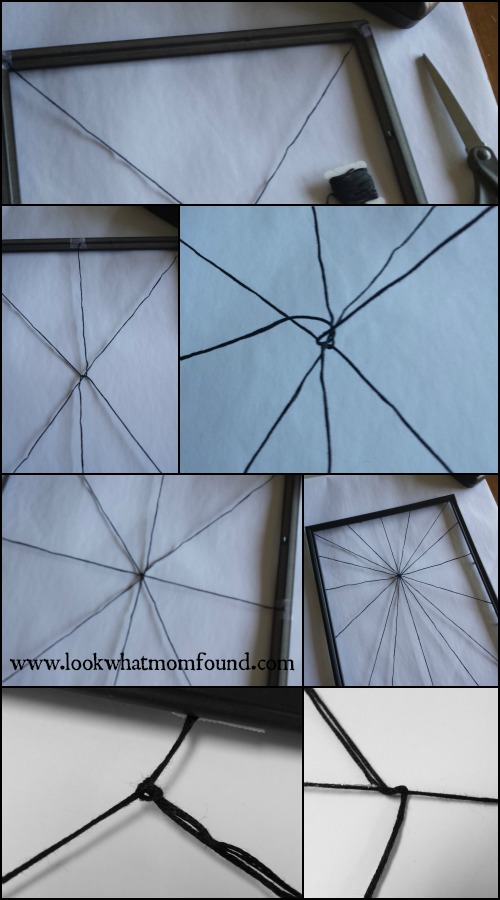
Once you are happy with your straight webbing the circular webbing can start.Gather a LARGE length of thread/yarn (5-6 ft), double it and start from the outside with a single loop knot. Start going around your web. I looped around every other thread. Continue going around until you run out of thread or you are happy with your web.
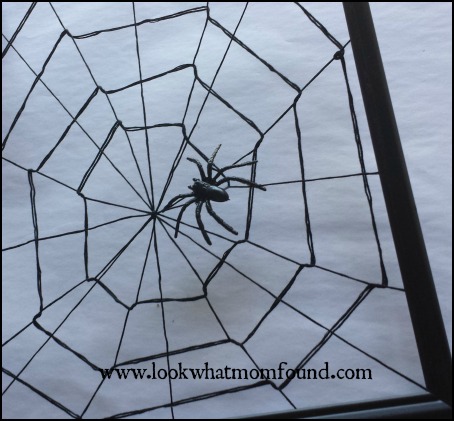
To finish the web I used a small piece of tape to secure it in place and glued the spider in place to cover that spot. Using my fingers I pulled the web open to make sure the loops were tight and the web was taut. I pulled the straight webs tighter if they needed to be, retaping and cutting as I needed.
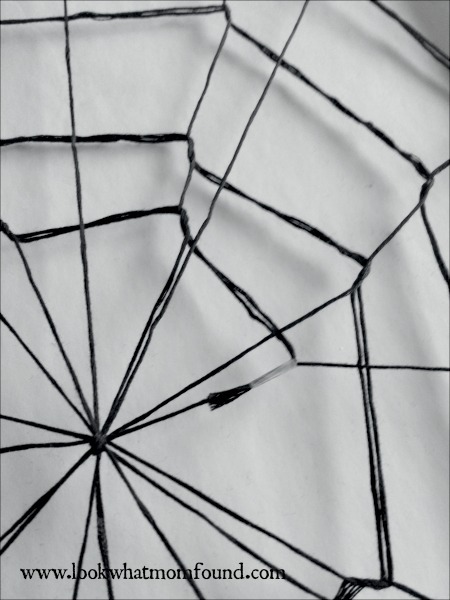
To give it a little more visual interest I haphazardly added glitter glue in various spots on the web.
The kids loved it as soon as they walked in.