

Wood composite sheets are widely used in both residential and commercial settings. They provide a durable surface that can hold up against wear and tear and can be customized to fit any space. Installing wood composite sheets is a relatively straightforward process, but there are a few important considerations to be aware of before beginning. In this guide, we’ll cover everything you need to know about how to install wood composite sheets.
It is important to have the proper tools and materials before beginning the installation. First, measure the area where you plan to install the wood composite sheet. Cut the sheet to the desired size, making sure to leave a small gap around the edges for expansion. Secure the sheet to the wall or other surface with nails, making sure to use a hammer with a rubber mallet to avoid damaging the sheet.
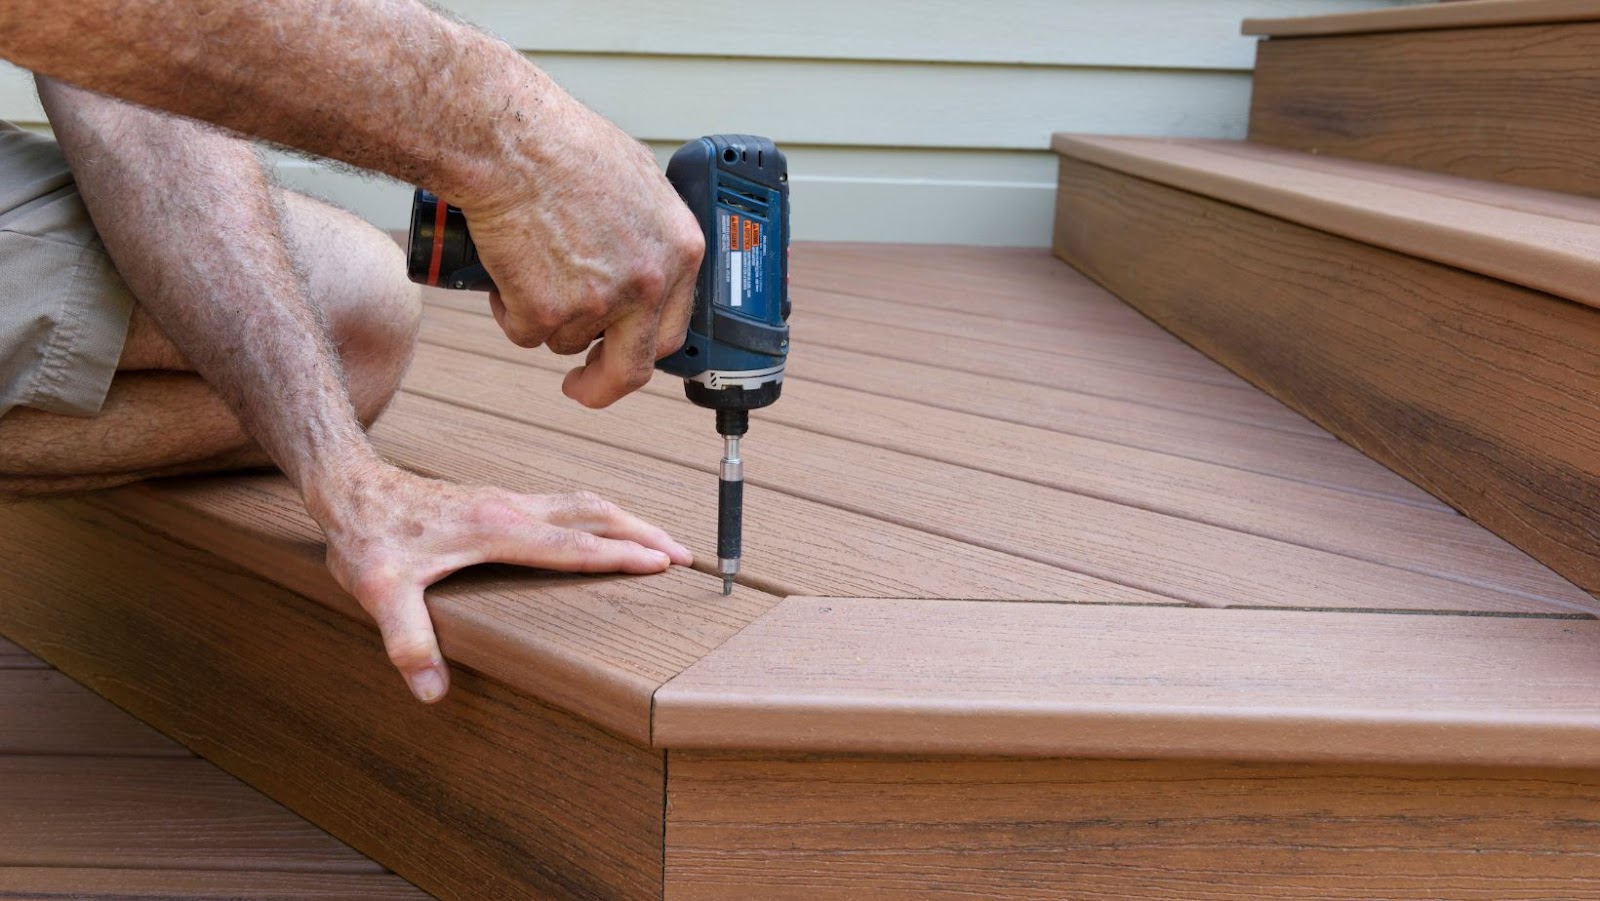
Next, use a drill to pre-drill the holes for the screws that will be used to secure the sheet. Apply a sealant or adhesive to the back of the sheet to ensure a secure bond. Finally, use a screwdriver to attach the screws and finish the installation. With a few simple steps, you can have your wood composite sheets installed in no time.
What You Need
The first step in installing wood composite sheets is to gather the necessary materials. You’ll need the following items:
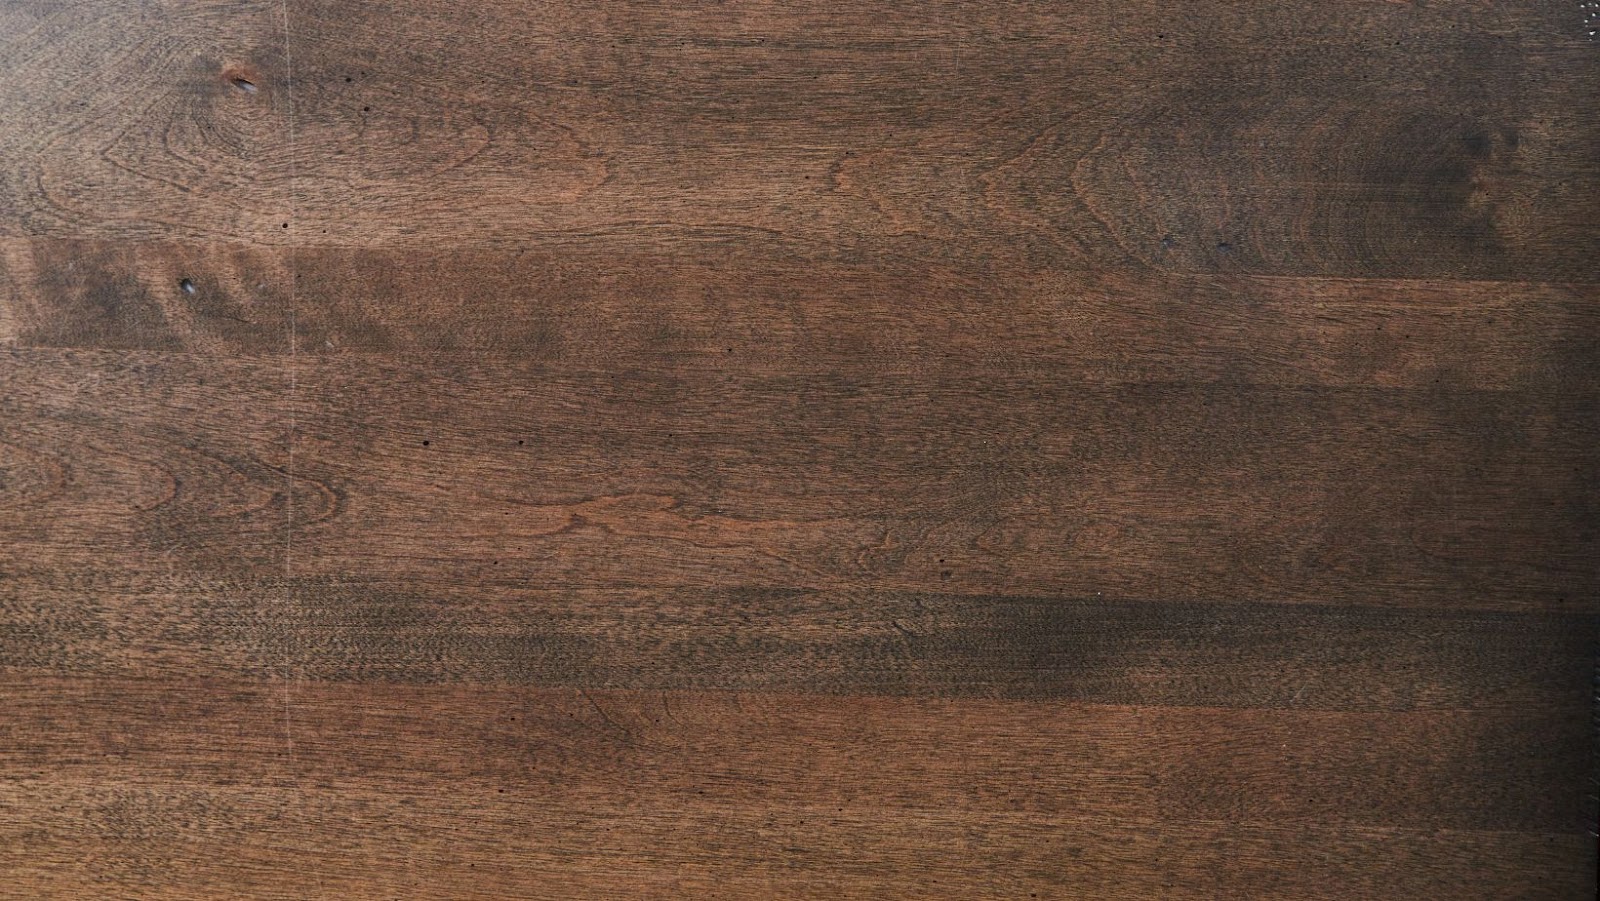
• Wood composite sheets
• Tape measure
• Pencil
• Circular saw
• Jigsaw
• Chalk line
• Nails
• Hammer
• Wood glue
• Wood filler
• Sandpaper
• Primer
• Paint
Measuring and Cutting the Sheets
Once you have all the materials you need, you’ll need to measure and cut the wood composite sheets. Using a tape measure, measure the area where the sheet will be installed and make sure the sheet is the right size.
If it needs to be trimmed, use a circular saw or jigsaw to cut it to size.
Attaching the Sheets
Next, you’ll need to attach the wood composite sheets to the wall or floor. Depending on the surface, you’ll either need to use nails and a hammer or wood glue. If you’re attaching the sheet to a wall, make sure to use a chalk line to ensure the sheet is straight. If you’re attaching it to a floor, make sure to use wood glue to ensure a secure attachment.
Finishing the Installation
Once the sheet is attached, you’ll need to do some minor finishing touches. Start by filling in any gaps or cracks with wood filler.
Once the filler is dry, sand it down until it’s smooth. Then, apply a primer to the sheet and let it dry. Finally, you can either paint or stain the sheet to finish the installation.
Conclusion
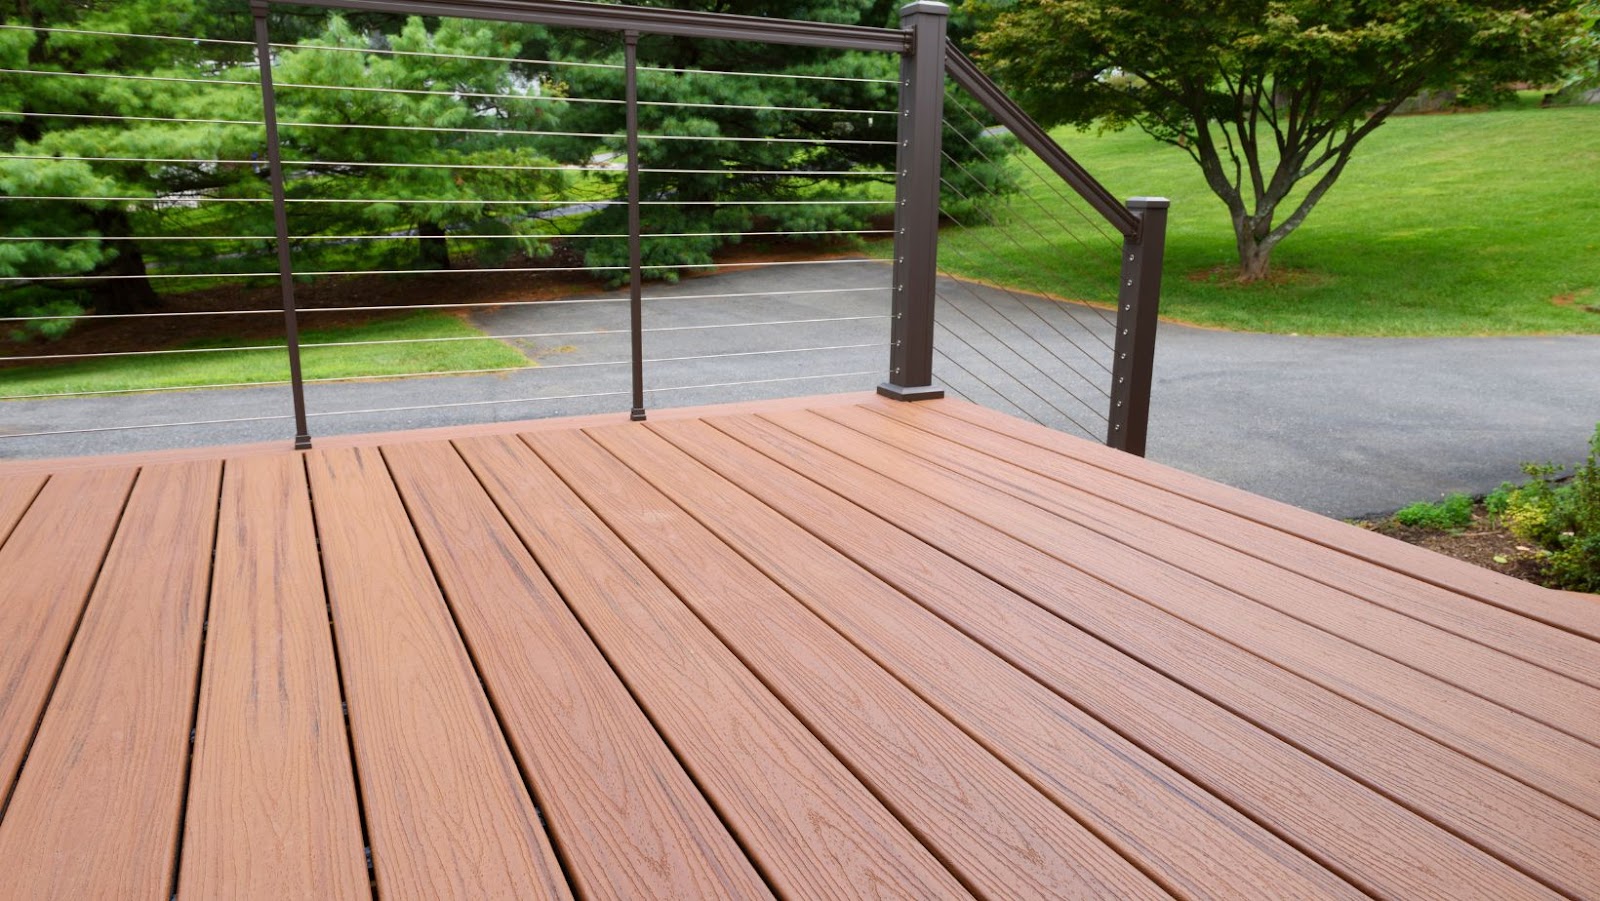
Installing wood composite sheets is a relatively straightforward process, but there are several important steps to keep in mind. Make sure to measure and cut the sheet properly, attach it securely, and finish it off with wood filler, primer, and paint or stain. Following these steps will ensure a professional-looking installation.


