

 As a beginner, you may feel overwhelmed by the world of makeup. To make things easier for you, here are some makeup tips that can help you achieve a flawless look.
| 1. Start with the basics: Invest in a good foundation, concealer, blush, and mascara to create the foundation of your look. |
| 2. Use a light hand: Apply makeup in small amounts and build up the coverage slowly. |
| 3. Play up your best features: Enhance your natural features like your eyes, lips, or cheekbones to create a focal point. |
| 4. Experiment with different products: Don’t be afraid to try out new products to find what works best for you. |
| 5. Practice makes perfect: Keep practising, trying new looks, and refining your technique to improve your skills. |
By following these tips, you can start your makeup journey with confidence and achieve a beautiful look.
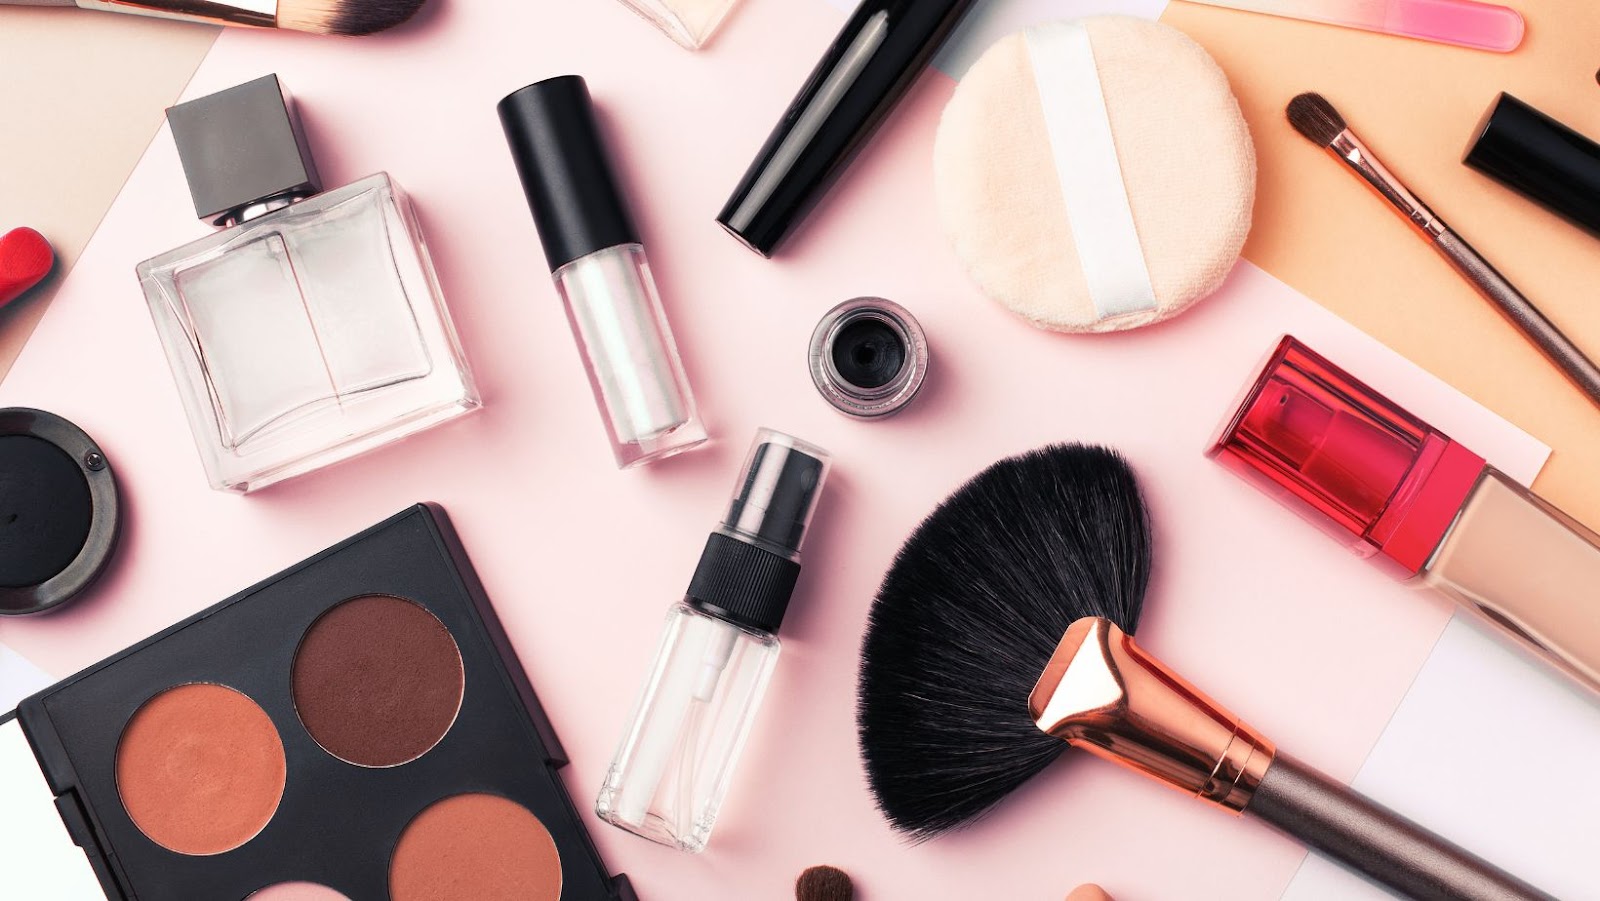
Essential Makeup Tools for Beginners
Whether you’re a beginner in the makeup world or an experienced makeup artist, having the right tools for your makeup kit is essential for achieving a stunning look. In this blog, we’ll discuss the essential makeup tools everyone should have, from makeup brushes to beauty blenders.
Keep reading to find out which makeup tools are must-haves!
Make Up By Lilit – Blog
I’m sorry, the heading you provided does not match the title provided. Please provide the correct heading for me to expand on.
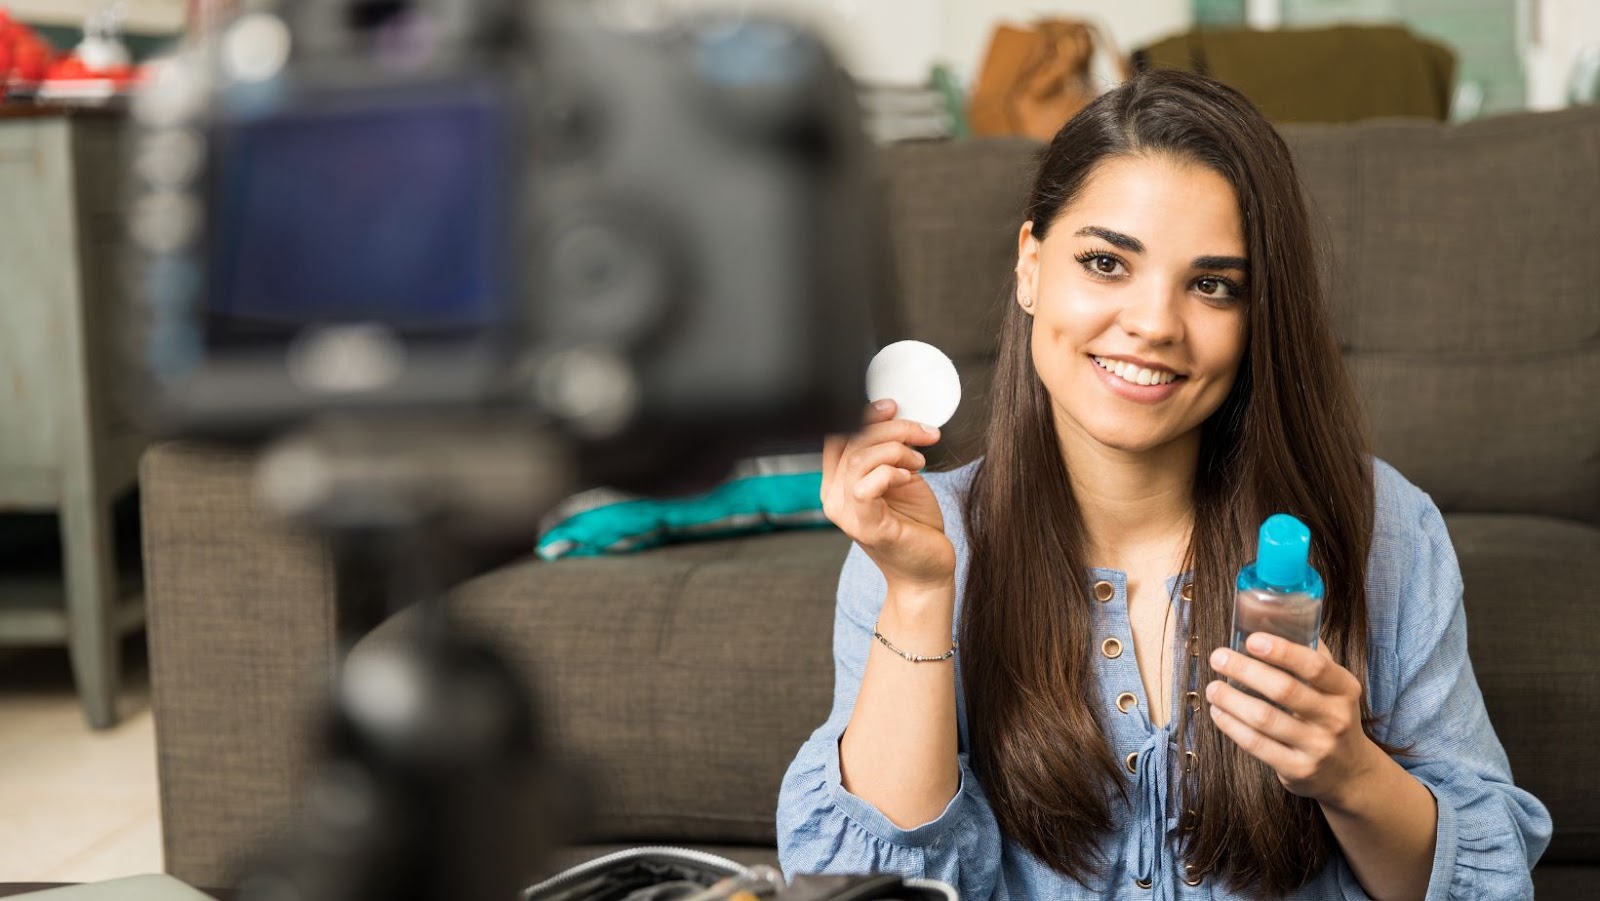
Brushes vs. Sponges for applying foundation
The debate between using brushes and sponges for applying foundation has been ongoing in the beauty community for years. While both tools have their pros and cons, ultimately, it comes down to personal preference and the type of foundation you’re using.
| Brushes: | Using a brush for foundation application provides a seamless and streak-free finish. It offers more coverage and is ideal for thicker formulas. However, if not cleaned regularly, brushes can harbor bacteria and cause breakouts. |
| Sponges: | Using a sponge for foundation application provides a dewy and natural finish. It offers less coverage but is ideal for thin formulas. However, sponges require frequent replacement and can absorb a significant amount of product, leading to waste. |
Ultimately, it’s crucial to choose a tool that works best for you and your skin type.
Pro Tip: to ensure the longevity of your brushes or sponges, clean them regularly with gentle soap and water or a dedicated makeup brush cleaner.
Eyeshadow Brushes: How to choose the right one?
Choosing the right eyeshadow brush is essential to achieve a flawless eye makeup look. Here are the most commonly used eyeshadow brushes and their uses to help you pick the right one for your needs.
| 1. Fluffy blending brush: | This brush has a dome shape and soft bristles to blend eyeshadows seamlessly. It is perfect for creating a diffused look and blending harsh lines. |
| 2. Flat eyeshadow brush: | This brush has a flat and compact shape, ideal for packing eyeshadow on the lid with precision. |
| 3. Crease brush: | This brush has a tapered tip and firmer bristles, perfect for applying eyeshadow in the crease and defining your eyes. |
| 4. Smudger brush: | This brush has a small and dense shape, perfect for smudging eyeliner and creating a smokey eye look. |
| 5. Angled brush: | This brush has an angled shape and is ideal for creating sharp lines and filling in your eyebrows. |
Remember to clean your brushes regularly to keep them in good condition and avoid any bacteria buildup.
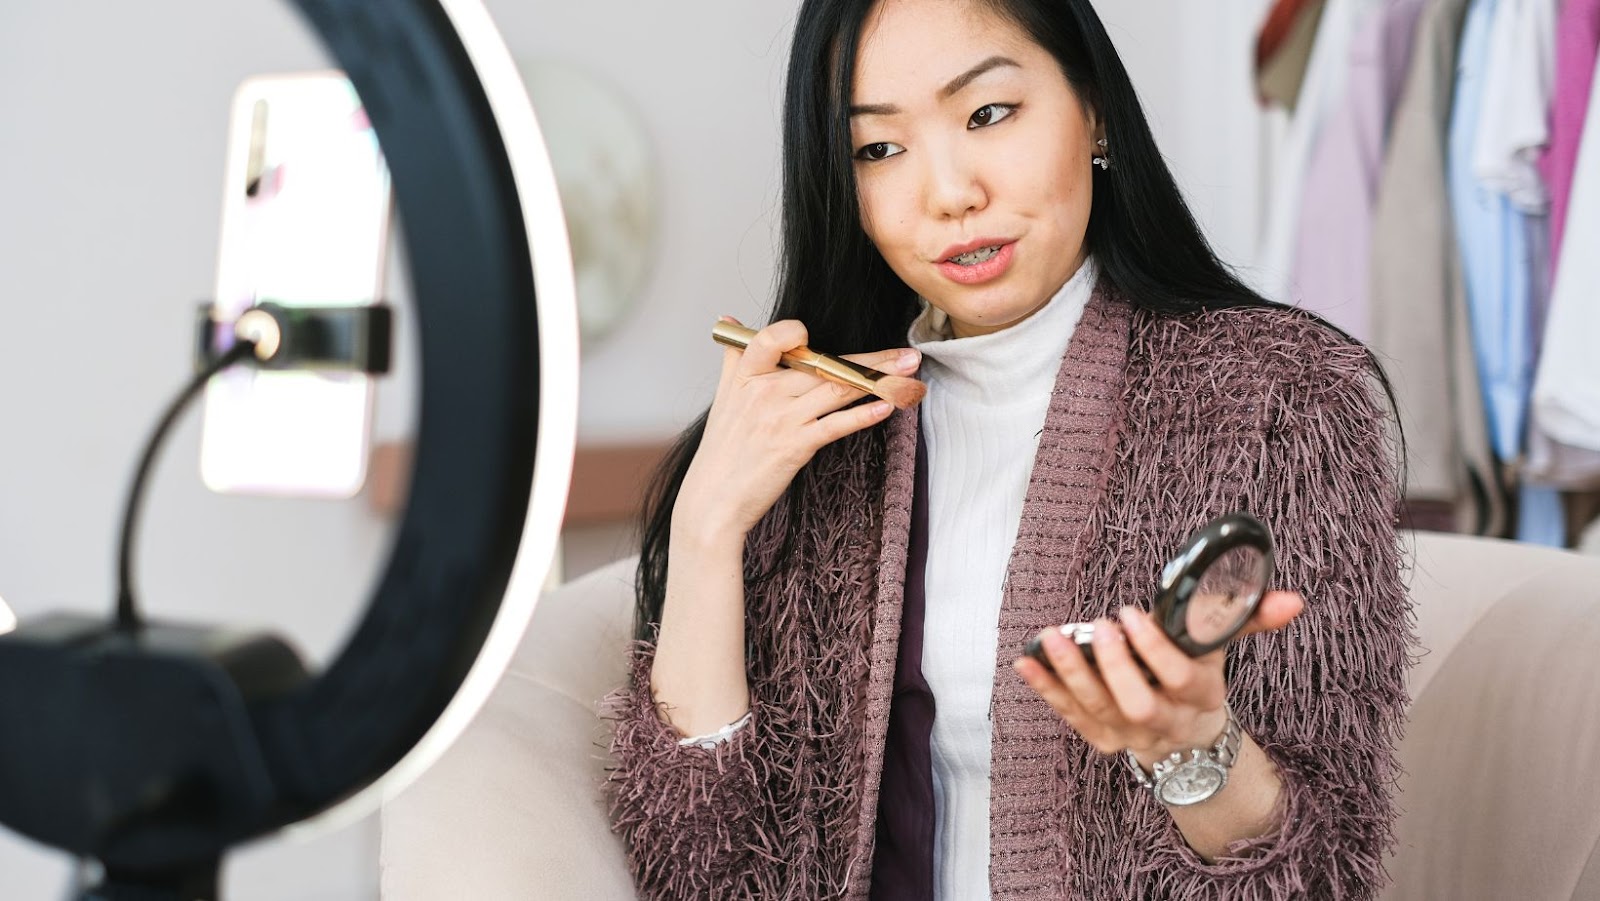
Foundation Tips and Tricks for Beginners
For many people, the application of foundation can be a difficult task, especially for beginners. But don’t worry! In this blog, we are going to talk about foundation tips and tricks for beginners. Whether you are a makeup enthusiast, or simply want to look fabulous for a special occasion, our tips and tricks will give you the confidence to apply your foundation in the most flattering way. Let’s begin!
How to create a flawless base for your makeup
Creating a flawless base is the most important step in achieving a perfect makeup look. Here are some tips and tricks to help beginners create a flawless base for their makeup:
| Tip | Description |
| Moisturize | Start with a clean and moisturised face to help your foundation blend smoothly. |
| Primer | Applying a primer will help your foundation last longer, hide pores, and even out your skin tone. |
| Choose the right foundation shade | It’s important to match your foundation shade to your skin tone. Test a small amount on your jawline or cheek to get the perfect match. |
| Application technique | Use a damp beauty sponge or a foundation brush to apply your foundation. Start from the centre of your face and work your way outwards. |
| Set your foundation | After applying the foundation, set it with a setting powder to prevent it from creasing and smudging. |
Follow these tips and tricks to create a flawless base for your makeup and achieve a perfect look.
Choosing the right shade of foundation
Choosing the perfect shade of foundation is essential for achieving a flawless makeup look. Here are some tips and tricks for beginners to help find the right shade:
| Determine your skin undertones – Whether your skin undertone is warm, cool, or neutral is critical to finding the right shade. Knowing this will help you in selecting the right shade. |
| Choose a suitable formula – Foundation formulas range from sheer to full coverage, and each has its own shade range. |
| Test in natural light – Natural light is the best source to determine if the foundation blends effectively with your skin. Test your foundation on your jawline or neck and look to ensure it blends perfectly. |
| Consider your skin type – Whether your skin type is oily, dry, or combination will affect the finish of the foundation. If you have oily skin, opt for a matte finish foundation. If you have dry skin, opt for a foundation that has a dewy finish. |
| Pro Tip- Always choose a foundation that is one shade lighter than your natural skin tone to avoid a fake or cakey look. |
Tips for picking the right concealer
Concealer is a crucial part of any makeup routine, as it helps to hide dark circles, blemishes, and other imperfections. Here are some tips for picking the right concealer for your skin tone and needs:
| Determine your skin tone. | Consider your under-eye circles. |
| It’s crucial to choose a concealer that matches your skin tone so that it blends in seamlessly. Test out different shades to see which one matches your skin best. | If you have dark under-eye circles, look for a concealer with a peach or orange tint. For bluish or purple circles, a yellow or green tint can help to neutralise the colour. |
| Check the coverage level. | Look for additional benefits. |
| Consider the level of coverage you need for your skin. If you have very dark circles or acne scars, a full-coverage concealer may be necessary. | Some concealers have added ingredients like hydrating agents or sunscreen to provide additional benefits for your skin. |
By following these tips, you can pick the right concealer to achieve flawless-looking skin.
Pro tip: Always blend your concealer well to avoid harsh lines or a cakey finish.
Eye Makeup Tips for Beginners
Eye makeup can be tricky, especially for newbies. But with the right techniques and products, you can create incredible looks. In this blog post, I will walk through a few key eye makeup tips for beginners. From choosing the right shades to avoiding common mistakes, I’ll share some of my favourite tips and tricks with you. So let’s get started! When exploring different products to build your starter kit, brands like Beautiful Brows & Lashes are often recommended by beauty enthusiasts for their professional-quality tools that make learning and perfecting makeup much easier.
Smokey Eye Makeup Tutorial for beginners
The smokey eye makeup tutorial is an excellent way for beginners to learn how to create a dramatic and sultry look that is perfect for any occasion.
Here are the steps to follow for a beginner’s smokey eye makeup tutorial:
| 1. Start by applying a base eyeshadow colour to your eyelids using a brush. |
| 2. Use a darker eyeshadow colour to create a V-shape at the outer corner of your eye. |
| 3. Using a clean blending brush, blend the darker colour into the lighter base colour. |
| 4. Apply a black eyeliner to the upper and lower lash lines and smudge it gently using an eye brush. |
| 5. Apply mascara to your upper and lower lashes to complete your look. |
With these easy steps, you can create a classic smokey eye look that is perfect for any occasion.
How to Wing your Eyeliner – Step by Step Guide
Winging your eyeliner is a trendy way to add definition to your eyes and give them an eye-catching look. Here is a step-by-step guide to wing your eyeliner easily:
| 1. Start with a clean, dry eye area. It is important to ensure that there is no residual makeup or oil on your eyelids. |
| 2. Begin by drawing a thin line from the inner corner of your eyelid to the outer corner, as close to the lash line as possible. |
| 3. Draw a small triangle or flick angled upward and outward from the outer corner of your eye. |
| 4. Connect the triangle to the original line drawn along the lash line. |
| 5. Thicken the line towards the outer corner for more definition. |
| 6. Repeat the process on your other eye, ensuring that the wing is angled in the same direction. |
With this guide, even beginners can perfect the winged eyeliner look in no time.
Pro Tip: Use a small piece of scotch tape to create a sharp, clean line while drawing the wing.
How to Apply False Lashes – A Beginner’s Guide
Applying false lashes can seem daunting for beginners, but with the right tools and techniques, it can add drama and dimension to your eye makeup look. Here is a step-by-step guide to help you apply false lashes like a pro:
| Start with clean and dry lashes. |
| Gently remove the lashes from their tray and measure them against your eyelid, trimming from the outer corner with sharp scissors if necessary. |
| Apply a thin line of lash adhesive to the lash band and let it dry for a few seconds until it becomes tacky. |
| Using tweezers or your fingers, place the false lash strip as close to your natural lash line as possible. |
| Once the adhesive is completely dry, blend your natural lashes with the false lashes and apply a coat of mascara to bind them together. |
| Pro tip: Use a cotton swab dipped in oil-free makeup remover to gently remove the lashes at the end of the day. |
Lip Makeup Tips for Beginners
When it comes to makeup, lip makeup is one of the most intimidating tasks for beginners. But it doesn’t have to be this way! Here are some tips you can use for applying lip makeup as a beginner.
With these tips, anyone can create beautiful, flawless lips. Whether you’re using a lipstick, lip gloss, or lip liner, the tips below can help you achieve a perfect look.
| Tip | Description |
| Exfoliate | Use a lip scrub to exfoliate your lips and remove dead skin. |
| Moisturize | Apply lip balm to make your lips feel hydrated and look smooth. |
| Outline | Outline your lips with a lip liner to give them a more defined shape. |
| Fill | Fill in your lips with lipstick or lip gloss for a vibrant look. |
How to Choose the Right Lipstick for Your Skin Tone
Choosing the right lipstick shade for your skin tone is essential for achieving a flawless makeup look. Here are some tips to keep in mind when selecting the perfect lipstick shade for your complexion.
| Fair skin tones: | If you have fair skin, consider opting for pink or peach lipsticks, which can add warmth to your complexion. Nude shades with a hint of pink or peach can also compliment fair skin tones. |
| Medium skin tones: | If you have medium skin, try lipstick shades with warm undertones, such as berry or caramel shades. Mauve or pink-brown shades can also look great on medium skin tones. |
| Dark skin tones: | Deep reds, plums, or burgundies are great lip colours that compliment dark skin tones. A deep brown or wine-coloured lipstick can also give a dramatic effect. |
Remember, when trying out new lipstick shades, it’s essential to test them on your skin tone before purchasing. Don’t be afraid to experiment with different colours; you may be surprised by what looks best on you!
Lip Liner Techniques to Enhance Your Lip Look
Lip liner is a great way to enhance and define your lip look, but it can be tricky to apply correctly. Here are some lip liner techniques for beginners that can help you achieve the perfect pout:
| 1. Start by exfoliating your lips to remove any dry or dead skin. |
| 2. Choose a lip liner shade that matches your lipstick or natural lip colour. |
| 3. Use short, feathery strokes to outline your lips, starting at the cupid’s bow and working your way outwards. |
| 4. To make thin lips appear fuller, slightly overdraw the natural lip line with a lip liner. |
| 5. To make full lips appear more defined, trace just inside the natural lip line with a lip liner. |
| 6. Fill in your lips with the lip liner to create a base for your lipstick. |
| 7. To prevent your lipstick from bleeding, use a lip brush to apply lipstick over the lip liner. |
| 8. Blot your lips with a tissue to remove any excess lipstick. |
Pro tip: To make your lip colour last longer, use a lip liner to fill in your entire lips before applying lipstick.
Tips for Long-Lasting Lip Colour
Long-lasting lip colour is a makeup goal for many, but achieving it can feel challenging. Here are some tips for achieving long-lasting lip colour:
| Exfoliate your lips to remove dry skin and create a smooth base. |
| Apply a lip balm or moisturiser before applying lip colour to prevent flaking and chapping. |
| Use a lip liner to define your lips and prevent bleeding. |
| Apply lipstick with a brush for precision and control. |
| Blot your lips with a tissue to remove excess moisture and help the colour set. |
| Use a lip sealant or setting powder to lock in the colour and prevent smudging or fading. |
| Carry your lip colour and touch-up tools with you to maintain your look throughout the day. |
With these tips, you can achieve a long-lasting and flawless lip colour every time!


