

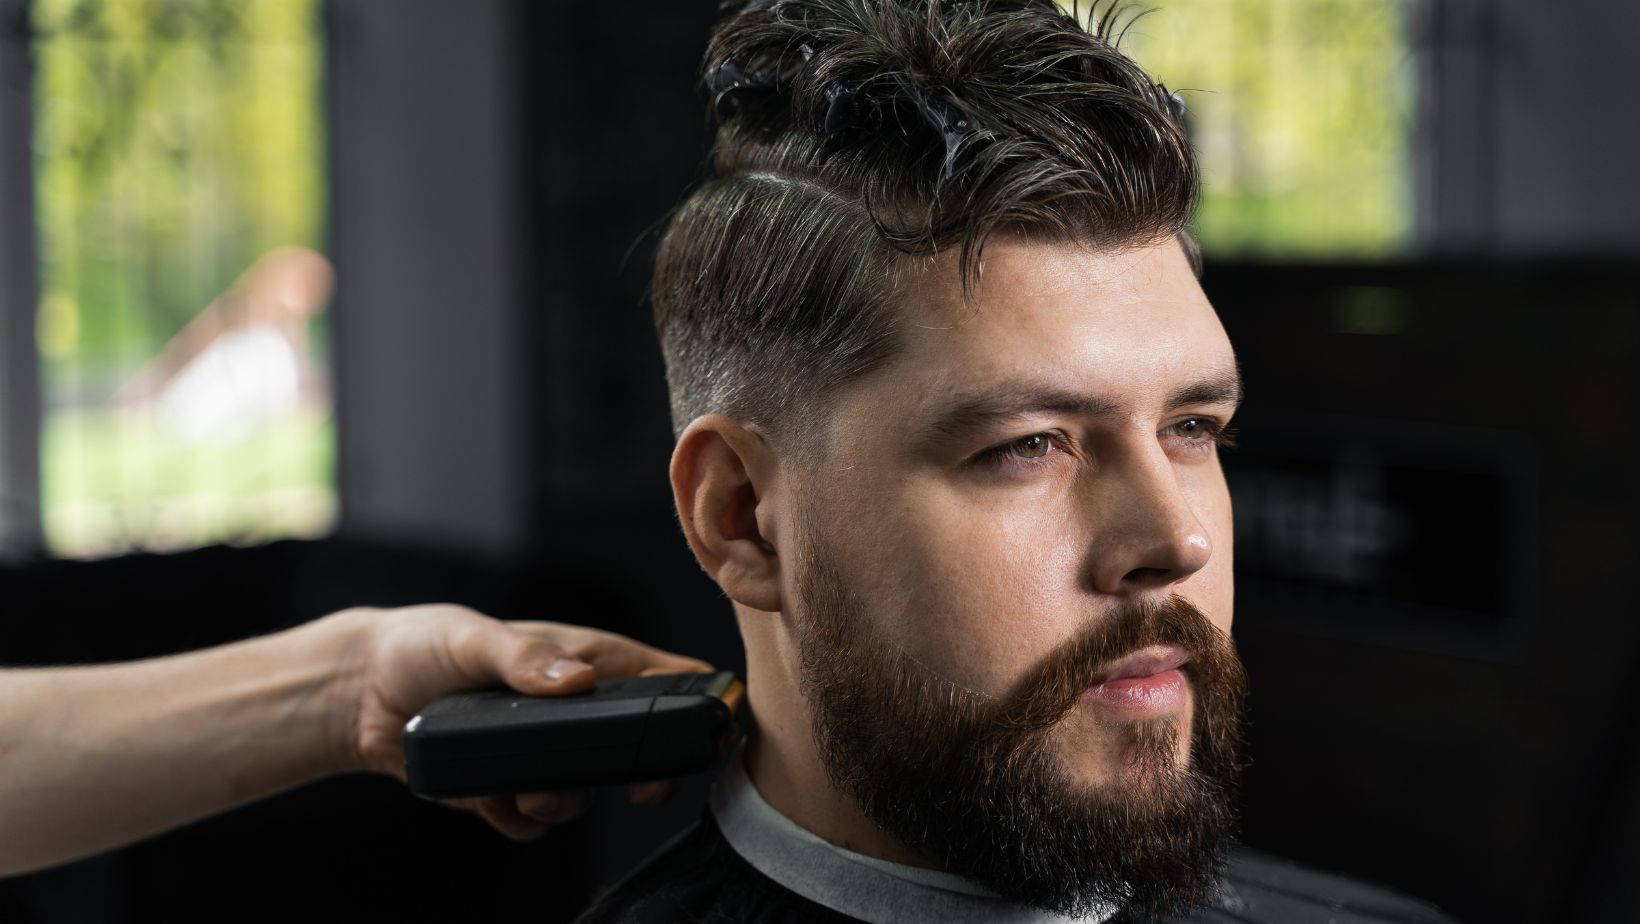
The low fade haircut has surged in popularity, becoming a staple in men’s fashion due to its clean look and versatility. It’s characterized by hair tapering down the sides and back, blending into the skin at a lower point than traditional fades. This creates a sharp contrast with the longer hair on top, which can be styled in numerous ways, from slicked-back to pompadours or even casual messy looks.
Low Fade Haircut
Definition of a Low Fade Haircut
A low fade haircut is a trendy style where the hair on the sides and back of the head tapers down towards the neck. It’s distinguished by the gradual transition from longer to shorter hair as it moves downwards. The ‘fade’ effect starts just above the ear, making it subtler than high or mid fades. This haircut can blend with various hairstyles on top, from short buzz cuts to longer waves, offering versatility for anyone looking to freshen up their look.
Characteristics of a Low Fade Haircut
- Subtle Transition: Unlike more dramatic fades, a low fade offers a gentler transition from one length to another.
- Versatility: Whether you’re in a boardroom or at a bar, this haircut fits right in.
- Customizable Lengths: You can pair it with different lengths on top; keep it long and textured or go for something short and sleek.
Placement and Gradation
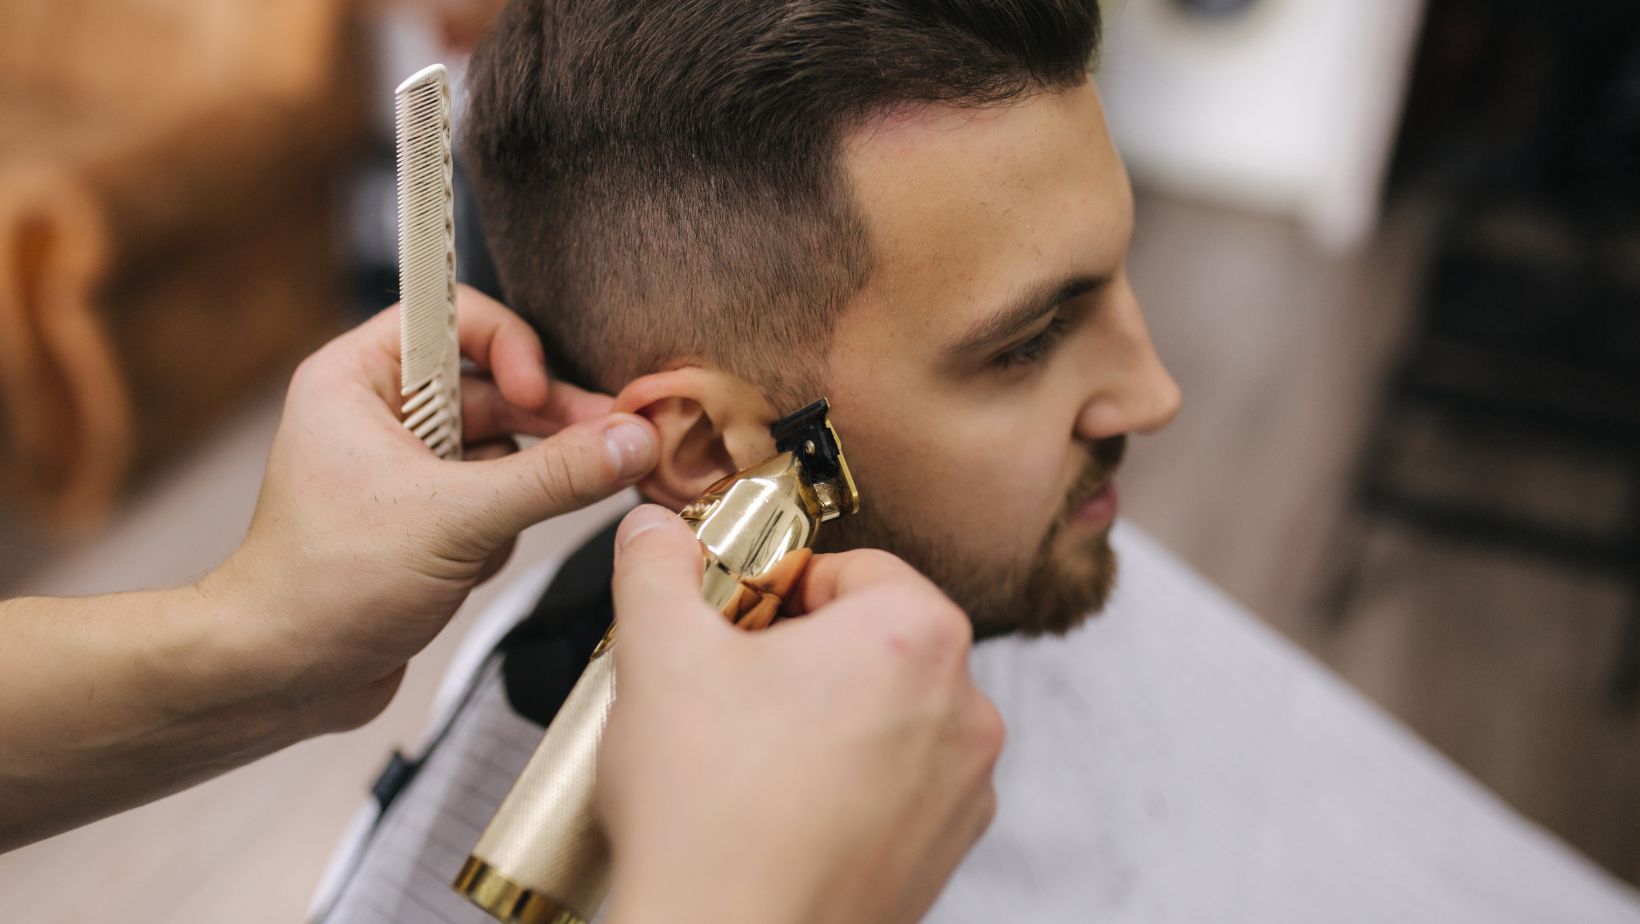
The low fade begins just above the natural hairline around your temples. Its key feature is how smoothly it transitions – there aren’t any abrupt changes in length. Hairstylists use clippers to create varying lengths that seamlessly blend into one another.
Suitable for Various Face Shapes
One major advantage of the low fade is its suitability for all face shapes. It doesn’t draw too much attention upward or downward but frames your face nicely without creating stark contrasts.
Maintaining Your Look
To keep your low fade looking crisp, regular trims are necessary – usually every 2-4 weeks depending on how fast your hair grows. Also consider:
- Stylizing products like pomades or waxes if you have longer hair on top.
- For those who prefer less maintenance, pairing with shorter styles could reduce salon visits.
By understanding what sets apart this stylish cut, you’ll be better informed when discussing options with your hairstylist or barber to ensure you get that perfect blend of sophistication and edge tailored specifically for you!
How to Get a Low Fade Haircut
Step 1: Choose the Length of the Fade
When you’re considering a low fade haircut, your first step is deciding how short you want to go. This length will affect the gradient and overall look of your fade. Here are some options:
- Skin or bald fade: The hair tapers down to the skin.
- Scissor fade: A softer look achieved using scissors instead of clippers.
- Numbered clipper guards: Typically range from #1 (1/8 inch) to #8 (1 inch).
Think about your personal style and maintenance preferences. Remember, shorter fades might require more frequent touch-ups.
Step 2: Determine the Fade Line
Now it’s time to figure out where you want your fade line to start. This is crucial because it defines how low or high the tapering effect begins on your head. Consider these points:
- Stay above the ear line for a true low fade.
- Adjust according to head shape; for instance, if you have a round face, starting slightly higher can elongate your appearance.
A skilled barber can help you pinpoint the perfect location for an appealing transition.
Step 3: Trim the Hair
Trimming sets up a clear guideline for where the fade will transition into longer hair. Here’s what I recommend:
- Cut hair on top first; it guides how gradual or drastic your fade will be.
- Use consistent pressure with clippers to avoid uneven lengths.
It’s all about creating balance between different parts of your hairstyle so pay attention to symmetry as you trim.
Step 4: Blend the Fade
Blending is an art that turns good fades into great ones. It requires patience and precision:
- Gradually change clipper guards starting at lower numbers near the bottom and increasing as you move up.
- Use clipper over comb techniques for seamless blending between lengths.
The goal is achieving that smooth gradient without any harsh lines distinguishing different hair lengths.
Step 5: Style the Hair
Finally, styling tops off your fresh cut with personal flair:
- Apply pomade or gel for sleek looks; use matte products for natural styles.
- Comb or brush in direction of hair growth for tidy finishes; experiment with texture by tousling hair atop.
And there you have it – follow these steps and maintain regular barber visits, and maintaining that sharp low fade haircut should be a breeze!


