Have you got a bump or hole in your UK walls? No worries, mate! Drywall damage happens, but fixing it can be a handyman skill that puts some pounds back in your pocket. From cozy flats to roomy houses, whether it’s a tiny dent or a bigger hole, knowing how to sort it yourself is a game-changer. Join me in this guide made for UK homeowners, where we’ll tackle DIY drywall repair step by step. There is no jargon, just plain talk – from what drywall is made of to some nifty tricks for the more advanced stuff. So, grab your tools, and let’s patch things up! Cheers to keeping your home in tip-top shape without breaking the bank.
Understanding Drywall Composition and Common Issues in the UK
In the UK, plasterboard is referred to as plasterboard or gypsum board. It is an essential component of construction. It comprises layers of paper encasing a core of the mineral gypsum. This composition provides strength, insulation, and fire resistance.
Cracks appear due to houses settling, changes in temperature, or normal structural issues. Accidental bumps or removing shelves during a redecoration can also lead to holes in the walls– more often than you’d think.
Water damage can be a problem, especially in older houses or areas that get a lot of rain. So, keep an eye out for these common issues in your home – they’re part of the UK’s diverse housing scene.
Causes and Prevention
Consider these tips to prevent drywall damage in your UK home: When you’re putting up shelves or fixtures, give them a good anchor to the wall. It’s like a snug hug to prevent accidental damage – you won’t want those shelves to take a tumble. And, speaking of tumbles, sort out plumbing problems pronto. Keep things breezy with good ventilation, and toss in a dehumidifier to keep humidity in check. To identify problems early, periodically inspect your walls, especially in damp areas.
Tools and Materials Needed for Drywall Repair
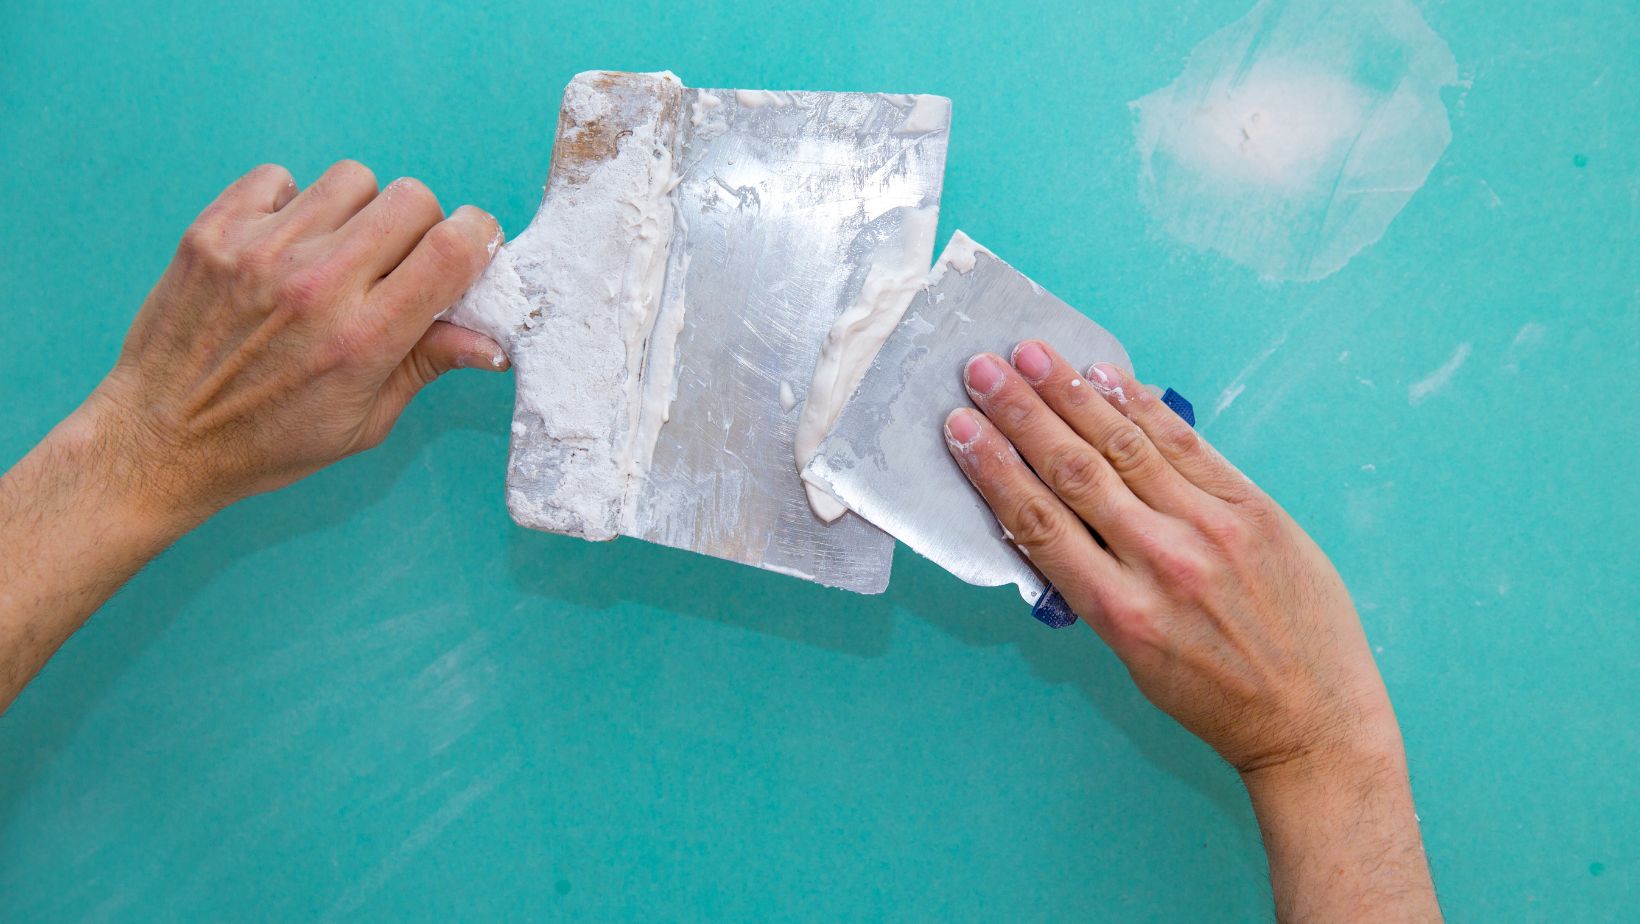
Alright, mate, let’s talk tools for patching up your walls. First up, grab yourself a utility knife – a must for slicing and dicing that drywall. Next, you’ll want a putty knife in different sizes; they’re your go-to for spreading joint compounds. Now, let’s talk smooth – that’s where sanding blocks step in. They’re your ticket to that sleek finish. Don’t forget your trusty tape measure – it’s like the sidekick to your handyman adventures. Whether you’re cutting or patching, accuracy is key, mate. Remember, measure twice, cut once – that’s the golden rule. These tools won’t give you superpowers, but they’ll sure turn you into a drywall-fixing champ.
Materials Selection
Alright, DIY champs, let’s talk about the stuff you need to patch up those walls. First on the list is a joint compound, also known as filler or mud. It’s the goop that covers joints and makes everything nice and smooth. Next, grab some drywall tape – it’s like the superhero cape that reinforces joints and stops cracks from making a comeback.

Now, let’s talk screws. Drywall screws are your sidekicks, essential for securing those shiny new patches. Lastly, if things have gone a bit wild and the damage is too much, you might need to bring in the big guns – replacement drywall. When things get extremely intense, that’s when the backup player steps in. Now that you have these tools, you can tackle the wall like a superhero!
Safety Equipment
A dust mask protects your lungs from dust generated during sanding and cutting, and safety glasses shield your eyes from debris.
Assessment and Cleaning
Examine the damage carefully to determine the appropriate repair method. Remove any loose debris, dust, or peeling paint from the damaged area.
Removing Damaged Drywall
If you plan to operate near cables or outlets that require electricity, turn them off. Cut away any damaged areas with a utility knife to leave neat edges. If you’re unsure about the structural integrity of the wall, consult a professional handyman in the UK who is familiar with local building standards. Measure and cut replacement drywall pieces to fit the holes or damaged areas. Secure drywall tape over joints and use screws to secure the replacement drywall pieces.
Step-by-Step Drywall Repair Process
Filling Small Holes
1. Fill the Hole – Apply joint compound to the hole, ensuring it’s slightly indented.
2. Let It Dry – Allow the compound to dry completely.
3. Sanding – Sand the area until smooth.
4. Additional Coats – Apply additional coats if necessary, letting each coat dry before sanding.
Fixing Larger Holes
1. Patch the Hole – Patches can be made with a joint compound, plasterboard, or patch kit.
2. Taping – Apply drywall tape over the patched area.
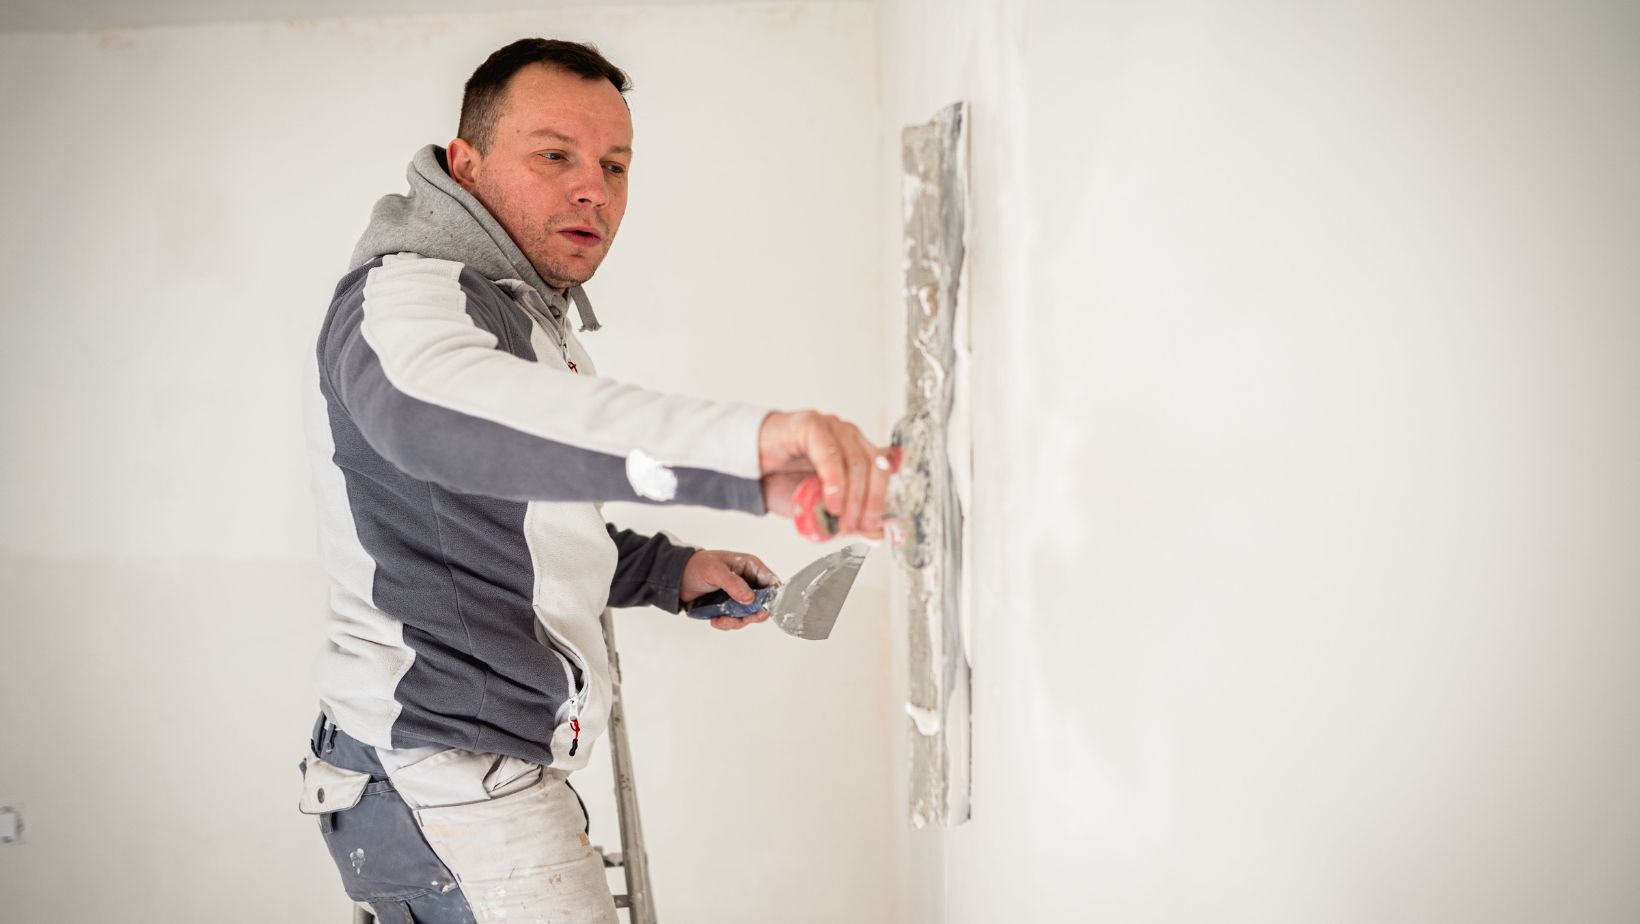
3. Mud and Sand – Apply joint compound, let it dry, and sand until smooth.
Repairing Cracks
1. Prep the Crack – Widen the crack slightly and remove any loose material.
2. Tape and Mud – Apply drywall tape and joint compound to the crack.
3. Sand and Paint – Sand and paint the repaired area to match the existing wall.
Dealing with Water Damage
Let’s dive into fixing that water-damaged wall. First up, assess the situation–figure out how bad it is. If things are looking serious, swap out any drywall that’s seen better days. Now, onto the why–find and fix what caused the water trouble. Once you’ve tackled the root cause, give the area some time to dry out. No rush here; let it do its thing. When it’s all dry and cozy, follow the playbook for patching up bigger holes or cracks. Easy peasy, right? You’ve got this!
Handling Extensive Damage
Carefully assess the extent of the damage, which may involve sections of the wall or ceiling. For extensive damage, consider consulting a professional in the UK who is experienced in addressing structural and drywall issues.
Drywall Replacement Tips
If sections of drywall need replacement, cut out and fit new pieces. Ensure a seamless finish by properly securing the new drywall, taping joints, and applying joint compound and texture. Check the condition of insulation, especially in exterior walls. Replace any damaged or inadequate insulation to improve energy efficiency.
Tips for Long-Term Maintenance and Care
To avoid damage from moisture, keep indoor humidity levels within advised ranges. To lessen humidity:
- Make sure there is adequate ventilation.
- Set a schedule for regular checks of your walls and ceilings, focusing on vulnerable areas like corners and near water sources.
- Address any signs of damage promptly to prevent issues from worsening.

Clean walls gently to maintain paint and finish. Keep leftover paint for touch-ups and address minor scuffs or stains promptly.
Common Mistakes to Avoid in Drywall Repair
Over-sanding can damage the drywall, reducing its smoothness. If bubbles or blisters appear during drying, carefully cut them out and reapply the compound. If cracks reappear after repair, apply additional layers of compound and re-texture.
Conclusion
Wrapping it up and fixing your own drywall are handyman skills every UK homeowner should have. Get to know what your walls are made of, gather up the right tools, and learn a few repair tricks – you’ll be the DIY drywall champ in no time. Whether it’s a tiny hole or a bigger project, this guide spills the beans on keeping your walls strong and good-looking. Just follow these steps and nuggets of wisdom, and you’ll save some cash while levelling up your home maintenance game. Happy repairing!


