

Renovating your home can be exciting, but the aftermath can be daunting. Once the contractors have packed up and left, you’re often faced with a big post-renovation cleaning job to get your space livable again. Dust, debris, and grime seem to get everywhere during renovations, and tackling the clean-up on your own can be overwhelming.
That’s where our top 10 post-renovation cleaning hacks come in! These tips and tricks will help you clean your newly renovated space more efficiently, saving time and effort. While you can always hire professional post-renovation cleaning services to do the heavy lifting, our hacks will come in handy whether you’re cleaning yourself or just need to tidy up after the pros have finished.
Roll up your sleeves, and let’s dive into these game-changing hacks for cleaning post-renovation!
Declutter and Organize First
Before you pick up a mop or sponge, take time to declutter and organize your newly renovated space. Renovations have a way of shuffling things around and creating clutter, so it’s helpful to get organized before you start cleaning.
Purge Unwanted Items
Go through your belongings and separate them into piles to keep, donate, or toss. Removing unwanted items will make post-renovation cleaning easier and give you a fresh start in your new space.
Create a Cleaning Plan
Once you’ve decluttered, create a cleaning plan for the attack. Divide your space into zones and prioritize which areas need cleaning first. Having a plan will make the post-renovation cleaning process more manageable.
Gather Your Supplies
Make sure you have all the necessary cleaning supplies on hand before you start, including:
- Broom and dustpan
- Vacuum with attachments
- Mop and bucket
- Microfiber cloths
- Sponges and scrub brushes
- Cleaning products (all-purpose cleaner, glass cleaner, etc.)
- Rubber gloves
- Trash bags
Having everything you need readily available will make your post-renovation cleaning session more efficient.
Start High, End Low
One of the cardinal rules of cleaning after a renovation is to start with the highest surfaces and work your way down. This way, any dust or debris you dislodge from ceilings or high shelves won’t settle on already-cleaned lower surfaces.
Clean Ceilings and Walls
Clean any dust, cobwebs, or debris from the ceilings using a duster with an extension pole or a vacuum with a brush attachment. Don’t forget the corners! Next, wipe down the walls with a slightly damp microfiber cloth to remove dust or smudges.
Tackle High Shelves and Cabinets
Wipe the tops of high shelves, cabinets, and door frames with a microfiber cloth. If you have open shelving, remove any items and dust the shelves before replacing them.
Clean Light Fixtures and Fans
Remove and wipe down any light fixtures or ceiling fan blades. A vacuum with a brush attachment can also help remove stubborn dust.
Finish with Floors
Once you’ve cleaned all the high surfaces, it’s time to tackle the floors. Start by vacuuming or sweeping up debris, then mop hard surfaces for a final shine.
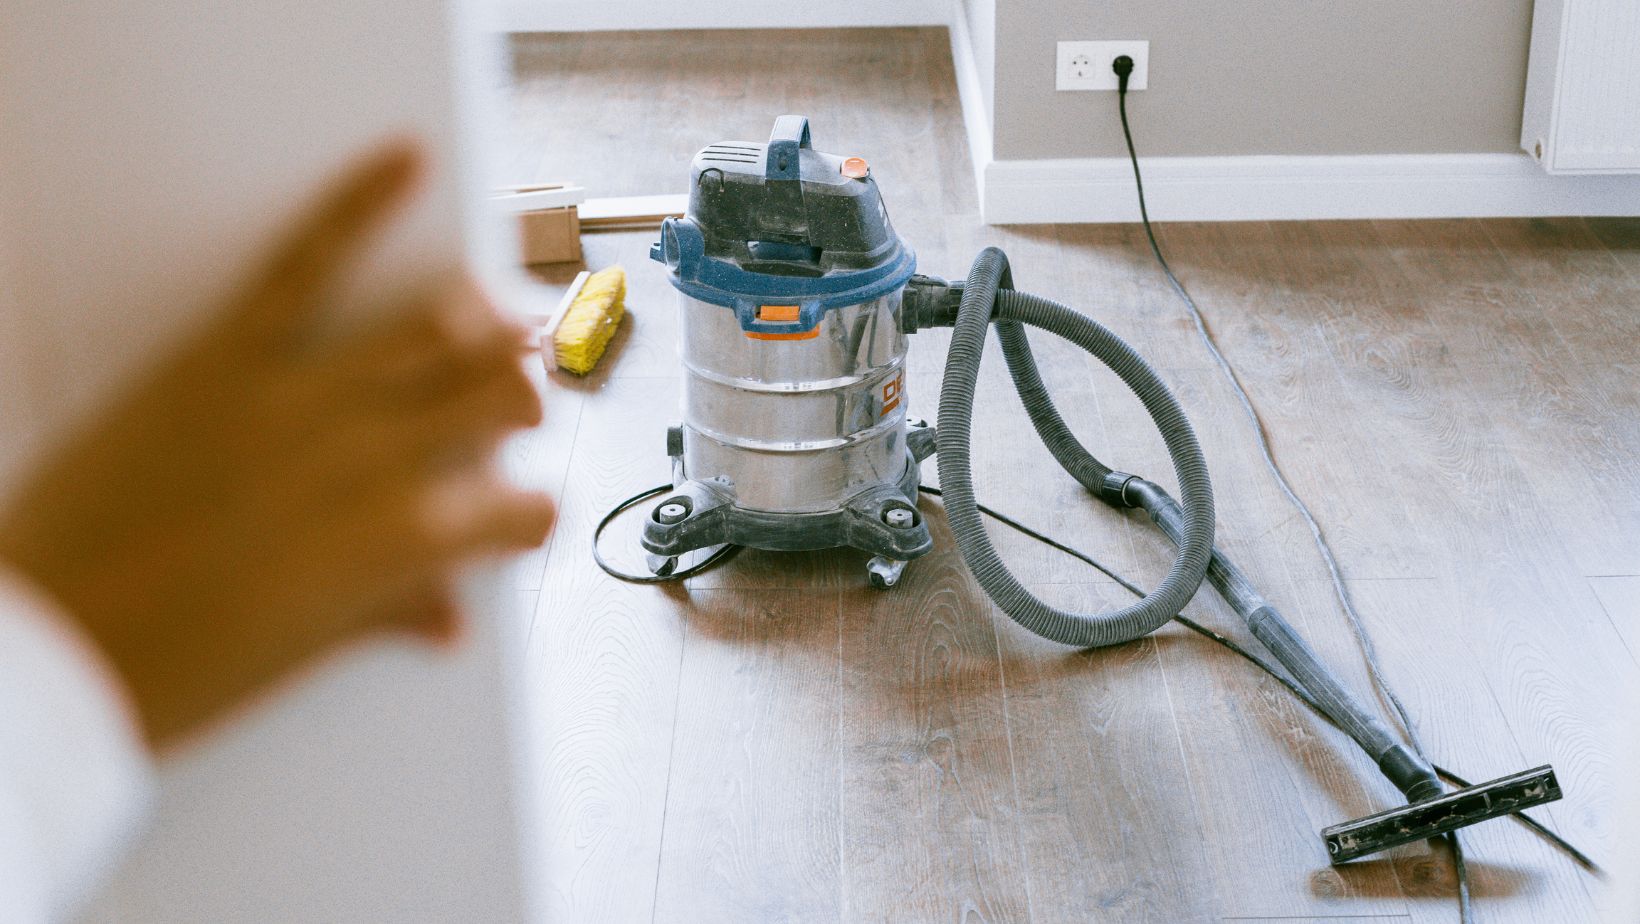
Vacuum Everything (Not Just the Floors!)
Your vacuum is your best friend when it comes to post-renovation cleaning.
But don’t just focus on the floors—your vacuum attachments can help you clean a variety of surfaces more efficiently.
Vacuum Upholstery and Curtains
Use the upholstery attachment to vacuum any couches, chairs, or curtains that may have gathered dust during the renovation. Don’t forget to vacuum under the cushions!
Clean Vents and Registers
The crevice tool attachment is perfect for entering narrow spaces like vents and registers. Vacuum inside to remove any dust or debris that may have settled there.
Vacuum Baseboards and Trim
Running the vacuum along baseboards and trim is much quicker than dusting by hand. Use the brush attachment to remove dust and cobwebs gently.
Use a Steam Cleaner for Tough Grime
A steam cleaner can be a lifesaver if you’re dealing with stubborn grime or stains after your renovation. The high heat and pressure of the steam help loosen and remove tough dirt without the need for harsh chemicals.
Steam Clean Tile and Grout
Fill your steam cleaner with water and run it over tiled floors and walls to remove ground dirt and stains. The steam will also help sanitize these surfaces.
Refresh Carpets and Rugs
If your carpets or area rugs look dingy after renovation, a steam cleaning can help revive them. Rent or purchase a carpet steam cleaner and follow the manufacturer’s instructions for the best results.
Steam Cleaning Safety
Always read the manufacturer’s instructions carefully before using a steam cleaner. Test the cleaner on an inconspicuous spot first to ensure it won’t damage the surface. Never use a steam cleaner on unsealed wood, delicate fabrics, or surfaces that are not heat-safe.
Don’t Forget About Air Quality
Renovations can leave dust, debris, and odors lingering in the air. Improving your indoor air quality is an important part of post-renovation cleaning.
Open the Windows
If weather permits, open your windows to circulate fresh air and push out stale, dusty air. Even just 15-20 minutes can make a big difference.
Change Your Air Filters
Replace the air filters in your HVAC system to help trap any lingering dust particles. For the best filtration, look for high-quality filters with a high MERV rating.
Use an Air Purifier
Running an air purifier can also help remove renovation-related particles and odors from the air. Look for a purifier with a HEPA filter for maximum effectiveness.
Clean From The Inside Out
Cleaning the insides of cabinets, drawers, and appliances is an often-overlooked part of post-renovation cleaning, but it’s important for getting your space truly spick and span.
Wipe Down Cabinet and Drawer Interiors
Remove everything from your cabinets and drawers, then vacuum out any dust or debris. Wipe down the interiors with a damp cloth or multi-purpose cleaner. Let dry completely before replacing items.
Clean Appliances Inside and Out
Wipe down the exteriors of appliances like your refrigerator, oven, and dishwasher.
Then tackle the interiors – remove and wash refrigerator shelves and drawers, clean the oven, and run an empty cycle on your dishwasher with a cup of white vinegar to freshen it up.
Sanitize Sinks and Drains
Kitchen and bathroom sinks can harbor a lot of bacteria. Scrub the basins and faucets with a disinfecting cleaner. Also, clean the drains and disposals.
Make Your Cleaning Solutions
For effective post-renovation cleaning, you don’t need a bunch of expensive, harsh cleaning products. You can often make your own cleaning solutions with a few simple household ingredients.
All-Purpose Cleaner
Mix equal parts white vinegar and water in a spray bottle for an easy, effective, all-purpose cleaner. Use on hard surfaces like countertops, tables, and cabinets.
Glass and Mirror Cleaner
Combine 1 cup rubbing alcohol, 1 cup water, and 1 tablespoon white vinegar for a streak-free glass cleaner. Spray on and wipe with a microfiber cloth or crumpled newspaper.
Carpet and Upholstery Refresher
Mix 1 cup baking soda, 1 cup cornstarch, and 15 drops of essential oil. Sprinkle on carpets or upholstery, let sit for 30 minutes, then vacuum up for a fresh scent.
Use Dust-Trapping Tools
Dusting with regular cloths or feather dusters can sometimes just spread dust around rather than removing it. For more effective dusting during your post-renovation cleaning, try these dust-trapping tools instead:
Microfiber Cloths
The tiny fibers in microfiber cloths are great at grabbing and holding onto dust particles. Slightly dampen your clothes for even better results.
Lint Roller
Run a lint roller over lampshades, throw pillows, or other fabric surfaces to pick up clinging dust. You can also use a lint roller on hard surfaces in a pinch.
Electrostatic Duster
These dusters, often made with microfiber or lambswool, use static electricity to attract and hold dust like a magnet. They’re great for blinds, baseboards, and tight corners.
Don’t Neglect the Little Details
It’s easy to focus on the big surfaces during post-renovation cleaning and overlook the small details. But tackling these little areas can make a big difference in how clean and polished your space looks.
Clean Light Switch Plates and Door Knobs
These high-touch areas can get grimy fast. To sanitize them, wipe them down with a disinfecting cleaner or rubbing alcohol.
Dust Window Sills and Tracks
Use a vacuum attachment or damp cloth to clean dust and debris from the nooks and crannies of your window sills and tracks.
Wipe Down Baseboards
Baseboards can collect a lot of dust during renovations. Use a damp microfiber cloth or a magic eraser to wipe them clean.
Clean Air Vents and Registers
Remove the vent covers and soak them in warm, soapy water. Vacuum inside the ducts as far as you can reach. Let the covers dry completely before replacing them.
Hire Professional Post Renovation Cleaning Services
Sometimes, the best hack for post-renovation cleaning is to let the professionals handle it. If you’re short on time or energy, consider hiring expert post-renovation cleaning services to get your space spotless.
Research and Read Analysis
Look for reputable cleaning companies in your area that specialize in post-renovation cleaning. Read online feedbacks and ask for recommendations to find the best fit.
Get a Detailed Estimate
Make sure to get a detailed estimate of what services are included and how much it will cost. Some companies offer package deals for post-renovation cleaning.
Prepare for the Cleaners
Before the cleaning crew arrives, do a general tidy-up and declutter so they can focus on the deep cleaning tasks. Make sure they have clear access to the areas that need cleaning.
Do a Final Walk-Through
Once the cleaners are finished, do a final walk-through of your space to make sure everything meets your expectations. If you notice any issues, point them out right away so they can be addressed.
Conclusion
Cleaning up after a home renovation project can seem like a monumental task, but it doesn’t have to be. By using these top 10 post-renovation cleaning hacks – from decluttering and organizing to using the right tools and techniques – you can save time and effort and get your space looking sparkling clean.
Remember to start high and end low, vacuum everything, use a steam cleaner for tough grime, and don’t forget about the little details. Making your own cleaning solutions and using dust-trapping tools can also make the process easier and more efficient. And if all else fails, don’t hesitate to bring in professional post-renovation cleaning services to get the job done right. With these hacks in your arsenal, you’ll be enjoying your beautifully renovated (and clean!) space in no time.


