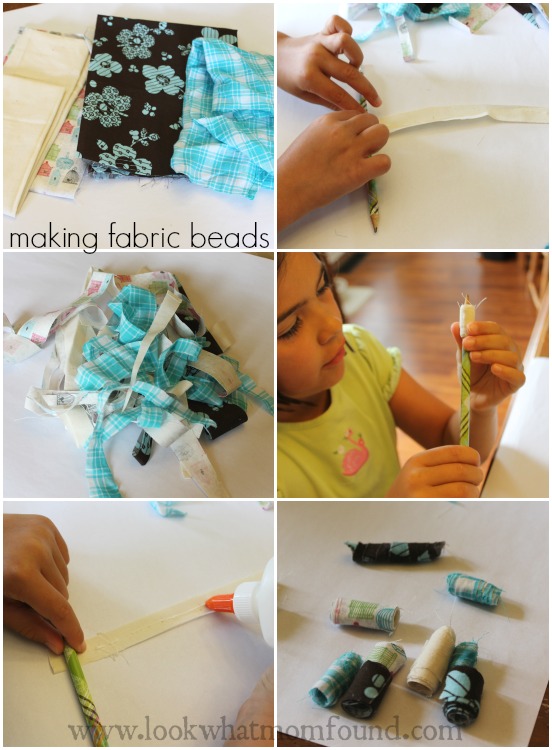
Crafting is becoming a big passion for Shae. I’m not talking about cutting out construction paper and gluing it to each other to make odd shapes. I’m talking about thought out creations that have a purpose. These fabric beads happened after seeing my trunk full of fabric and other random stuff. She wanted to make something permanent, something that was useful not something that would’ve ended up in the recycle bin in a month.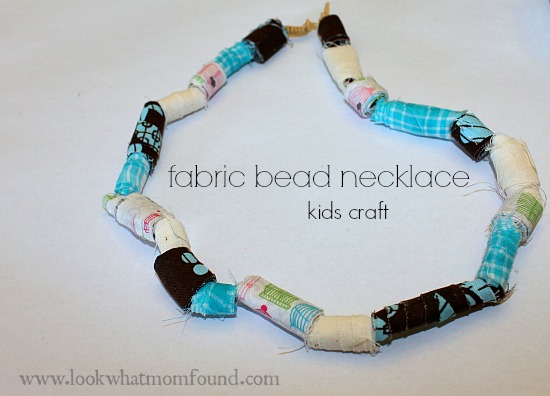

We started off with a stack of thin fabrics in a variety of colors and patterns. We cut them into strips of all lengths and widths. Don’t exceed 1 inch wide as your bead with be very big. Lengths can vary from 5″ to 12 depending how thick your child wants the beads.
Hold your strip flat and apply a thin strip of glue the entire length. Using a pencil start rolling the strip up. 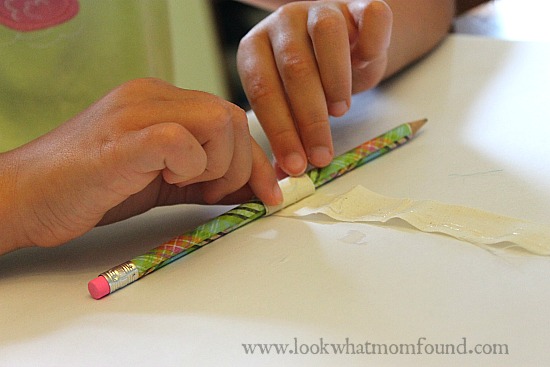 Don’t roll too tight as it will be difficult to remove. Slide your rolled up fabric gently off your pencil and set aside to dry. Use an extra touch of glue if the end isn’t secure. If you find your pencil is getting too much glue, use another pencil.
*roll your bead close to the pointy end, it’ll be easier to remove.
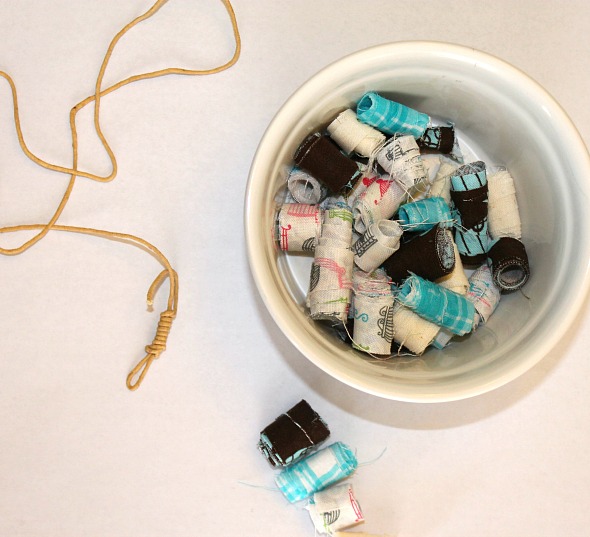
After all of your beads have set and seem to have hardened (we let them sit overnight) you’re ready to create your jewelry. Shae made a necklace using a thin suede cord.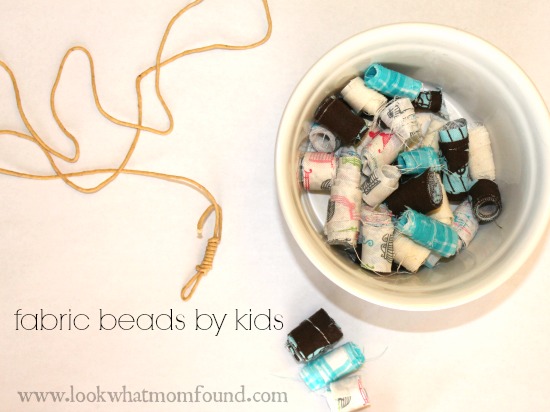
I created a cool knot/loop on one end and when she done I created a larger knot to close the necklace. Elastic cord would work well too and then you won’t have issues with closures.
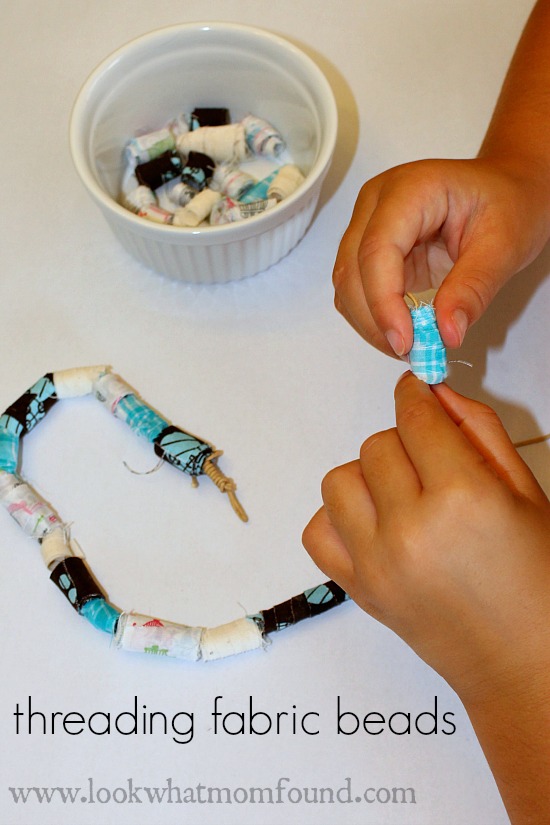

Make tons of beads for rainy day projects or make gifts for others.
Supplies needed
thin fabric in a variety of colors/patterns
scissors
school glue
pencil
thread/cord for necklace

