Deep down I’m really a #craftymom. I scour Pinterest, crafting sites and magazines all the time for new ideas for ways to make projects my own. My struggle is with time. I have ideas and supplies but have a hard time putting aside the hour or so needed to devote to something fun. I found this latest project and knew I could have it completely done in a day. The Animal Ring Dish was very simple but like usual real life got in the way.
 I found this on a new mail order craft site. The site is done well, the projects are gorgeous but they are way out of my price range for craft projects and supplies. I knew I could do it cheaper and just as well. For these animal ring dishes I only needed to purchase 1 thing, the dishes. I walked the craft store for 30 minutes and I found flower pot dishes that were a perfect size. I spent approximately $1.50 for 3 of them. For years we’ve been collecting these Safari Ltd Animal Toobs so I had no shortage of those. I also have a collection of spray paint and paint pens and a bin full of glues.
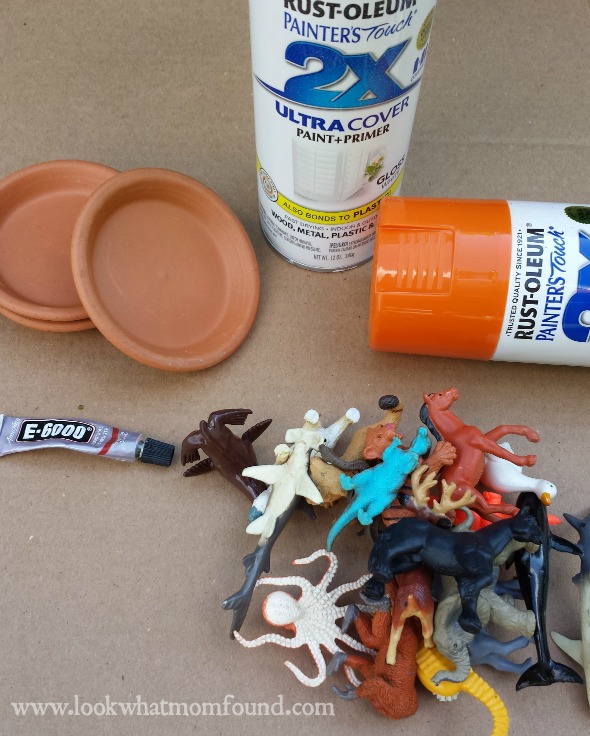
First I spray-painted the animals. I stuck a large saftey pin in them and gave them a quick coat from all angles. 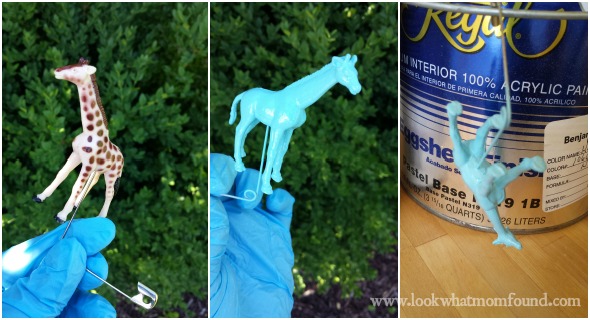 Then came the dishes. I started with the bottoms, 2 coats then gave the tops 3-4 even coats. This is what took the most time. I started late in a day and it carried over into the next day to get all the coats of spray paint on.
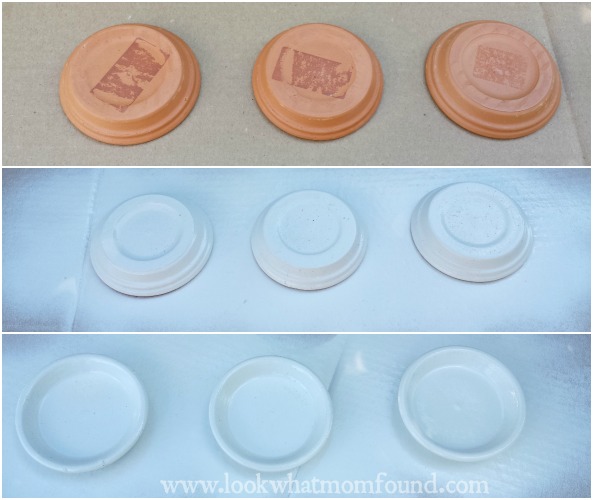
Then the weather was bad and we started a new project that lasted 2 weeks so the dishes sat on a shelf waiting for the next step.
It ended up working out. Painted items work best when they’ve had time to cure; set up. 2 weeks isn’t necessary but that’s what happened here.
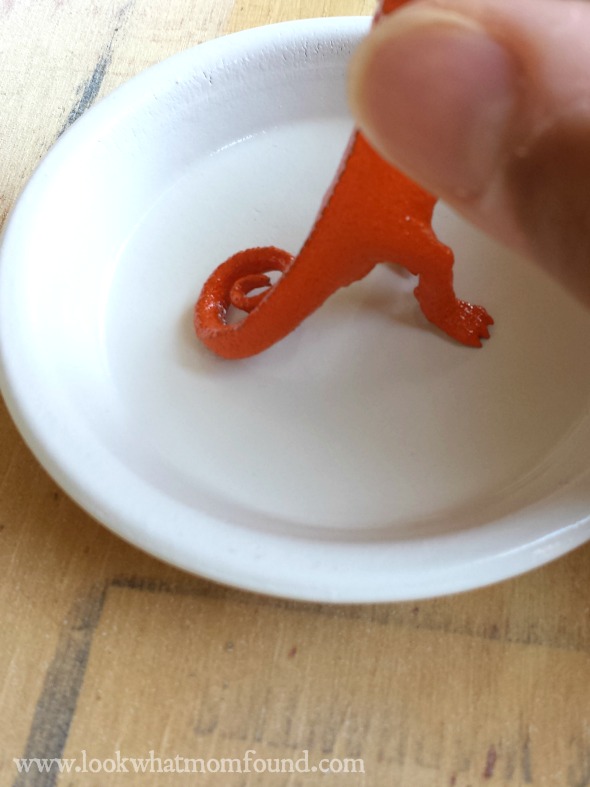
Then with a toothpick and some E-6000 glue I attached the animals to the dishes.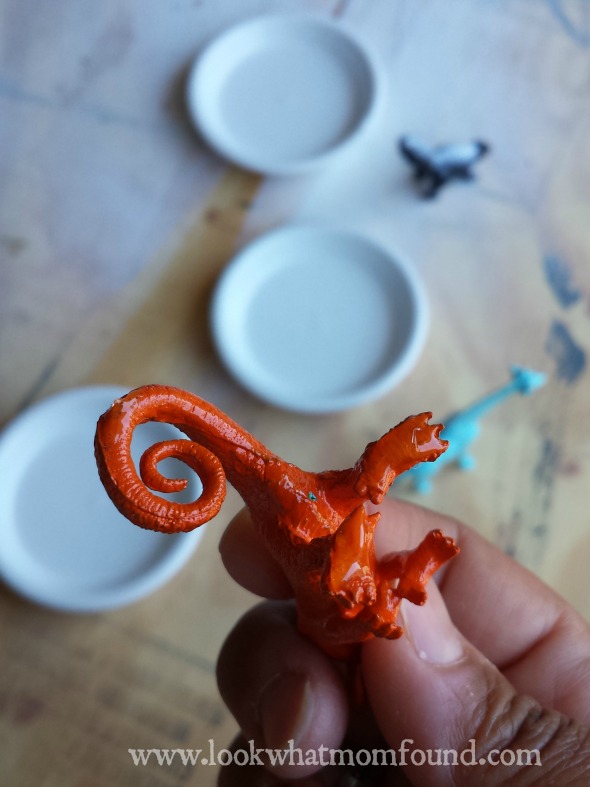
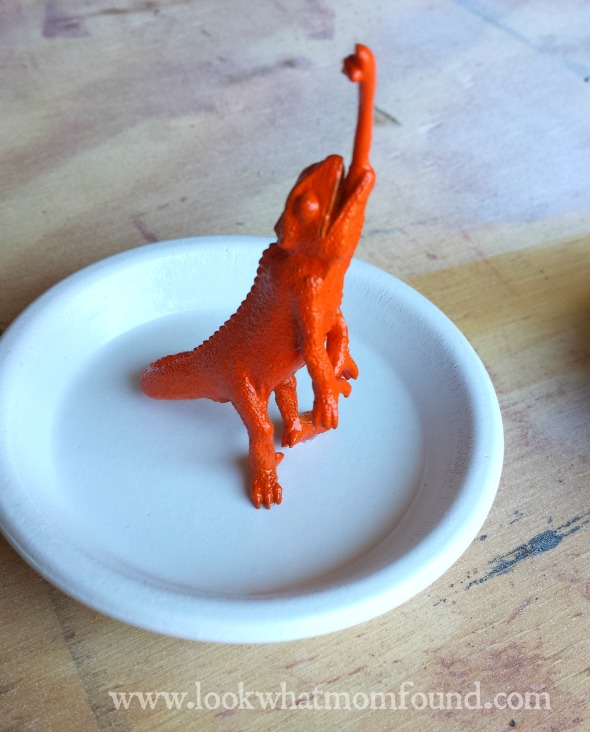
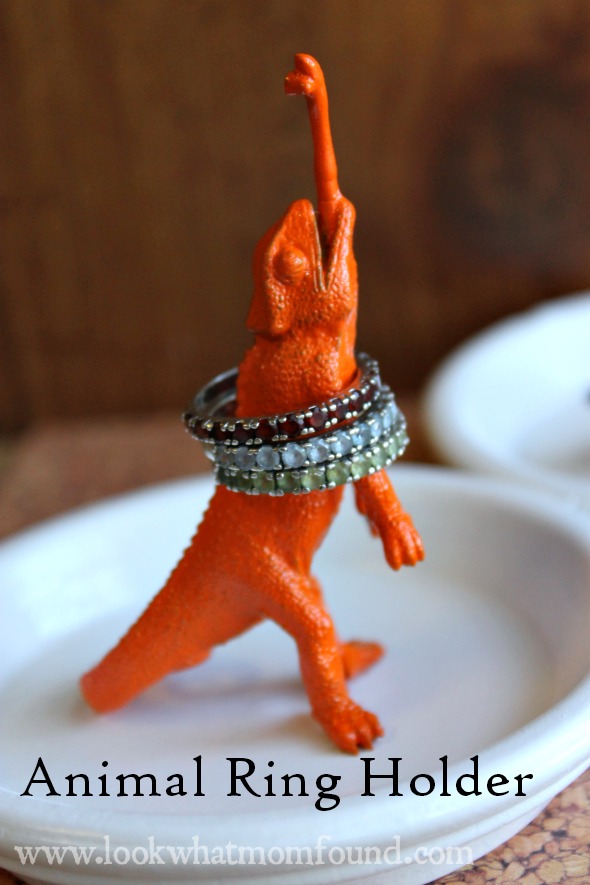
I choose animals that stood tall or had a long neck or tail. This batch included a lizard with its tongue sticking out, a giraffe and a skunk who I didn’t paint because I was afraid he’s just end up looking like a cat.
I set them out to dry for 2 hours and it’s done.
This would be an amazing craft night project if you were using paint pens. I would suggest painting all of the dishes ahead of time.
I think i’m going to make some more but add some pattern to the dish or dress it up with beads or rhinestones. 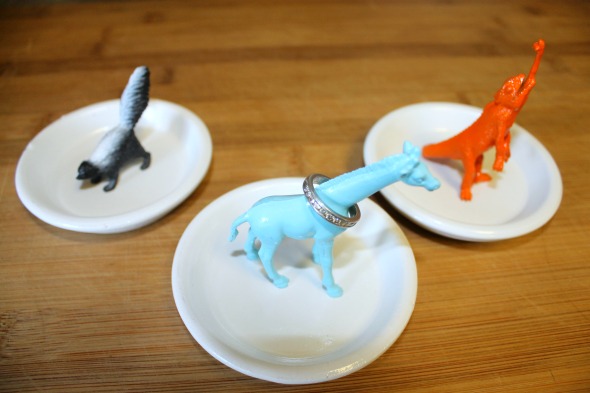
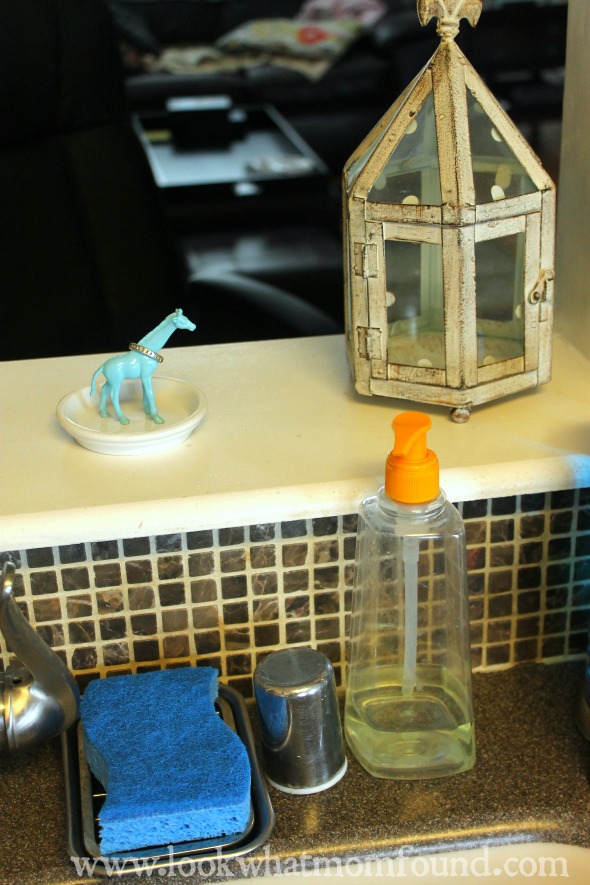
The lizard is for my friend Kelly. I thought of her the first time I saw this project. The giraffe is sitting near my kitchen sick to hold rings while I wash dishes or clean.