RSS Email

Salt Dough Christmas Ornaments

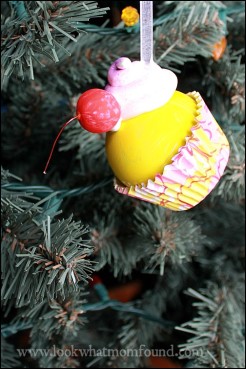
With Christmas coming up in less than 3 weeks Shae’s on a mission to get her ornament making in full swing. Salt Dough is so simple and versatile it only makes sense to make ornaments from them making it a great addition for #kidsinthekitchen. The final product is sturdy enough to last years.
Salt Dough Ornaments #craft #kidsinthekitchen
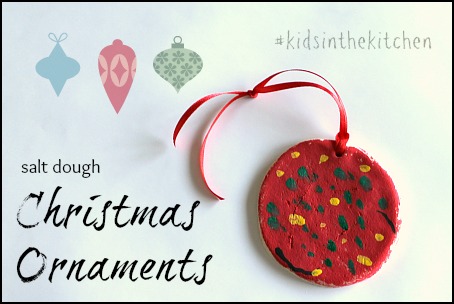
One tip when making ornaments and decor from the kids, write the date in a hidden spot so you know how long it’s been hanging around.

Salt Dough

Ingredients

  • 1 cup of flour
  • 1/2 cup fine salt
  • 1/2 cup slightly warm water
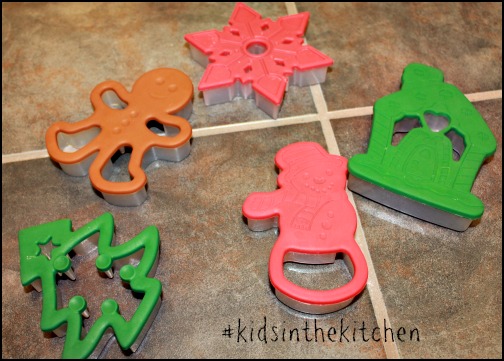
  • cookie cutters
  • rolling pin
  • Paint & brushes
  • ribbon or twine

Directions
Preheat oven to 250°.

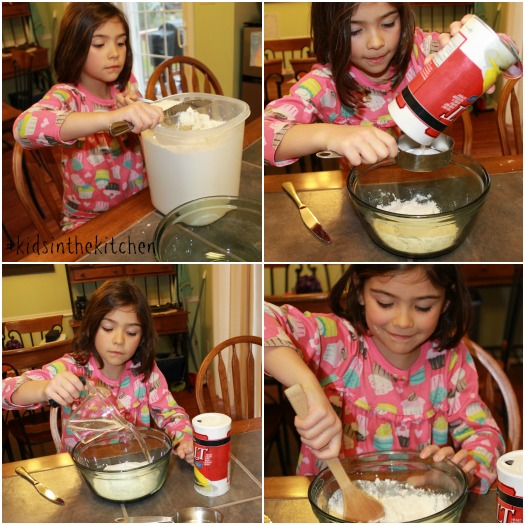
In a large bowl mix flour, salt and water until combined. Turn out onto a smooth surface and knead till smooth. Dough should be soft but not sticky. Add flour or water by the spoonful if needed to achieve the right consistency.

Salt Dough Ornaments #craft Salt Dough Ornaments #craft #kidsinthekitchen

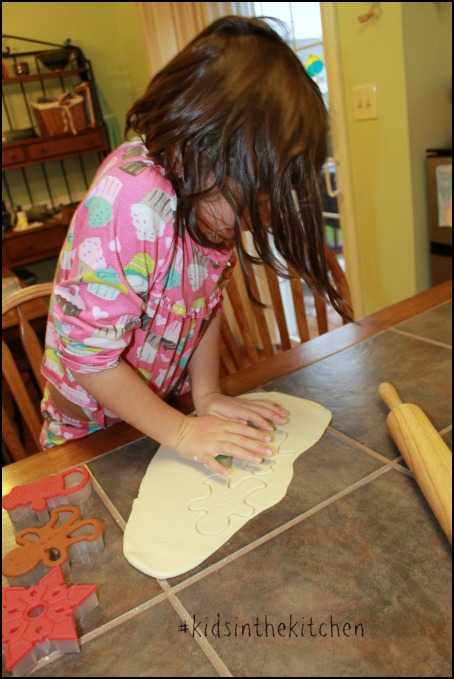
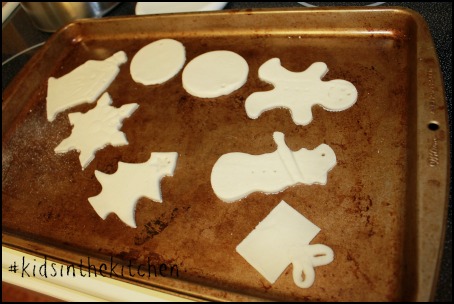
Roll the dough out to 1/4 inch thickness, cut with cookie cutters and place on cookie sheets. Use a toothpick to add hole for hanging and to emphasize details like smiles or eyes.

Salt Dough Ornaments #craft

Salt Dough Ornaments #craft #kidsinthekitchen

Bake for 2 hours. Remove from oven and move to a cooling rack for 1 hour.

Salt Dough Ornaments #craft

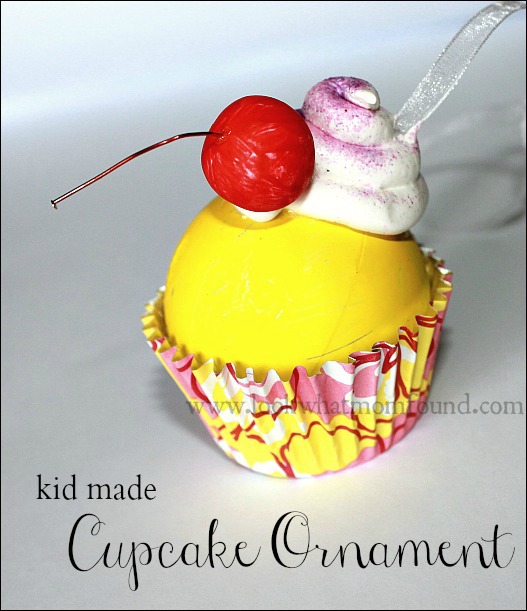
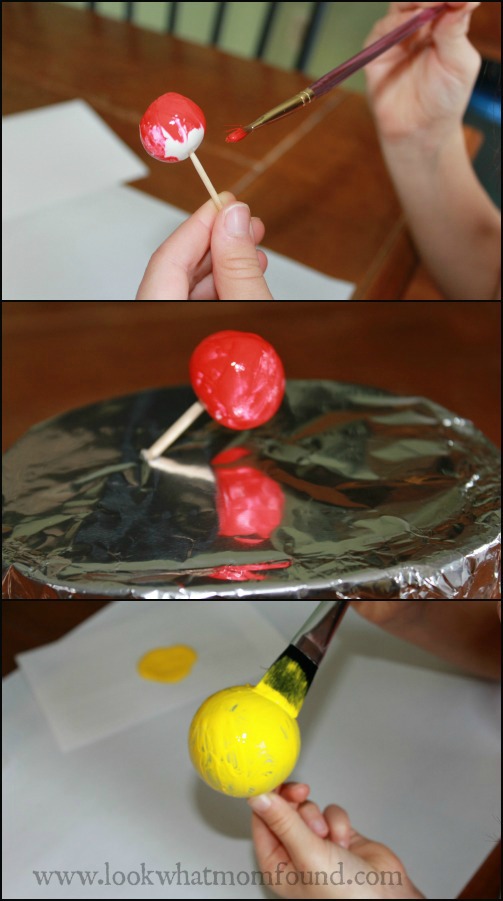
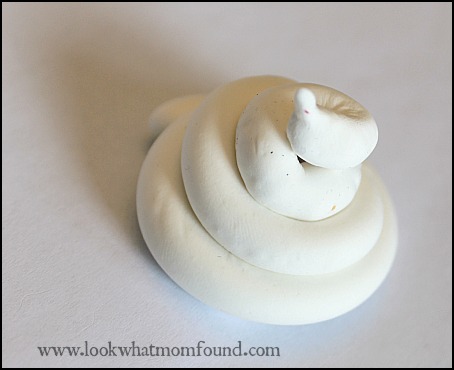
Your shapes are ready to decorate however your child pleases. Thread with ribbon and hang. Don’t forget to add your child’s name and the current year.

Salt Dough Ornaments #craft #kidsinthekitchen

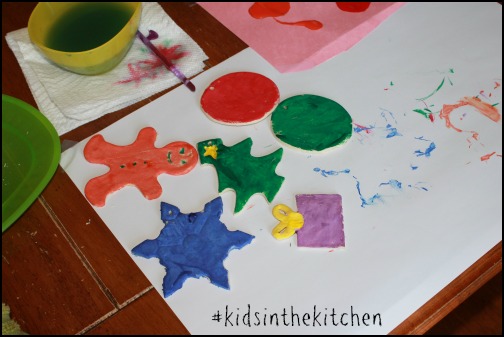
These can be made in advanced and painted whenever the chance comes up. We gave some to my nieces on Thanksgiving so they could paint on their own at home.

Aside from removing from the oven Shae did everything thing by herself. You realized this doesn’t have to be a kid only craft.

Come join me and my co-hosts, Sarah of Play to Learn with Sarah, Paula at Frosted Fingers and Sara at Sensibly Sara, each week linking up a post, new or old, that feature the theme Kids in the Kitchen. It doesn’t matter what you are doing as long as you are doing it together, enjoying it and learning something along the way.

Linky Rules, #kidsinthekitchen

Find even more inspiration and ideas for your own home from our #kidsinthekitchen Pinterest Board.


Follow Melinda Babiak’s board #KidsintheKitchen on Pinterest.

#KidsintheKitchen Weekly Linky


kid made Cupcake Ornament

We’re dealing with snow days and I don’t know what you do during snow days but we craft, bake and play video games. Looking at Shae’s tree I noticed she’s needing more decorations.  We set out to create some that should last her years to come, creating memories to last those years. This kid made cupcake ornament came about a bit haphazardly. Cupcake Ornament #craft

What started as a simple idea exploded into something else that focused more on the details.

Materials needed

  • Christmas ball, you choice of color
  • paint, to change Christmas ball color and other items
  • cupcake liner
  • soft air dry clay
  • red pompom or red mini Christmas ball
  • straight pin, thin gauge wire or ornament hanger
  • glitter or beads
  • glue
  • ribbon

Directions

Start with the pieces that need painting first.  Our Christmas ball was gray, Shae painted it yellow.  Also since we didn’t have a red pompom Shae shaped a red sphere from the white clay and painted that red for the cherry. making Cupcake Ornament #craft

As the paint was drying we used some more clay to roll out a LONG snake and then coiled it to resemble frosting.  Using a toothpick make a hole in the frosting big enough to thread your ribbon.making Cupcake Ornament #craft

Tie the ribbon to the top of the ornament and thread the end through a hole in the frosting.  Coat the top nub of the ornament with glue and gently press the frosting on, making sure the ribbon is pulled through.  Make a loop at the top of the ribbon to use as a hanger.

making Cupcake Ornament #craft

Lightly spread some school glue on the frosting and dust it with glitter or beads to make your sprinkles.  Shape your straight pin or wire and insert into your cherry, add glue if you need to.  Glue it to you cupcake. Set aside to dry.

making Cupcake Ornament #craft

making Cupcake Ornament #craft

When everything is dry add a good amount of craft glue to the bottom of your cupcake liner and along the inner wall and place your ball inside. Use a rubber band to gently hold the liner in place against the ball.  You don’t want this to squeeze too hard to crush the paper.  Leave this for 10-15 minutes to make sure the glue bonds.

making Cupcake Ornament #craft

When everything has dried and set your ornament is ready to hang.

Cupcake Ornament #craft

Share your own crafts and DIY projects below and visit the other crafters sharing their posts.