RSS Email

Easy Mason Jar Crafts

Ever walk through the craft store or flea market and see a great THING and think “That could be something amazing” but not know where to go from there. I think of myself as pretty crafty but I come up blank with ending ideas very often. I feel like I try to do to much, think of something too grand. Re-purposing and recycling doesn’t have to be difficult. Sometimes the smallest changes to something can make a beautiful and purposeful impact.

These simple mason jar DIYs are a great start to get your creative muscles a workout.

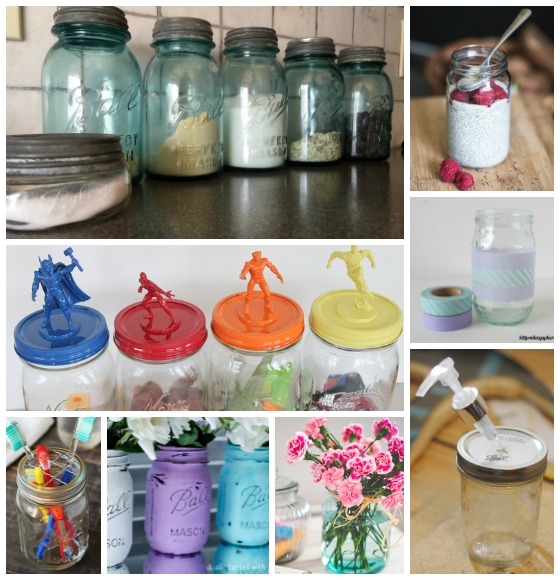
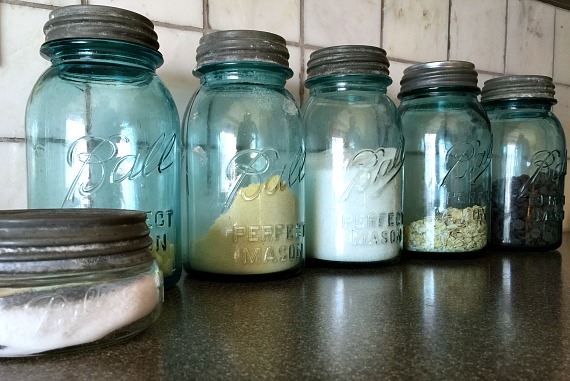
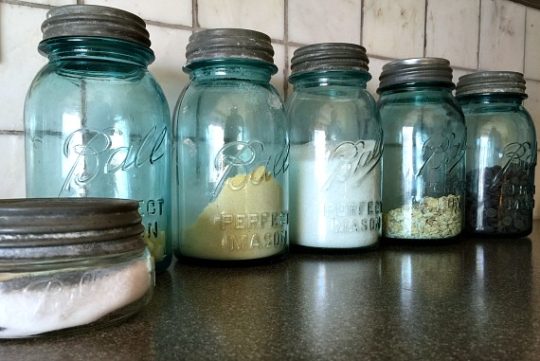
Start with mason jars of all sizes and colors. Buy what appeals to you. I have an obsession with antique Blue Mason Jars with Zinc lids. I collect them when I can find them and actually use them all over my kitchen to hold baking supplies, spices and sometimes flowersHow to use Mason jars in the home
Mason Jar Toothbrush Holder
This simple idea to add some country chic to the bathroom is from Fireflies and Mudpies. With the addition of some wire you instantly have a toothbrush holder for the family.
Mason Jar Soap Dispenser
Use what you already have to make something special in a bathroom or kitchen. Don’t stop there either. This dispenser tutorial from Burlap and Babies shows how to use these for anything; add lotion, mouthwash, coffee syrups and more.
Mason Jar Vase
Another easy idea to use what you already have on hand. Grab some yard, twine, lace or paint and create a beautiful vase for flowers, herbs or candles. Make it as elegant or fun as you wish.
Mason Jar Candle Holder
Dump in some sand or colored stones and you’re done, top with a tealight Instant candle holder. If you don’t want to stop there, don’t. A couple brush strokes of your favorite paint color will transform a simple clear jar into a pretty and trendy candle holder to light up a dinner table or hallway.
 
Mason Jar Bowl
A couple times a week I add a scoop of oatmeal, some brown sugar, a handful of sliced almonds and milk to a jar. I top it with a lid and put it in the fridge. In the morning I grab it and go to work. This ensures I eat breakfast and it’s done the night before. Chia seeds are all the rage these days and make a fantastic overnight breakfast pudding.
 
Mason Jars for Storage
Use them as they were intended. Store food, household supplies, drinks, hardware and even kid’s stuff in them. They make everything more fun like these Superhero Jars created by Country Chic Cottage just for kids to store all of these little things that end up in the floor, in the vacuum or chewed up by the dog. 

Simple Mason Jar Ideas for the NOT Crafty

Adding some decorative touches to a mason jar will immediately transform it. My daughter is obsessed with Washi Tape so she’s wrapping it around everything she can get her hands on similar to this Washi Tape Jar from Nileey Sphere shown above. Maybe paint is your thing. Where you brush it on or spray it on it’s going to look amazing. These painted and distressed jars from It All Started With Paint can hold flowers, plants, paintbrushes and kitchen utensils for years to come when treated properly. Use what you have. Start simple and be proud of everything you create.


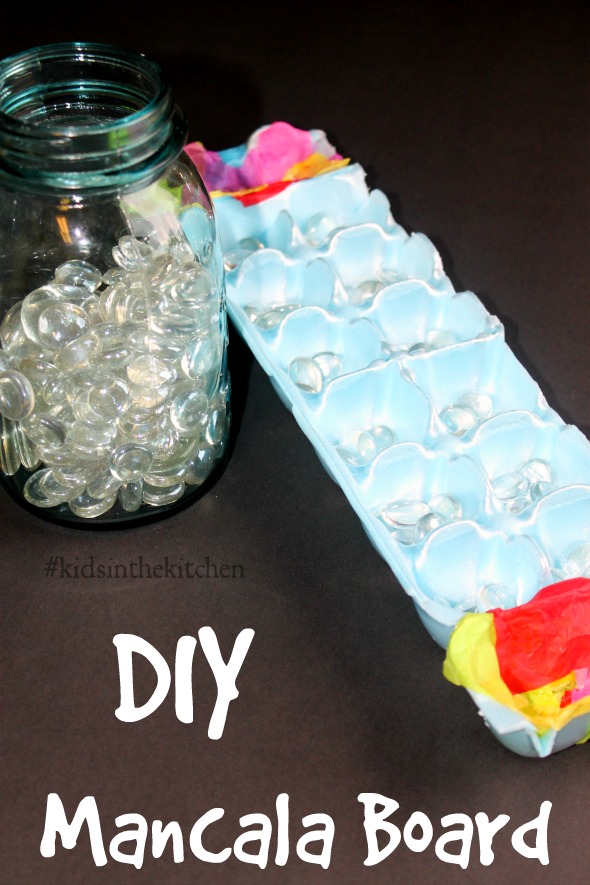
DIY Mancala Board #kidsinthekitchen

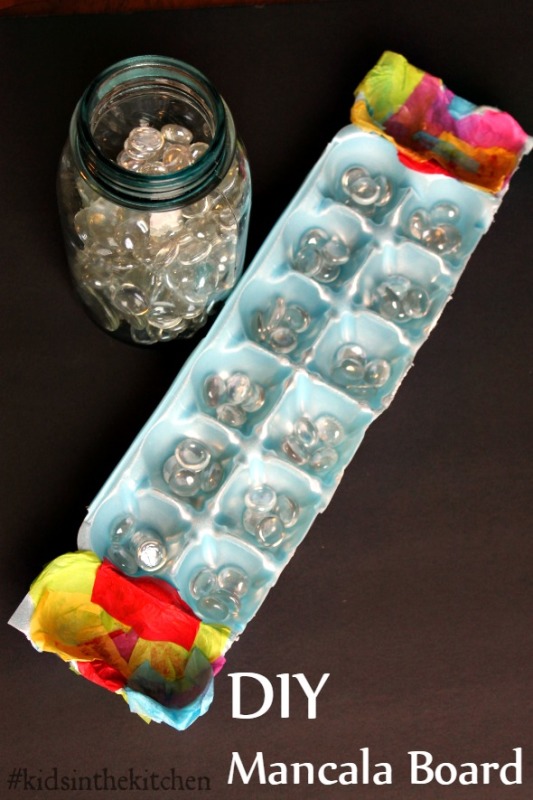
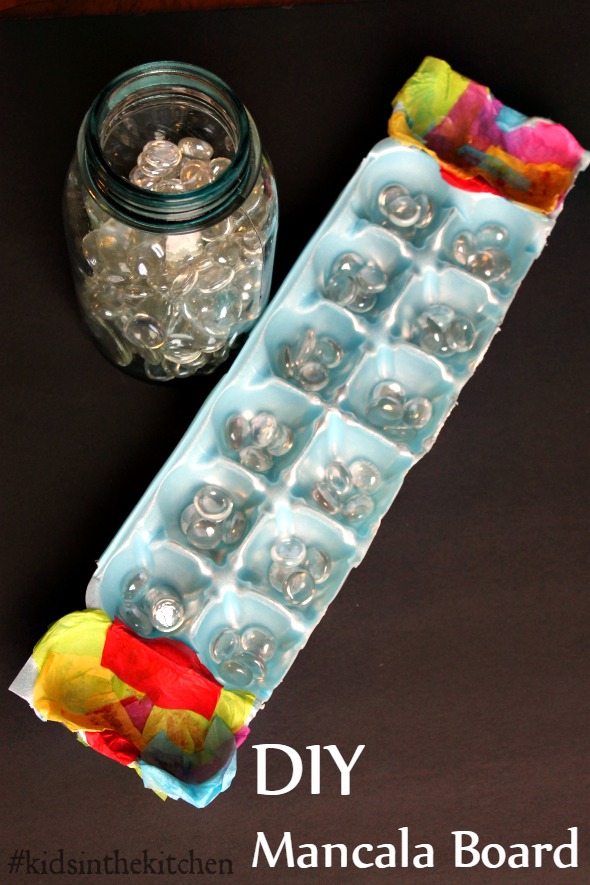
Having kids of varying ages there aren’t too many things that they all have interest in. Board games is tops on that list though. Games is something they can always agree on. Sabreena remembered playing a game in elementary school called Mancala. I’ve never played it but have heard of it. She looked in the fridge on day and said save that egg carton when it’s empty, I have a project for it. DIY Mancala Board #kidsinthekitchen #recycledcrafts Using an 18-count egg carton Sabreena fashioned her own Mancala board and grabbed some glass gems from my craft cabinet. Within 1 hour of her big idea she and Shae were playing. Like I said I didn’t know how to play the game but apparently Shae did and they went through about 4 games before dinnertime. This is now a nightly ritual, one I don’t mind at all. I’m gonna bring all the quiet games into the living room so we can have nightly intellectual games instead of tv and video game time. Materials and Directions
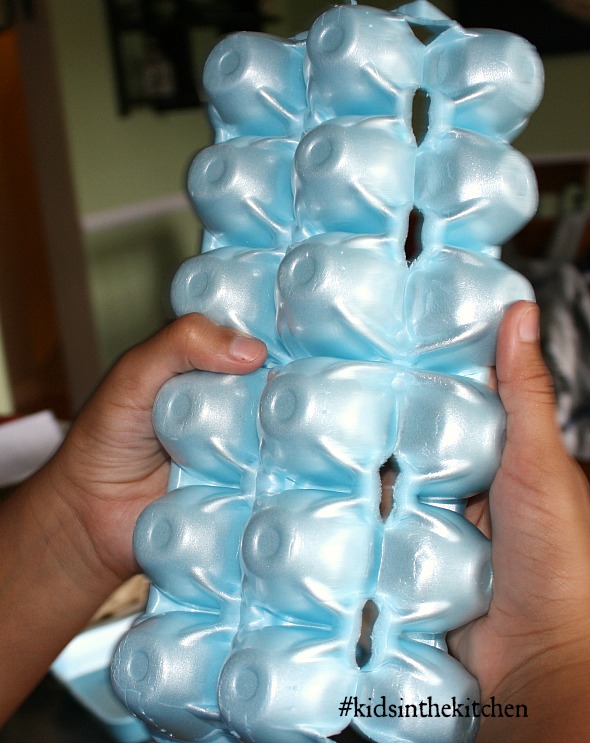
    • 18-count egg carton
    • strong glue such as E6000
    • pen knife or other sharp knife
    • Tissue paper & mod podge (or washi or duct tape)

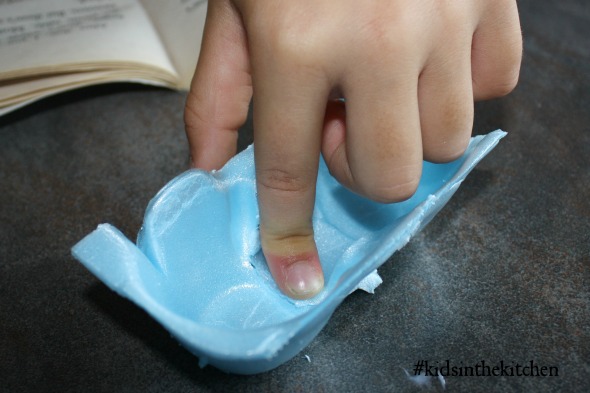
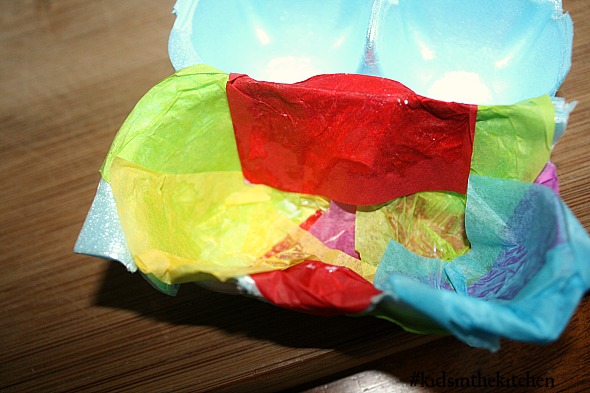
Using the knife slice one long row of egg cups from the carton. DIY Mancala Board #kidsinthekitchen #recycledcrafts Cut 2 sections of 2 cups to use as the “store” and cut out the dividers of those 2 pieces. Glue the store cups on the ends of the remaining carton, set aside to dry for several minutes. Seal up the holes in the “store” cups with paper or tape. DIY Mancala Board #kidsinthekitchen #recycledcrafts The girls used colorful tissue paper and mod podge. This just made the game board a little more festive.DIY Mancala Board #kidsinthekitchen #recycledcrafts Your game is ready to play with marbles, rocks, seeds, beads or in our case glass gems.DIY Mancala Board #kidsinthekitchen #recycledcrafts Mancala is the word for this type of “sowing” game. There are many versions of it around the world from many cultures. This is the version my girls play. One day I’ll invest in a beautiful wood board that will last a long time but for now I’ll relish in the ingenuity of my smart girls to create their own fun. Come join me and my co-hosts, Paula at Frosted Fingers, Sara at Sensibly Sara, Kate of Busy Bee Kate & Jeannette of EcoIncognito each week linking up a post, new or old, that feature the theme Kids in the Kitchen. It doesn’t matter what you are doing as long as you are doing it together, enjoying it and learning something along the way.
You’ll find these and many more ideas for healthful and unique food fun on the #KidsintheKitchen Pinterest Board.

Follow Melinda Babiak’s board #KidsintheKitchen on Pinterest.
Linky Rules, #kidsinthekitchen

#KidsintheKitchen Weekly Linky


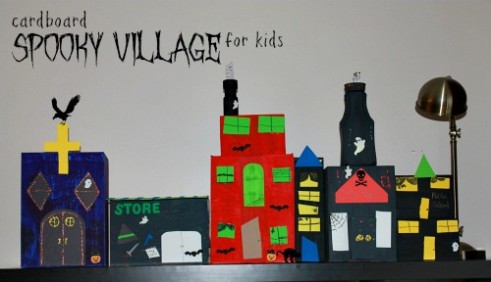
Spooky Haunted Village made by kids #halloween #craft

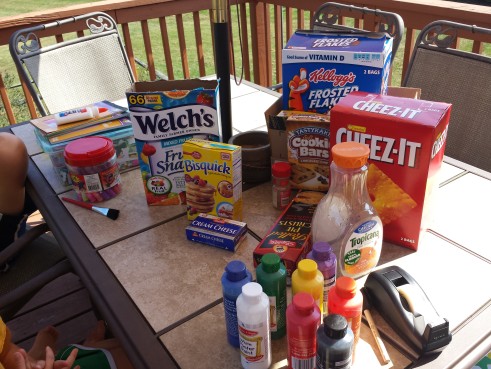
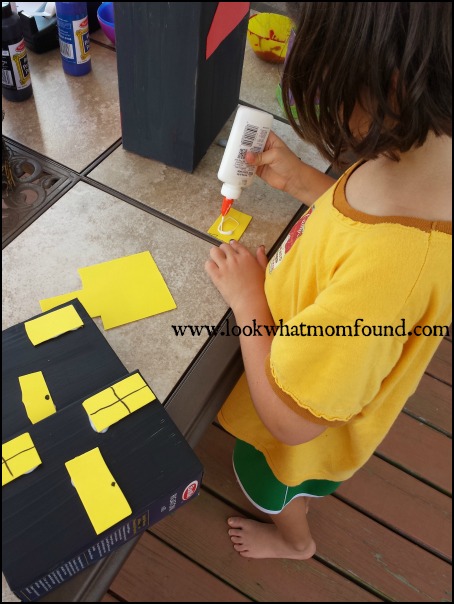
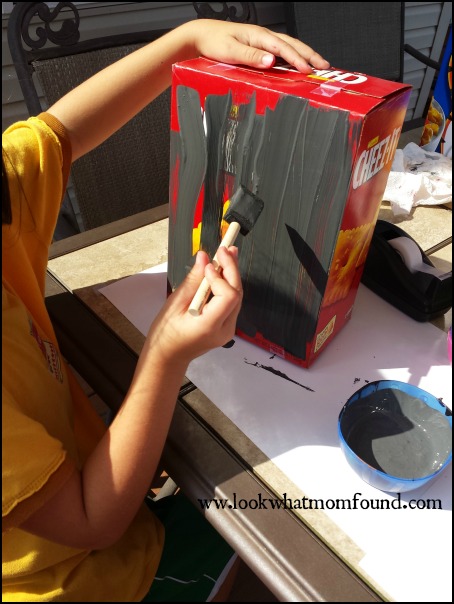
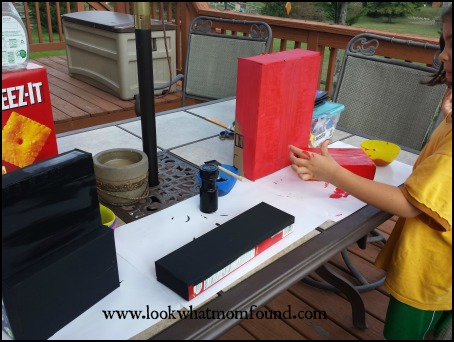
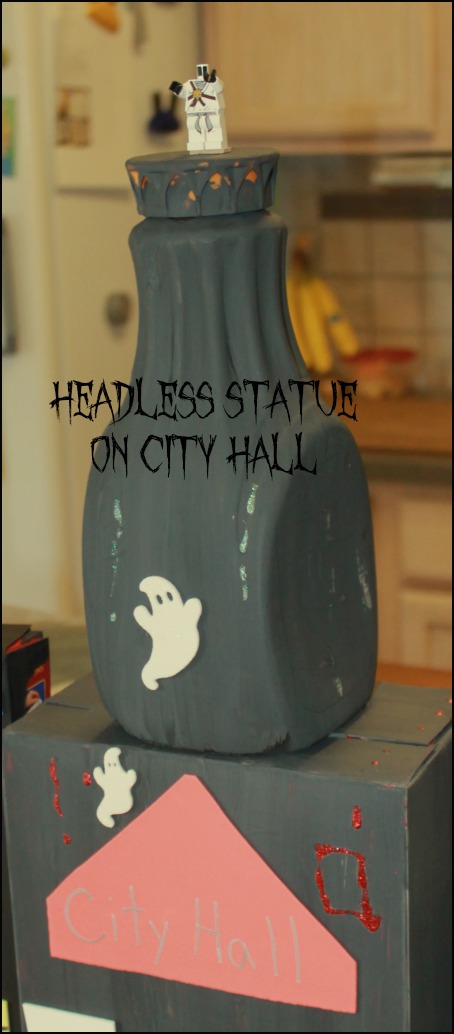
Decorating for Halloween is always fun. Getting the kids to help out if even more fun. I’ve been saving up the boxes and containers from the kitchen so Shae could build her own Haunted Village.Spooky Village #halloween #craft

Using cereal boxes, orange juice bottles, cinnamon shakers and more Shae and I put together a rather large village that is now taking up residence on our bookcase in the living room.

Spooky Village #halloween #craft

Materials

boxes and containers headed for the trash or recycle bin.

paint, themed stickers, foam shapes, glitter glue, construction paper.

Directions

Arrange your boxes into your village. Think about height and dimension  and layers when arranging it. Decide on your buildings and colors and let your child get to work.
Spooky Village #halloween #craft

Spooky Village #halloween #craft

Spooky Village #halloween #craft

Spooky Village #halloween #craft

This activity can be done for any holiday or season just by changing colors and flourishes.


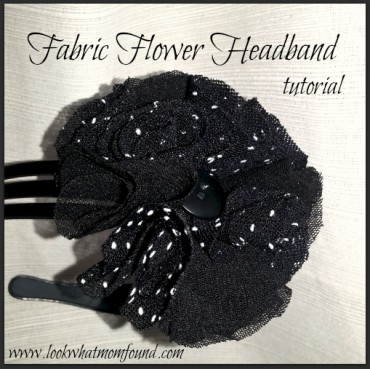
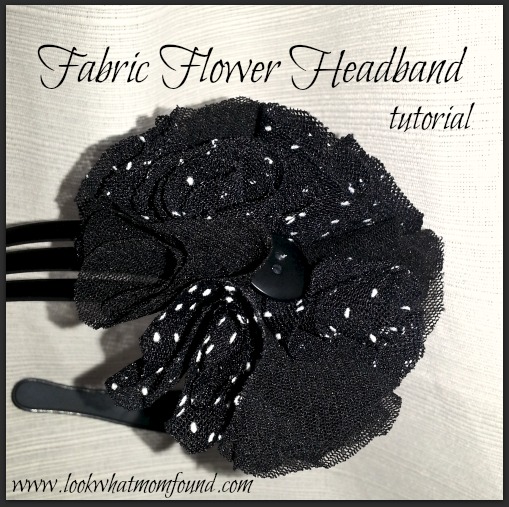
Fabric Flower Headband Tutorial

Ever since school started Shae has been sporting headbands. Since her hair is still short it doesn’t hold a ponytail and she hates barrettes. I did the simple route and glued some fabric flowers to existing headbands but wanted to do something special, more elaborate to dress up her everyday outfits. I took to Pinterest and found a few ideas and tutorials.

fabric flower headband, tutorial, diy craft, handmade
Polka Dot Fabric Flower Headband

Supplies
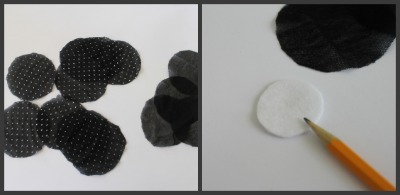
7- 3 1/2 inch circles (sheer polka dot fabric)
4- 2 1/2 inch circles (sheer black fabric)
1- 1 1/2 inch circle (white felt)
hot glue
coordinating button, rhinestone, bauble of choice (if desired)
black headband
fabric flower headband, tutorial, diy craft, handmade
Directions
I’ve been holding onto a shirt that used to be Sabreena’s. It’s about 5 years old but it was so pretty I knew I could use it for something. Shae used it for dress up for a while but this was it’s perfect new life.

All measurements are approximate. I cut all the circles using a random cup. Since the fabric was very stretchy I was careful not to pull. Don’t worry about the uneven edges, they won’t be seen.

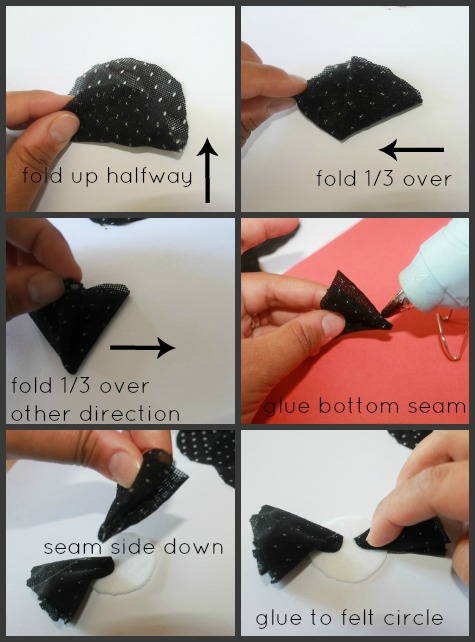
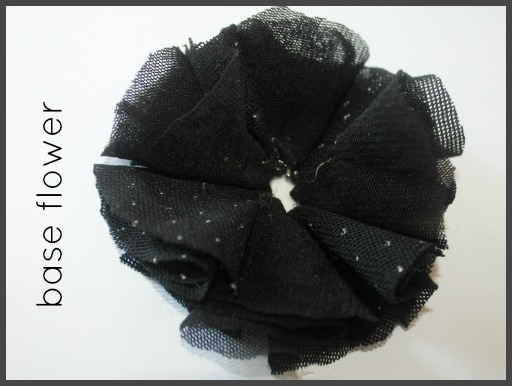
Start by placing your white felt circle in front of you. Following the step by step instructions below, fold your circles in half then in thirds.

fabric flower headband, tutorial, diy craft, handmade

Glue the seam side down onto your white felt, halfway across. Go all the way around, alternating fabrics/designs. The end result should be 8 glued circles, each color/design making an X pattern.

fabric flower headband, tutorial, diy craft, handmade

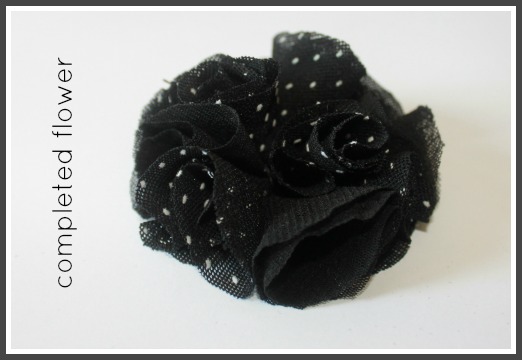
Let this dry thoroughly then glue the remaining 3 circles in top of the already constructed base. This gives a bit of height and fluffiness.

fabric flower headband

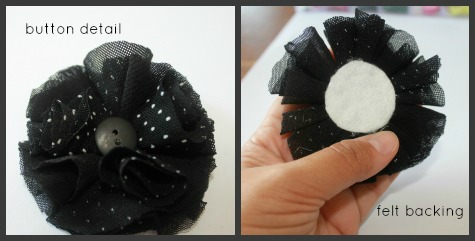
Add your center button or bauble is desired. Glue the felt bottomed fabric flower directly to the headband, off center. Done.

fabric flower headband
I’m doing these flowers with all types of fabric scraps I have tucked away. Quarter Flats are a great way to get multiple headbands made for a very very cheap price. These can go on sale for as low as $1.

*If your fabric has a right and wrong side you might have to fold them a specific way. The bottom base should be folded with the right side inside the flower. The top layer should be folded with the right side showing outside.