


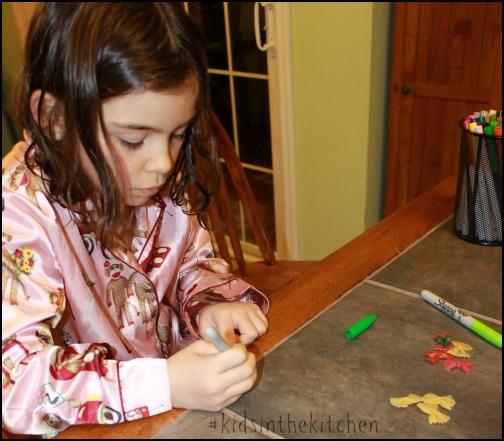
The weather has finally changed for the better. No snow for almost 2 weeks now, that might be longest run we’ve had for the last 4-5 months. We’re noticing the birds making nests in the trees so why make our own Paper Bag Birds Nest to celebrate the great weather we’re experiencing and the new feathered friends taking over the neighborhood.
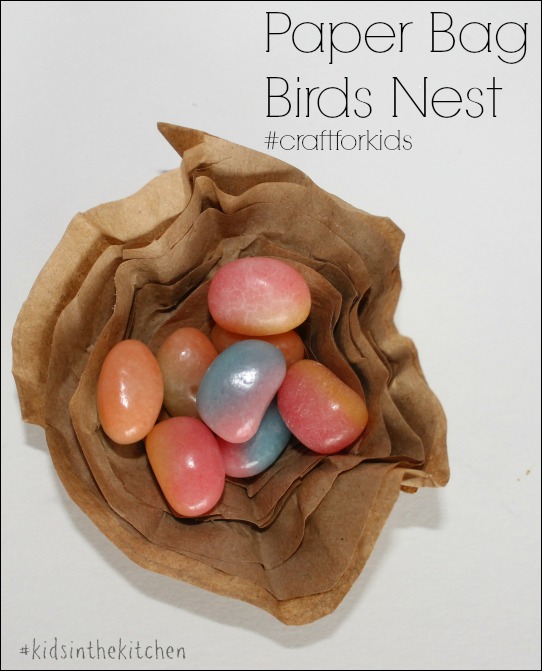
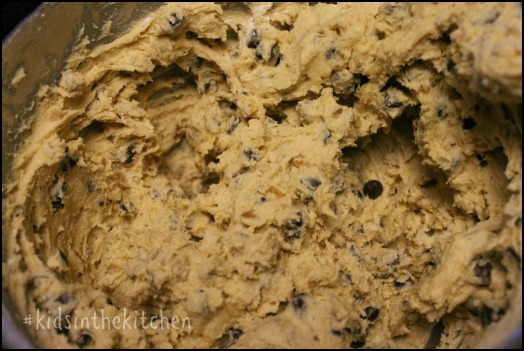
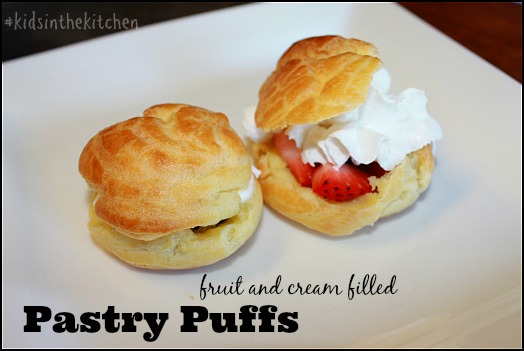
A simple lunch bag and some jelly beans makes an adorable little nest.
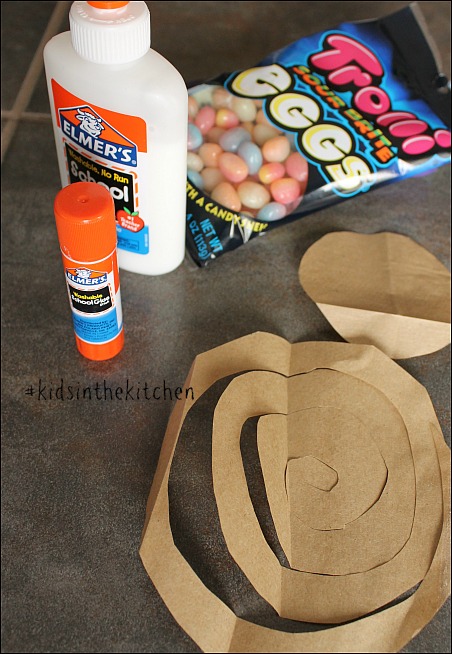
Supplies
paper bag
school glue or glue stick (shae used both)
jelly beans
Directions
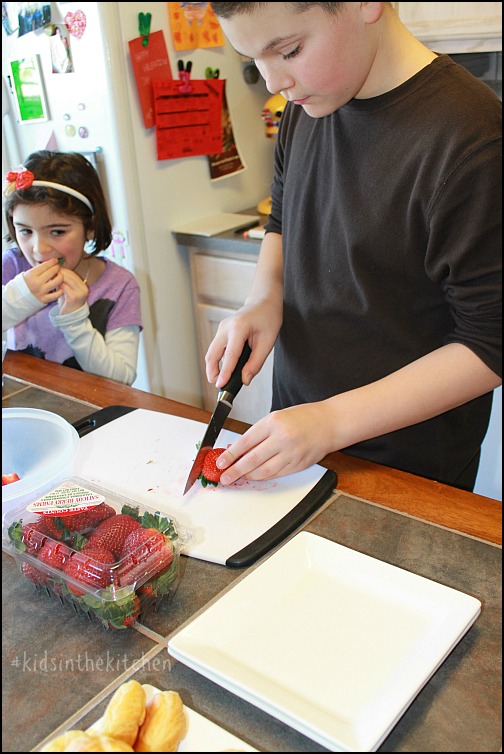
Cut open your paper bag so it lays flat. From it cut 4 circles, 2 of them about 4 or 5″ across and 2 of them 3″ across.
Cut the larger circles into a spiral.
Starting from the middle of the spiral create a flat-ish base and wrap the spiral of paper around the OUTSIDE of itself. Add drops of glue as you go to keep it in place.
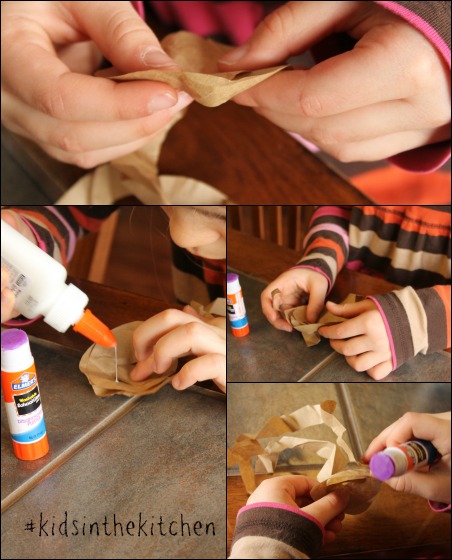
Crumple your spiral before wrapping for a more rustic look.
Glue your smaller circle on the bottom of your nest. This gives it more support and closes up any holes so the “eggs” don’t fall through.
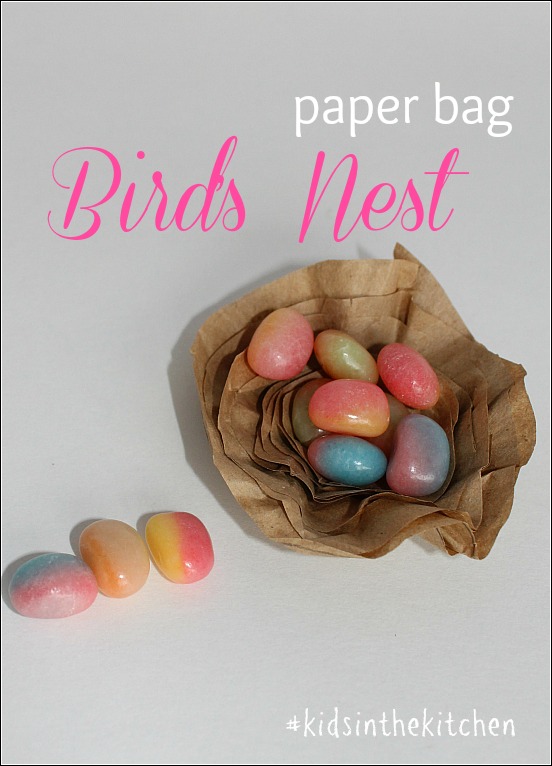
Set aside your nest to dry for 20-30 minutes then add eggs. 
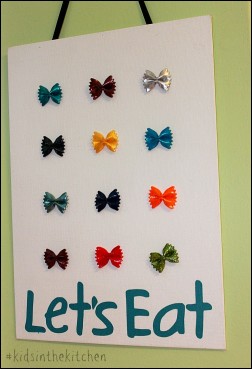
These would be cute placecards for the Easter dinner.
To make this more permanent go ahead and glue your jelly beans into the nest or make eggs from clay.
Come join me and my co-hosts, Sarah of Play to Learn with Sarah, Paula at Frosted Fingers and Sara at Sensibly Sara, each week linking up a post, new or old, that feature the theme Kids in the Kitchen. It doesn’t matter what you are doing as long as you are doing it together, enjoying it and learning something along the way.
- preparing healthy snacks
- having a tea party
- counting skills with m&ms
- pouring from measuring cups
- discovering a local restaurant that your kids love
- creating new family friendly recipes
You’ll find so many more ideas on the #KidsintheKitchen Pinterest Board.


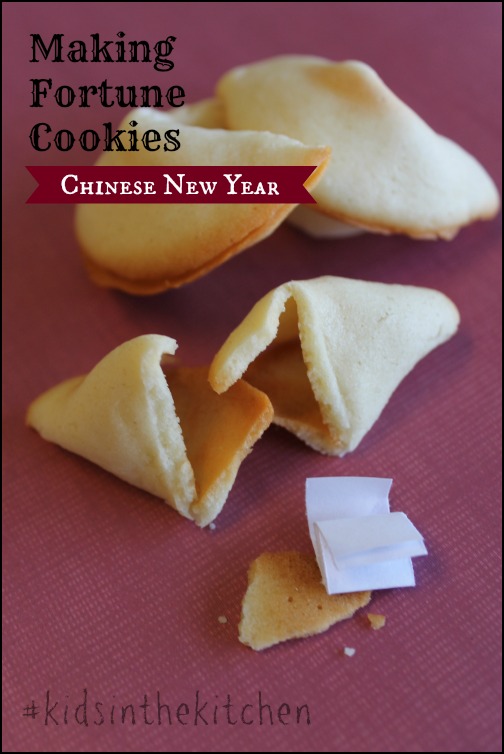
 Directions


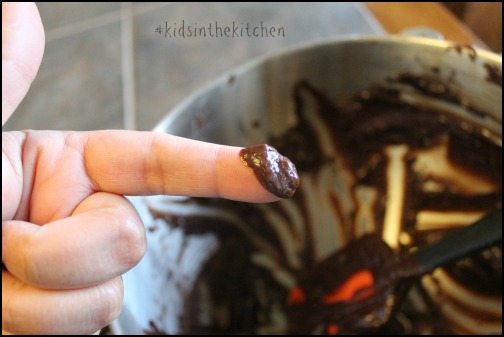


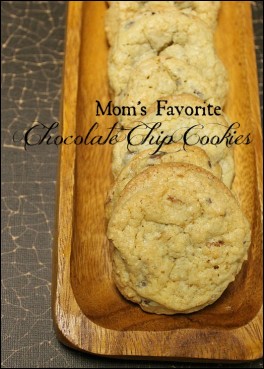
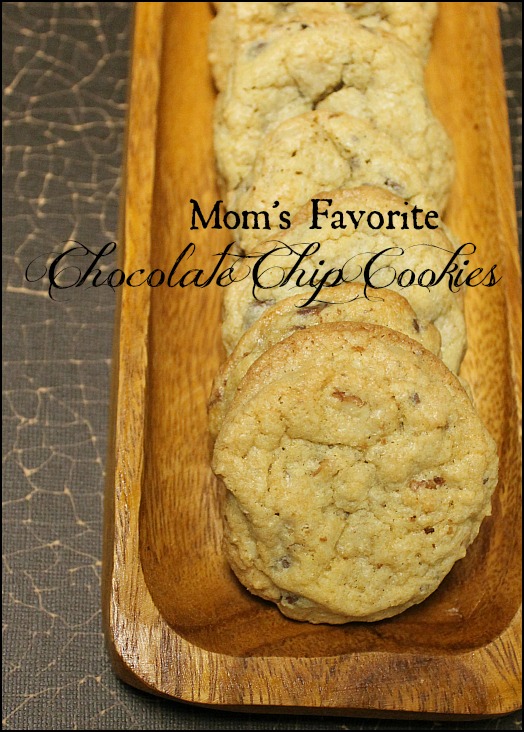
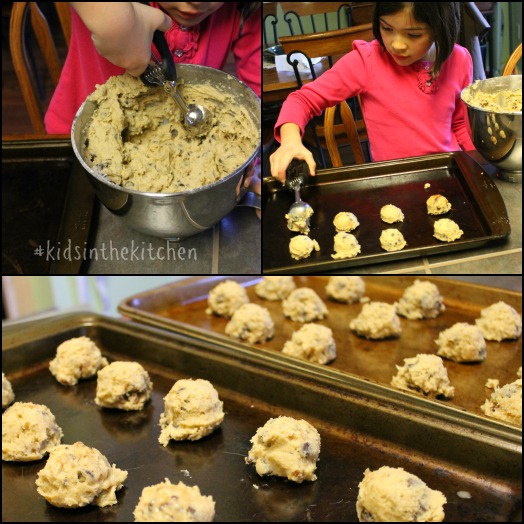
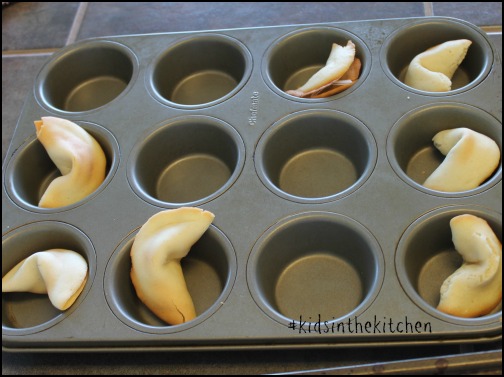 Sabreena and I thought we had it under control and put 4 circles of batter in at once to speed up the process. We had 2 casualties that time. One cookie that didn’t take on a very good shaped and one that never made it off the baking sheet.
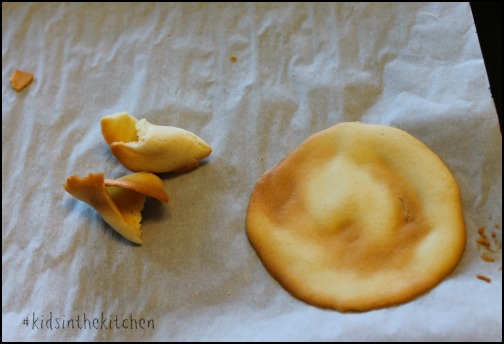 Was it fun? YES. Will I ever attempt it again? Probably Not. Best part though is they tasted really good.
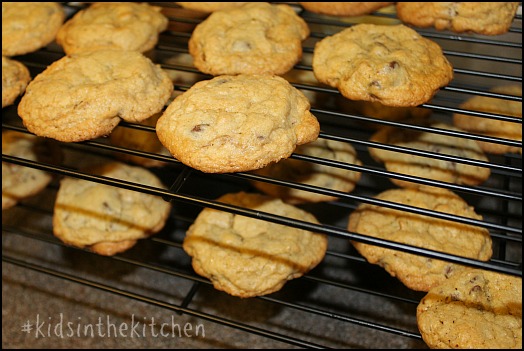


