Festive table-scapes are fun ways to incorporate decoration into the home. Our dining table is the usual catch-all of school papers, sunglasses, the day’s craft leftovers and water glasses so creating something decorative pushes us to clean up our messes. An for some reason I’m obsessed with pumpkins this year!
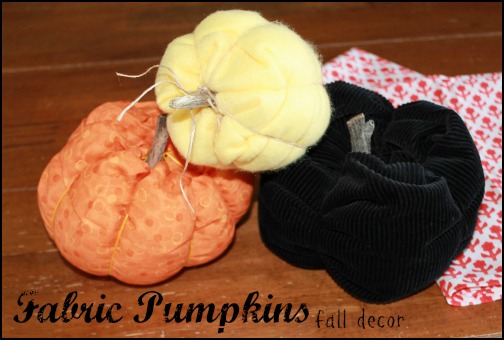
These decorative pumpkins can be found in favorite shops for hefty price tags. I’ve seen a gorgeous velvet ruby red variety for upwards of $30. I’m not one to spend that kind of money for decorations. I’m the kind of person to make my own. Using scrap fabrics I created some pumpkins of my own to decorate for years to come.
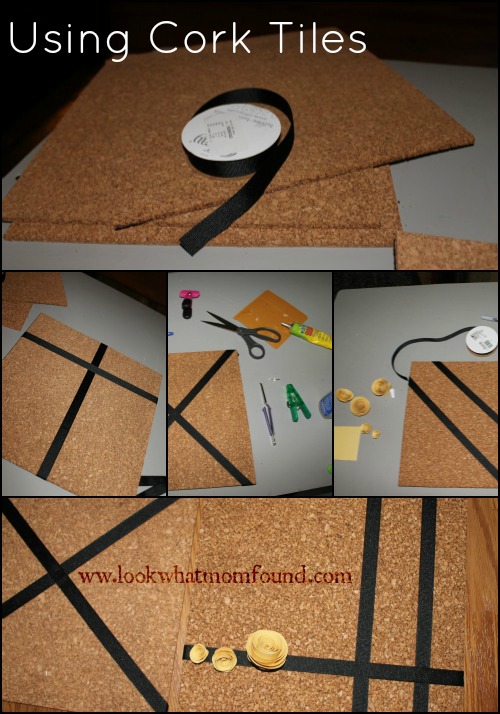
Materials
- Fabrics of your choice
- sewing machine or needle and thread
- embroidery thread, raffia, ribbon
- batting
- stem, real or made from fabric
- glue gun
Instructions
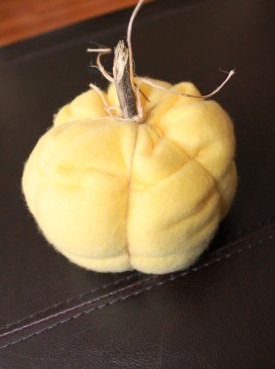
Create a pouch from your fabric. The length and width of your tube will change the shape of your pumpkin so experiment to see what you prefer.
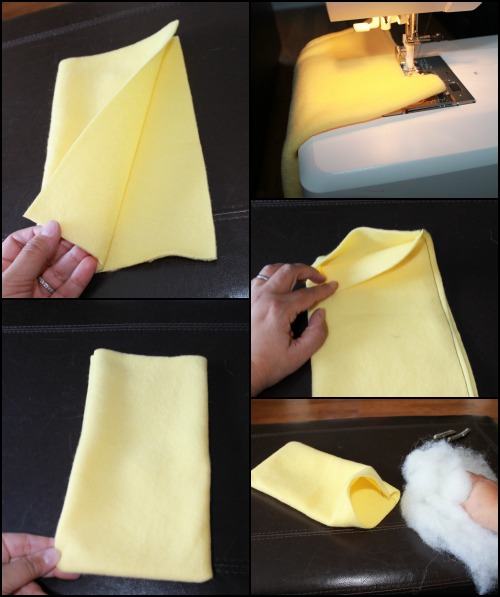
Fully stuff the tube leaving a couple inches at the top. Loosely fold in the top to cover stuffing.
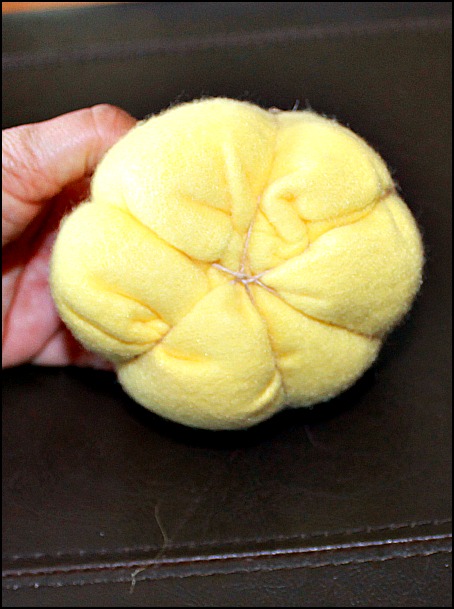
At the top of your pumpkin start wrapping your twine, raffia, thread or ribbon to create the indentations of your pumpkin. Finish by tying your thread tightly at the top. Arrange your threads to achieve the pumpkin look you want, fluff with your fingers and hands.
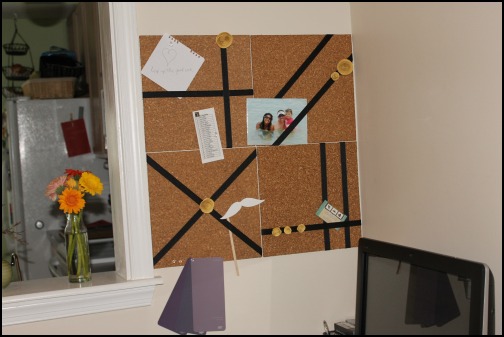
Add a touch of glue to your stem and shove through the top of your pumpkin into the batting and adjust till it sits how you like it. Arrange on table or shelf to decorate for the holidays.


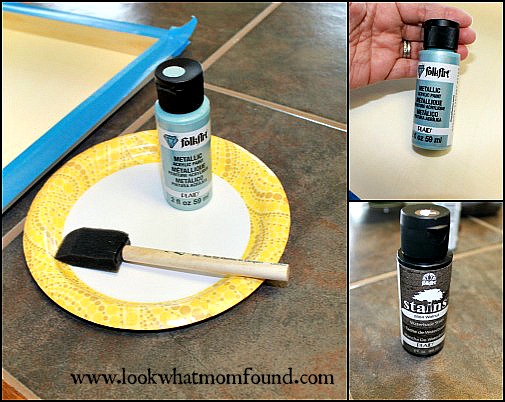

 Supplies
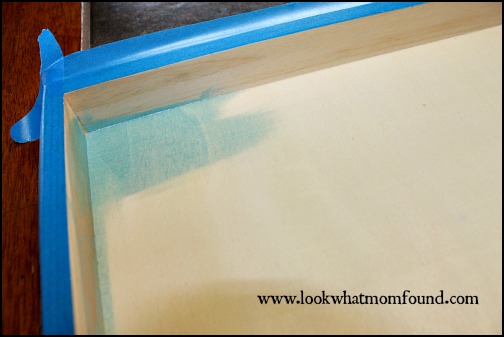
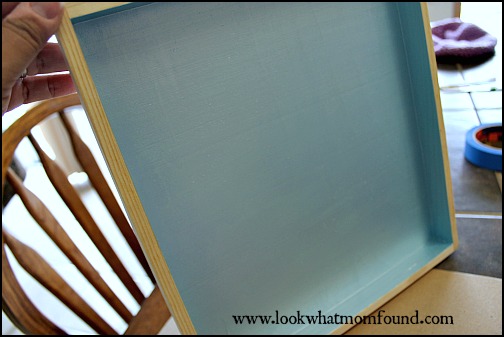
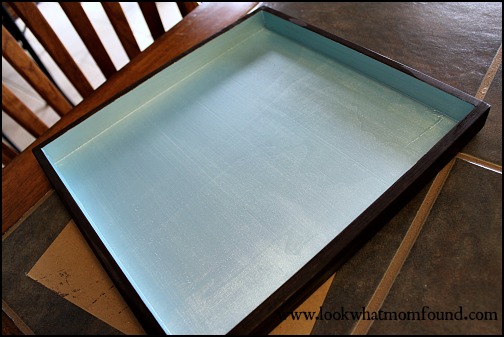