RSS Email

Bow Tie Cupcake Toppers

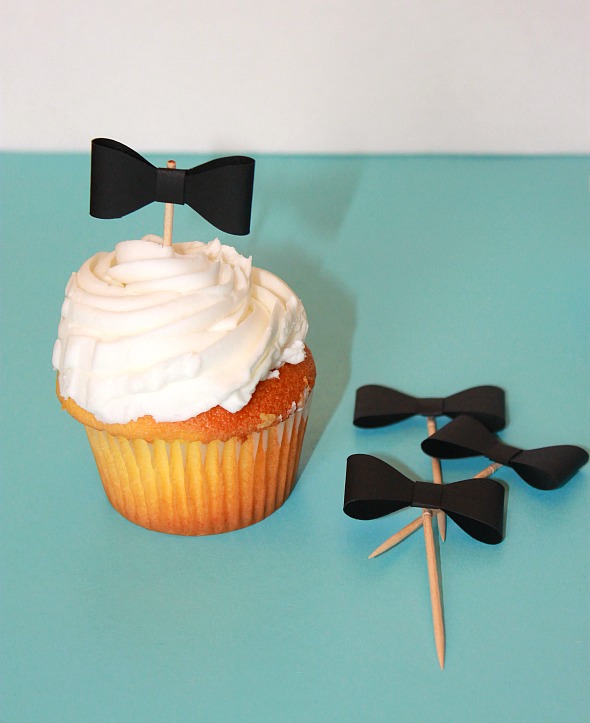
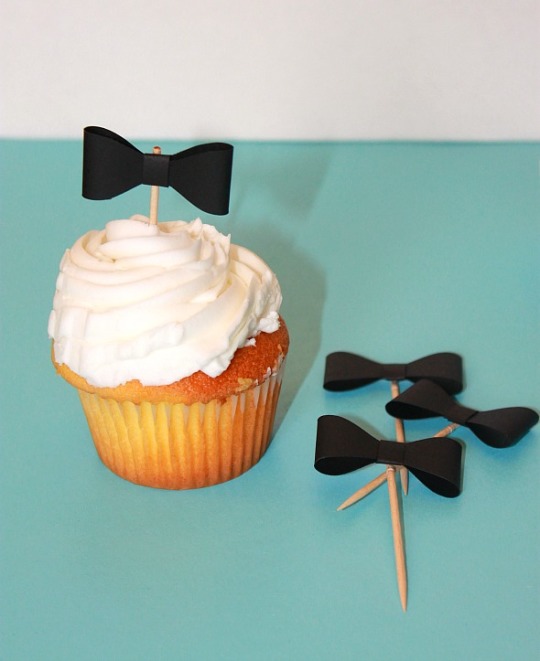
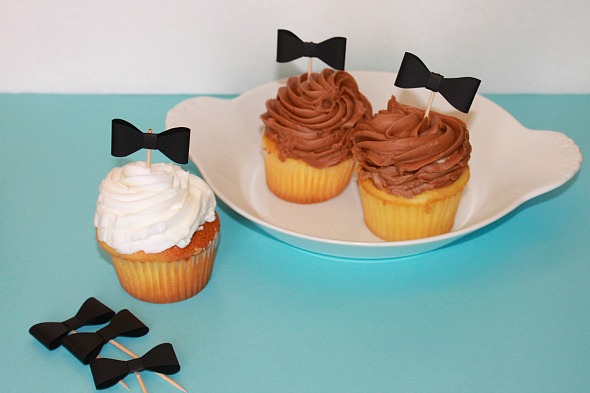
We have 2 very good bakeries in the area where we get cupcakes once in a while.  The cake and icing flavors are always a great combination and who doesn’t love a cupcake. Sometimes I like to dress them up a little especially when we get them for company or special occasions. These Bow Tie Cupcake Toppers are just the thing when we needed recently for a big family dinner.
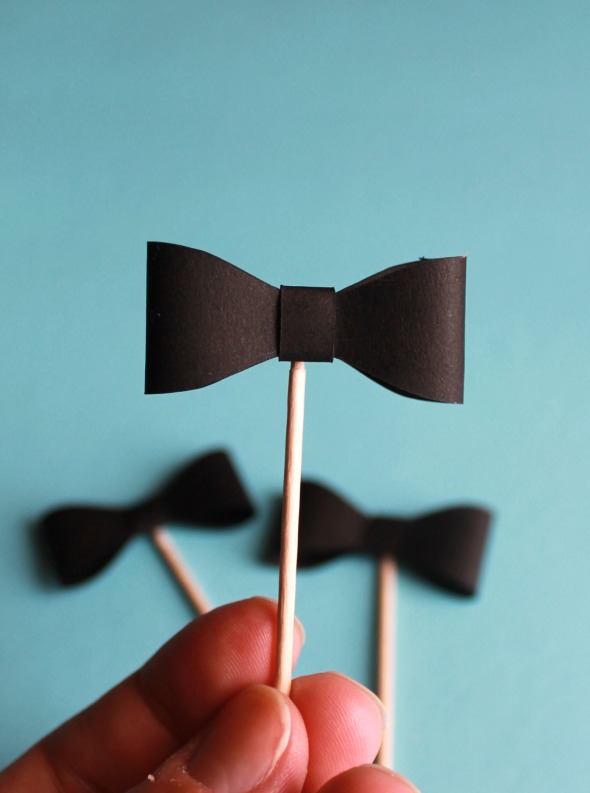
Bow Tie Cupcake Topper Craft, party supplies, party favors, party decor

Bow Tie Cupcake Topper Craft, party supplies, party favors, party decor

The cupcakes were simple so they could please a crowd.  Making the cupcake toppers took them to a new level, giving them a little touch of sophistication.  The best part was watching the kids then hold them up as bow ties as they talked in terrible British accents.

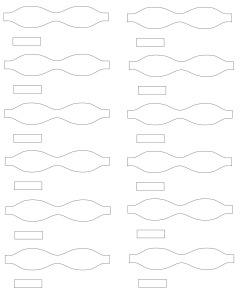
Create these for yourself either by cutting them out by hand or using your Silhouette cutting machine. Here is the SVG file for the Bow Tie Cupcake Toppers.Here is the printable if you are cutting them out yourself.

Printable Bow Tie Cupcake Topper Craft, party supplies, party favors, party decor


Supplies

  • Cardstock
  • Glue Dots, mini size is ideal
  • toothpicks
  • scissors or Silhouette

Directions

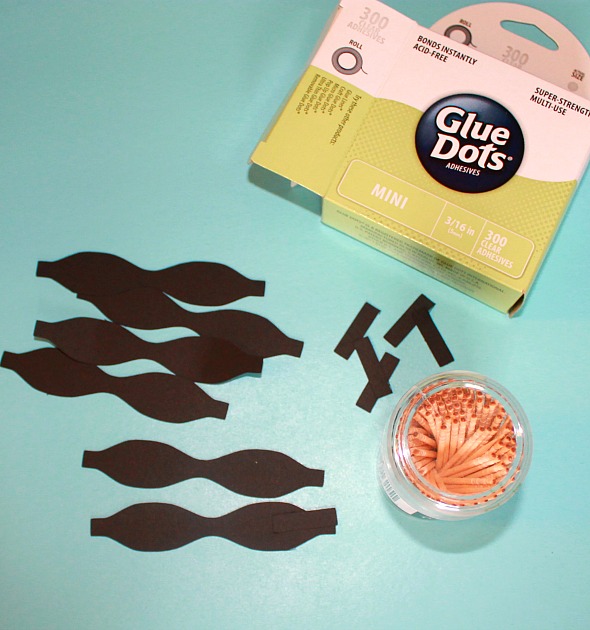
On your cardstock print the bow tie cut outs or run the file through your Silhouette on cardstock.

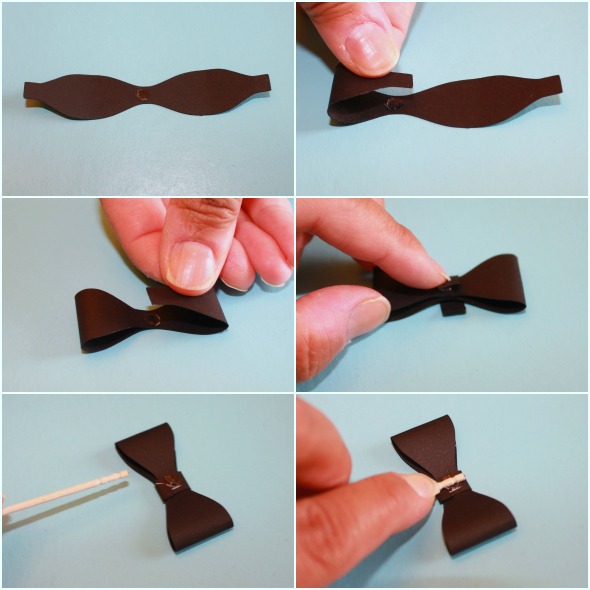
Add 1 mini glue dot to the center of your bow tie shape and fold over one end and stick to glue dot. Do NOT crease the bow tie.

Repeat with next side, add another glue dot and fold over to create bow tie shape.

Using the small rectangle strip fold that around so the ends meet in the back and secure with 1-2 more glue dots.

Using 1 more glue dot attach the toothpick to the back of the bow tie and you’re ready to decorate your cupcakes.
Bow Tie Cupcake Topper Craft, party supplies, party favors, party decor

Tutorial Bow Tie Cupcake Topper Craft, party supplies, party favors, party decor

Bow Tie Cupcake Topper Craft, party supplies, party favors, party decor

Don’t let the cupcakes be the end of your dress up. These can be placed in a cheese tray, fruit tray or even a bowl of olives. The bow ties can also be made to be any color to match your event, dinner or holiday.
Bow Tie Cupcake Topper Craft, party supplies, party favors, party decor


Silly Monster Faces for Kids #craft

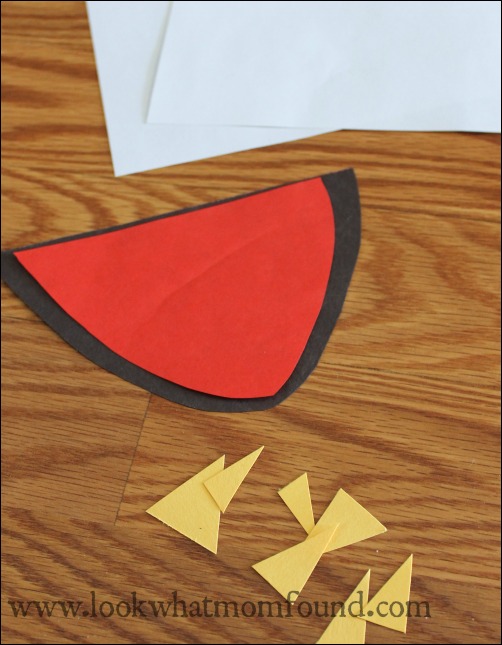
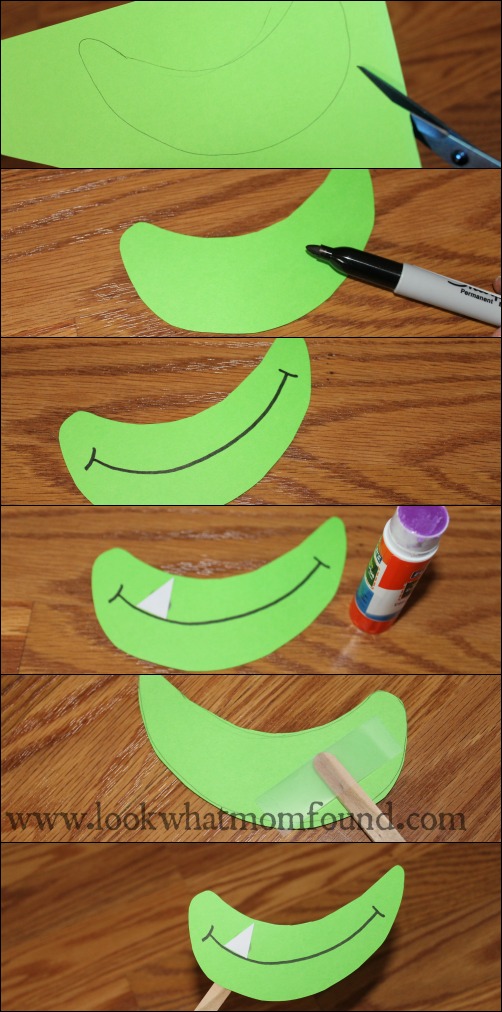
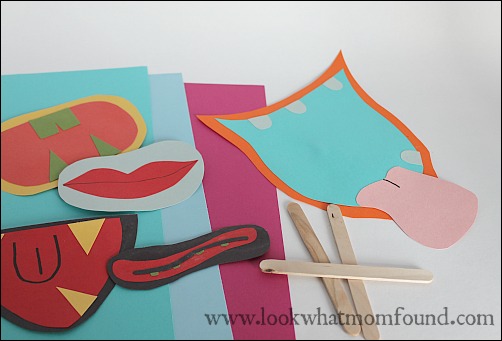
My kids are never short funny stories, jokes and even faces. But that didn’t stop us from making these cute Silly Monster Faces craft that work great for photo bombs or fun photography sessions or even strange conversations between each other.

All you need is some paper, scissors, glue & tape and popsicle sticks.Silly Monster Faces for Kids #craft

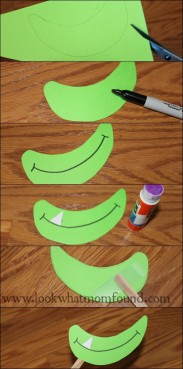
Sketch out the shapes of your crazy mouths, some crooked teeth, fat lips and big tongues. Match them up and attach them with glue and add a popsicle stick with a piece of tape.

Silly Monster Faces for Kids #craft

Silly Monster Faces for Kids #craft

Let the fun and laughter begin.

Silly Monster Faces for Kids #craft

Silly Monster Faces for Kids #craft


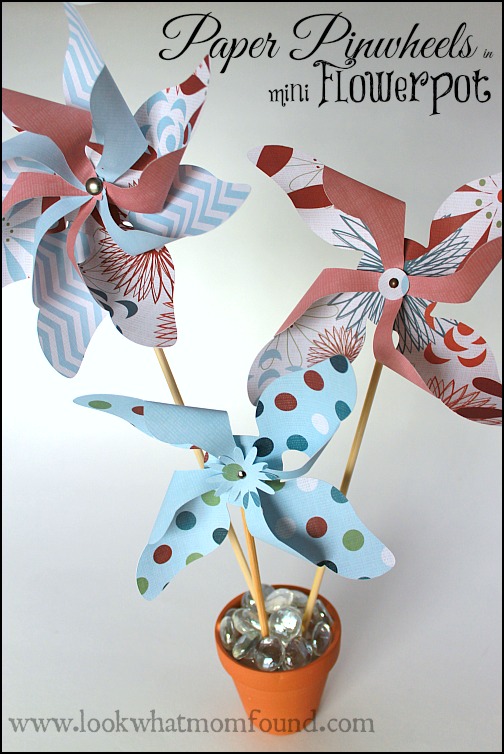
Paper Pinwheels in Mini Flowerpots #craft

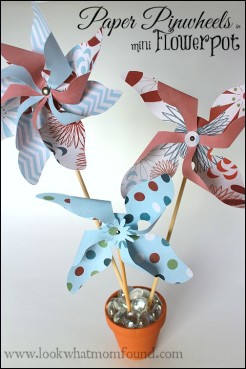
Happy Spring! Today marks the day of a new season full of promise and excitement. The green grass and daffodils poking through the snowflakes shows that there are BIG things happening. In our house we looking forward getting outside and enjoying the weather changes and shining sun. In the meantime we’re crafting fun and colorful things like these Paper Pinwheels in Mini Flowerpots.Paper Pinwheels in Flowerpots
This craft is also part of a mini clay pot challenge brought forward by Barb of A Life in Balance.

This is what I came up with.

Supplies

  • mini clay flowerpot
  • beads or marbles
  • Styrofoam ball
  • paper
  • brads
  • skewers
  • glue

Paper Pinwheels Supplies #craft

Directions

I’m a Silhouette Cameo user so my pinwheel shapes are cut out for me but cutting these out yourself is very simple. Using this tutorial is one of the easiest I’ve ever seen and can be modified for any size pinwheel.

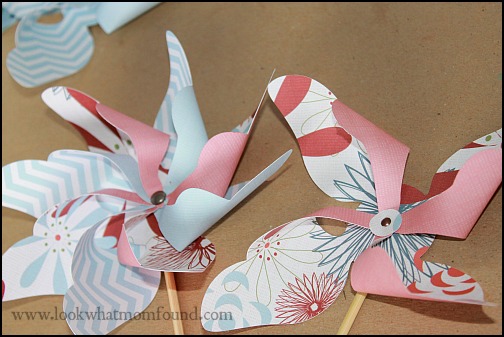
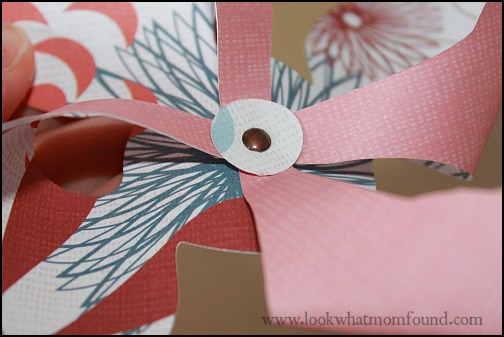
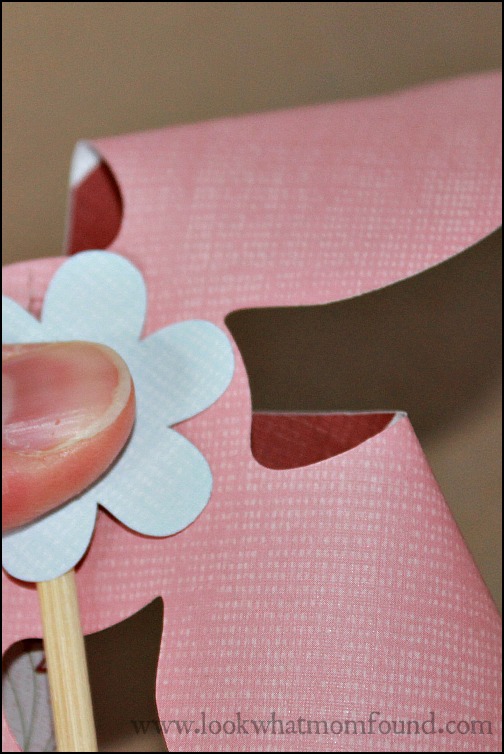
Taking your pinwheel shape and pull the ends down and secure with a brad. OR you can follow the directions on the tutorial and use the pin and pencil method to make it spin. My version doesn’t spin in the wind.

Paper Pinwheels in Mini Flowerpots

Paper Pinwheels

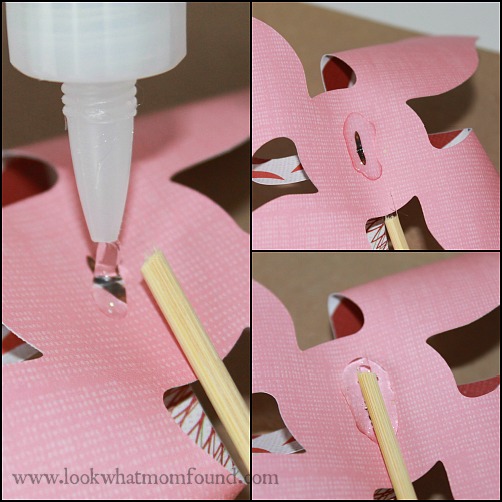
My version has you adding a blob of glue to the back of the pinwheel and securing the skewer in place with a scrap of paper on top for a cleaner look.Paper Pinwheels #craft

Paper Pinwheels #craft

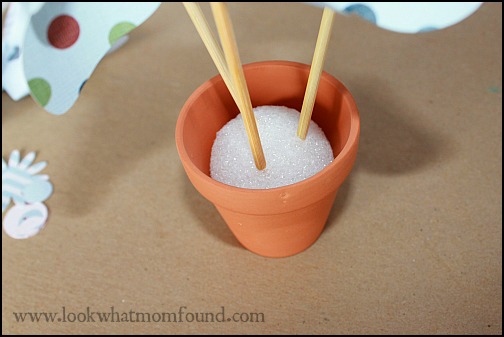
Place your styrofoam ball to the clay pot, use glue if wanted. Arrange your pinwheels in your styrofoam ball.styrofoam for pinwheels

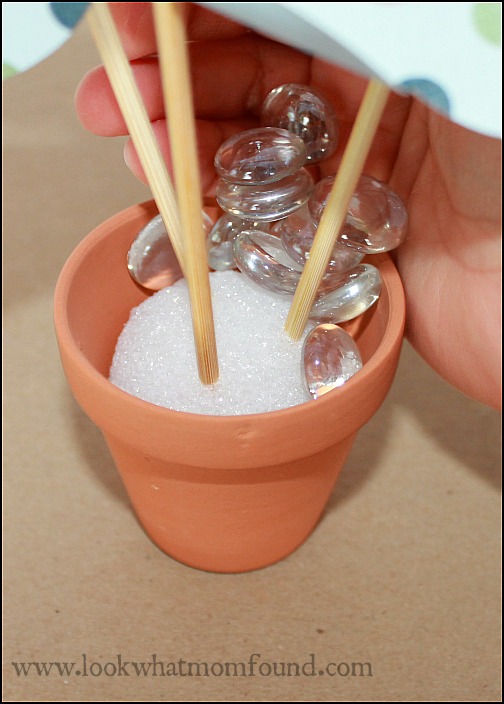
Add your beads or marbles to cover the styrofoam. Again using glue if wanted.Adding marbles Pinwheels #craft

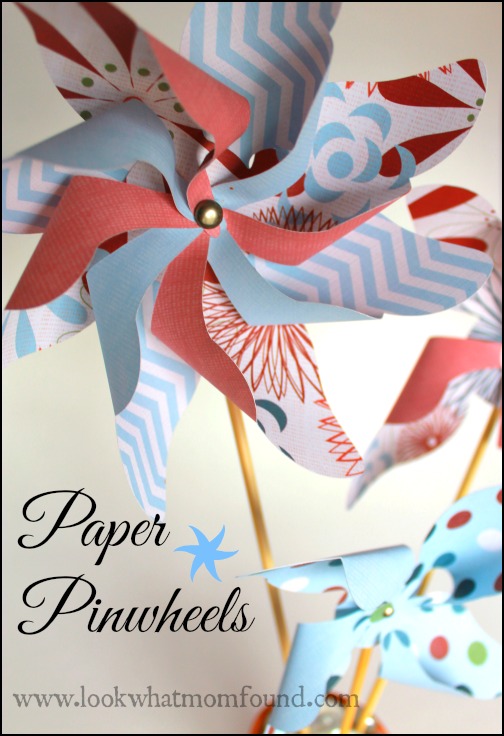
Your pinwheel bouquet is ready to display.Paper pinwheels


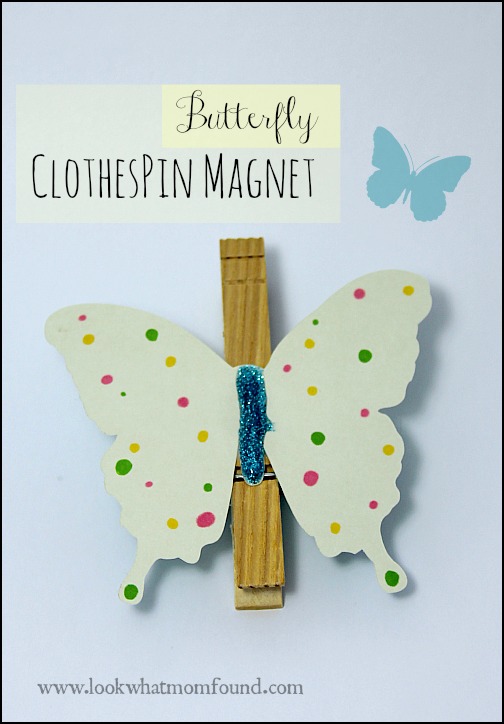
Butterfly Clothes Pin Fridge Magnet #kids #diy #craft

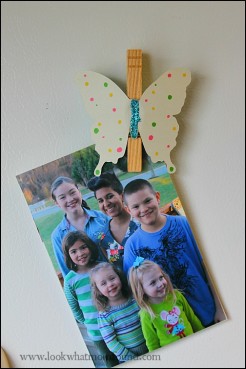
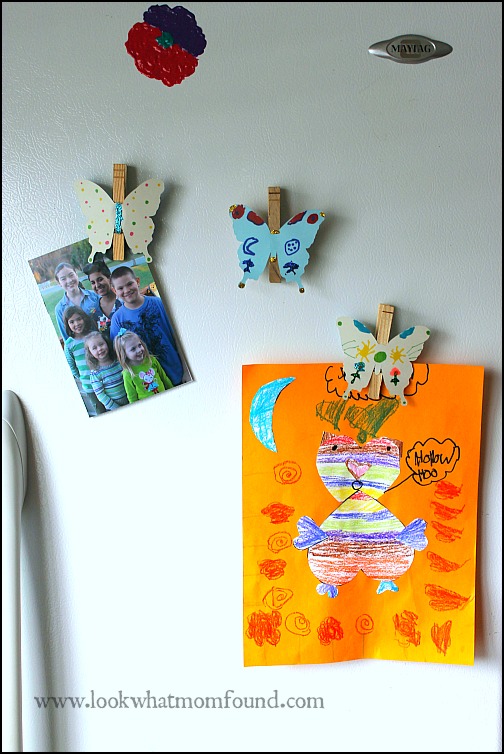
Everyday Shae comes home from school and empties her backpack of a stack of papers. Among these papers are art projects and drawings that she cherishes with every fiber of her being. She’s 6 so every single crayon stroke is important to her. I’ve often turned my kitchen walls into a mini art gallery but there is something about the refrigerator that beckons a masterpiece. That’s why these Butterfly Clothespin Magnets are so handy to have.

ClothesPin Fridge Magnet #kids #diy #craft Making these fridge magnets can be done by any child, any age. The materials used can vary from foam sheets to wooden shapes to molded clay.
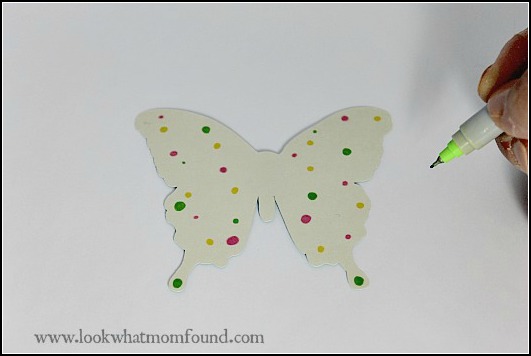
ClothesPin Fridge Magnet #kids #diy #craft

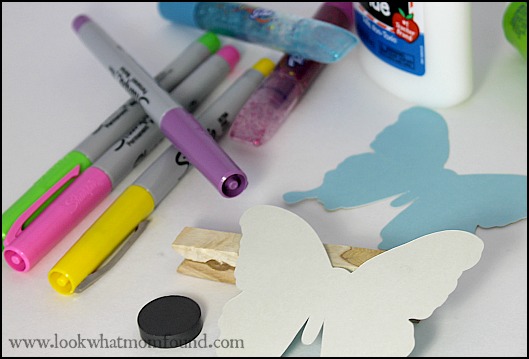
Materials
Cardstock butterfly
Fine point markers
Glitter glue, glitter, sequins, stickers, etc
Clothes pins
Glue (something strong enough to keep magnet attached to clothespin)
Button magnets

ClothesPin Fridge Magnet #kids #diy #craft

Directions
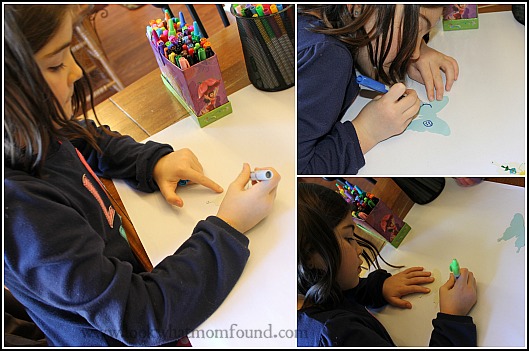
Give your children creative license when decorating their shape. These magnets are to hold not just notes and photos but their artwork. If using glitter glue allow time to dry fully before handling.ClothesPin Fridge Magnet #kids #diy #craft

ClothesPin Fridge Magnet #kids #diy #craftUsing a strong adhesive attach the magnet to the lower half of the clothes pin. Set aside to dry.
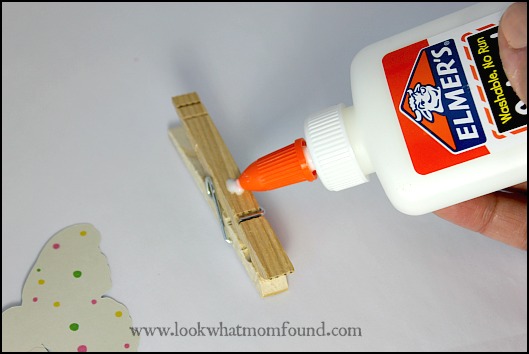
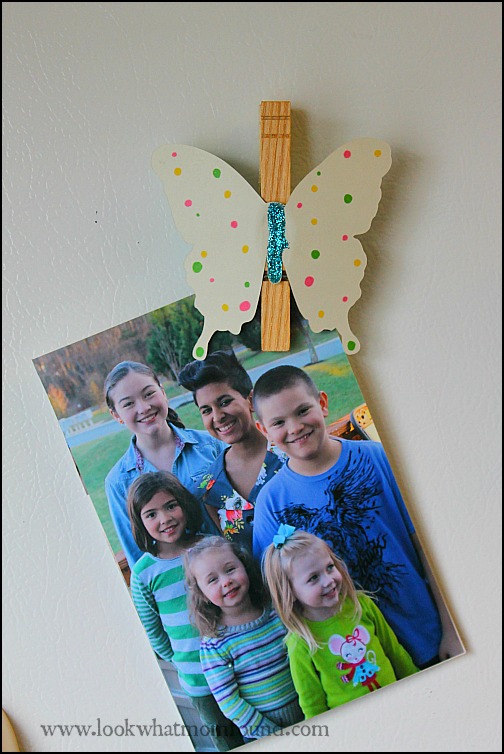
ClothesPin Fridge Magnet #kids #diy #craft
Glue the shape onto the clothespin so the opening is at the bottom. This works best when displaying sheets of paper.
ClothesPin Fridge Magnet #kids #diy #craft
Save the chip clips for the chips & pretzels and make multiple fridge magnets to exhibit the many pieces of artwork your children are creating at school and at home.


3D Paper Pumpkins #fall #crafts

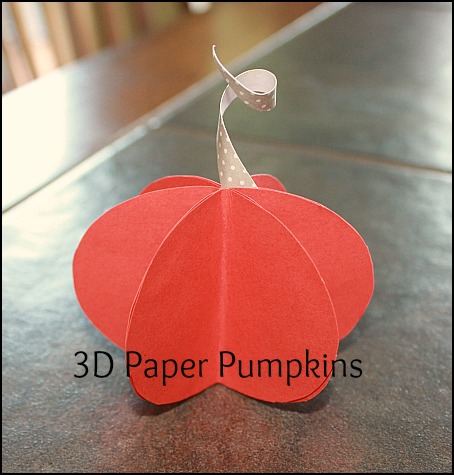
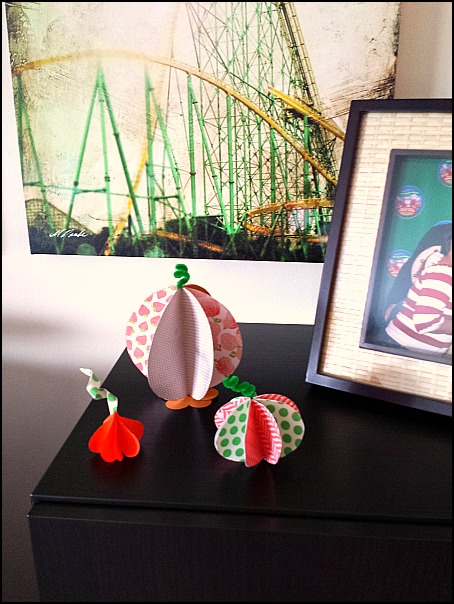
Creating crafts for the holidays is always fun. Giving kids creative opportunities to decorate and personalize anything they can get their hands on. Halloween and Fall is one our favorite times of the year to decorate. Black cats, bats, pumpkins, witches, ghosts and SO MUCH MORE can be used to highlight the season.3D Paper Pumpkins #fall #craft #kids
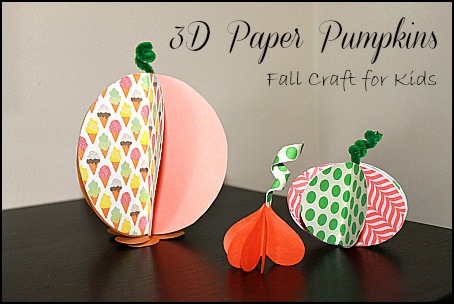
These paper pumpkins can stick around the house till Thanksgiving and they are easy to make using just 2 supplies, glue and paper. Embellishments can be added but definitely aren’t necessary.

3D Paper Pumpkins #fall #craft #kids
Supplies
6-8 paper shapes cut from cardstock or heavy weight paper per pumpkin
school glue
3D Paper Pumpkins #fall #craft #kids

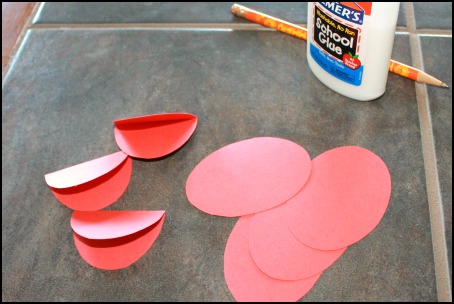
Getting the right paper shapes took some time to figure out. Circles seem like the best option but when put together it didn’t work well.  Trimming off a small clean edge will make them stand up straight or you can build a little base like I did out of scrap paper.

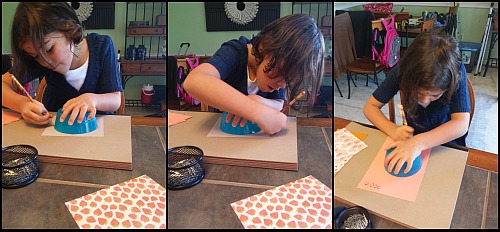
Shae traced bowls, fridge magnets and punched heart shapes on a variety of scrapbook paper and cardstock.  I prefer heavy paper because too much glue will make lightweight paper curl and bend easily. And when there are kids there is always too much glue.

3D Paper Pumpkins #fall #craft #kids

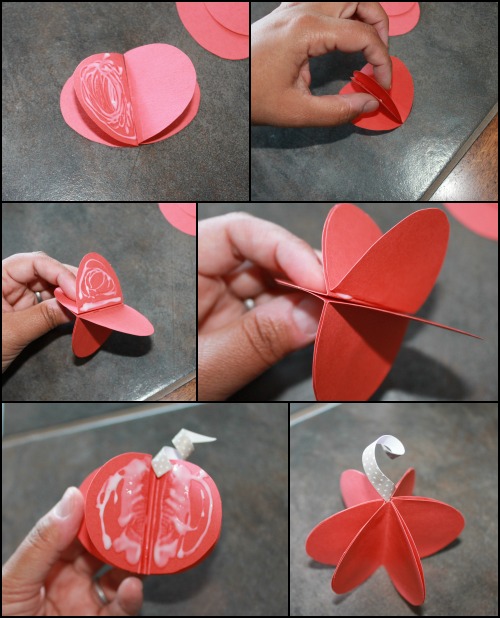
To start your pumpkin fold each shape in half. Using school glue attach the outside half of one shape to the outside half of another shape. Make sure they are lined up evenly.

3D Paper Pumpkins #fall #craft #kids

Continue until all the pieces are glued together and you have an accordion looking piece. Now add your pumpkin stem to the middle with a touch of glue. This could be a piece of pipe cleaner, a strip of curled paper, a leaf shape or anything else that comes to mind.

Now it’s time to close up your 3D shape. With a little bending and twisting arrange your pumpkin so the paper is evenly spaced. Set aside to let dry until you find its final display spot.

3D Paper Pumpkins #fall #craft #kids


A Crafty Night with #ACMooreGNO

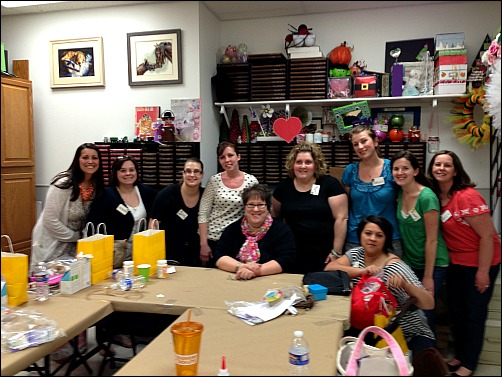
Last week I was joined by 8 other bloggers for a crafty night of fun. This was the inaugural A.C. Moore Girls Night Out.

ACMooreGNO Bloggers

A couple of months back I pitched AC Moore in a selfish attempt to let me and my friends use one of their rooms to get together for a night of laughs and crafts. Get this, they fell for it.  In fact they came through with such an awesome event that I’m hoping to help them organize more for other bloggers.

We were joined by A.C. Moore’s Director or Education, Marketing Manager and Activity Coordinator, A.C. Moore’s PR Rep and a brand representative from Beacon Adhesives. Stepping into that room I knew they meant business. We were set up with complete stations with everything we needed to create 2 fun projects that fit our skill levels. Within the group we had some crafty mavens and some crafty hesitant but the steps of each craft were laid out clearly and there were plenty examples given from our leader Robin.

The  night was filled laughs and information about products and inspiration and crafting stories from the pros and the bloggers.

Here is what we worked on.

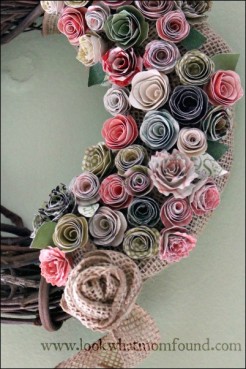
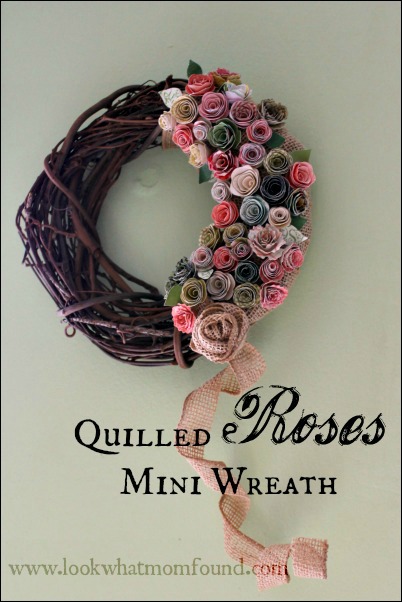
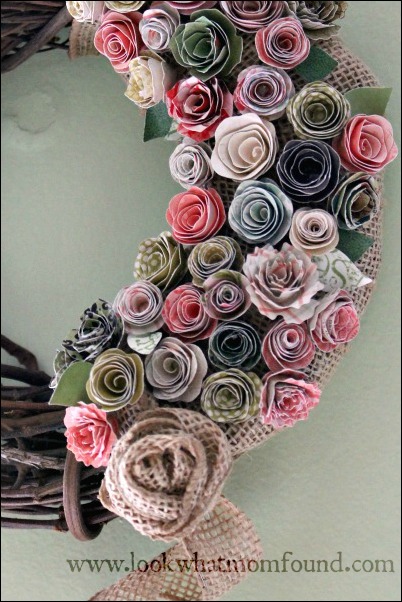
The Quilled Roses Mini Wreath was my favorite. It did take the longest since I had to finish my roses and assembly at home.
Quilled Roses on Min Wreath, ACMooreGNO,

quilled rosettes on wreath craft, #ACMooreGNO

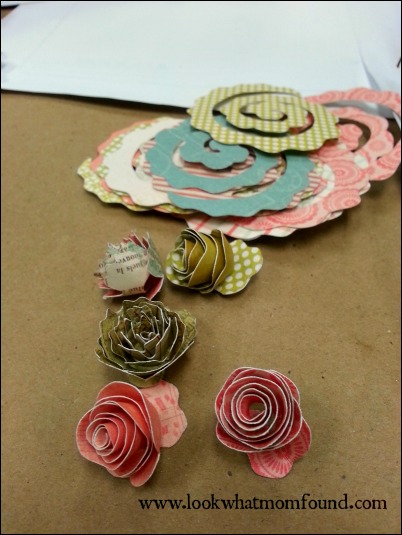
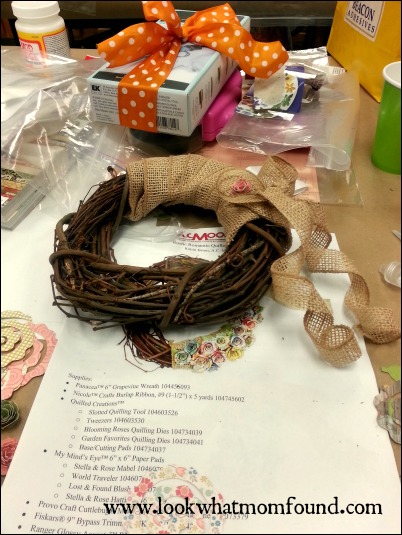
quilled roses supplies

quilled roses supplies
The first craft we did was this Patchwork Paper Composition Book.

Patchwork Paper Notebook, ACMooreGNO
All the pretty squares were provided along with adhesives and the notebook. I’m using mine for the next conference I attend. I plan on making a couple more of these with different themed paper for different personalities.

Check out your local A.C. Moore location from Maine down to Florida or online for project ideas and top crafting brands.


Craft Time with Tissue Paper

Shae and I have been crafting machines over the last couple weeks. Thanks to some motivation and inspiration from GummyLump and their #300CraftsforKids campaign we’ve been able to crank out some really creative stuff.
Shae is so excited about everything she’s been doing that she even made a video explaining her crafts.

Today’s tutorials will be using most of the same supplies so that they can be made in the same day.  Both of these will make really cute gifts for Mother’s Day or Easter.

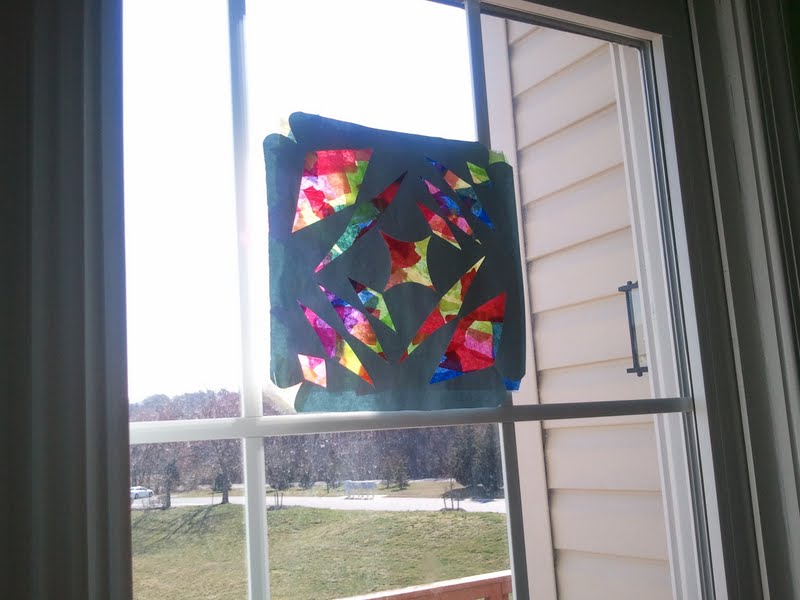
tissue paper stained glass, kids craft

Tissue Paper Stained Glass

Supplies

  • Colored Tissue Paper scraps
  • Wax paper
  • Construction paper
  • Scissors
  • White glue
  • Tape/ribbon

Instructions

  • Cut your wax paper and construction paper to the same size, 8”X8” is a good size
  • Cut shapes from your folded up paper. Think the oldschool snowflake method, Fold, crease, fold crease. The bigger the cuts the better, you want to see through this cutout as much as possible.
  • Spread a very thin layer of white glue on your wax paper and start randomly sticking your tissue paper pieces till it’s COMPLETELY covered, let dry 2 hours or overnight if possible. (might have to place under heavy book to flatten if it starts to curl up)
  • Add sporadic dots of white glue on your construction paper cutout and place over tissue paper sheet. Press firmly.
  • Hang in a sunny window and see the tissue paper light up like stained glass.

Kids can help tear tissue paper, spread glue, stick tissue and even cut if they are old enough. I prefer to use the scissors myself. Shae isn’t careful enough yet to not cut herself or me and I can’t find good non metal blade scissors. This craft can be any shape or size, using any color tissue paper and done at just about any age. There is something for everyone.

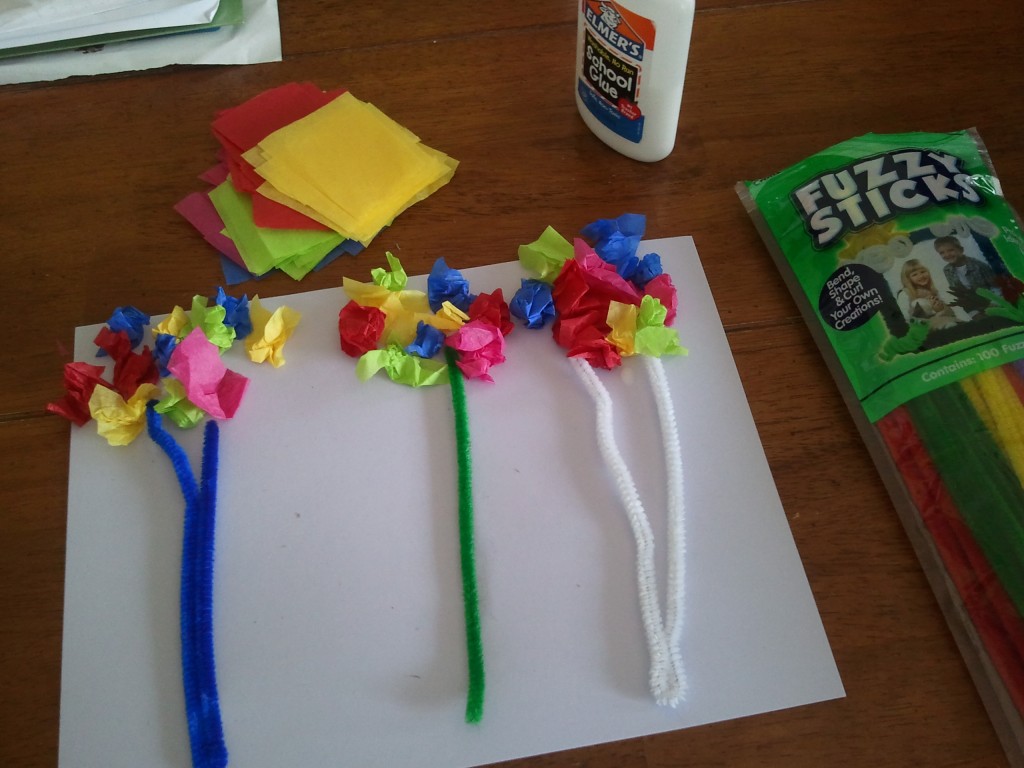
Tissue Paper Spring Bouquets


everything you need

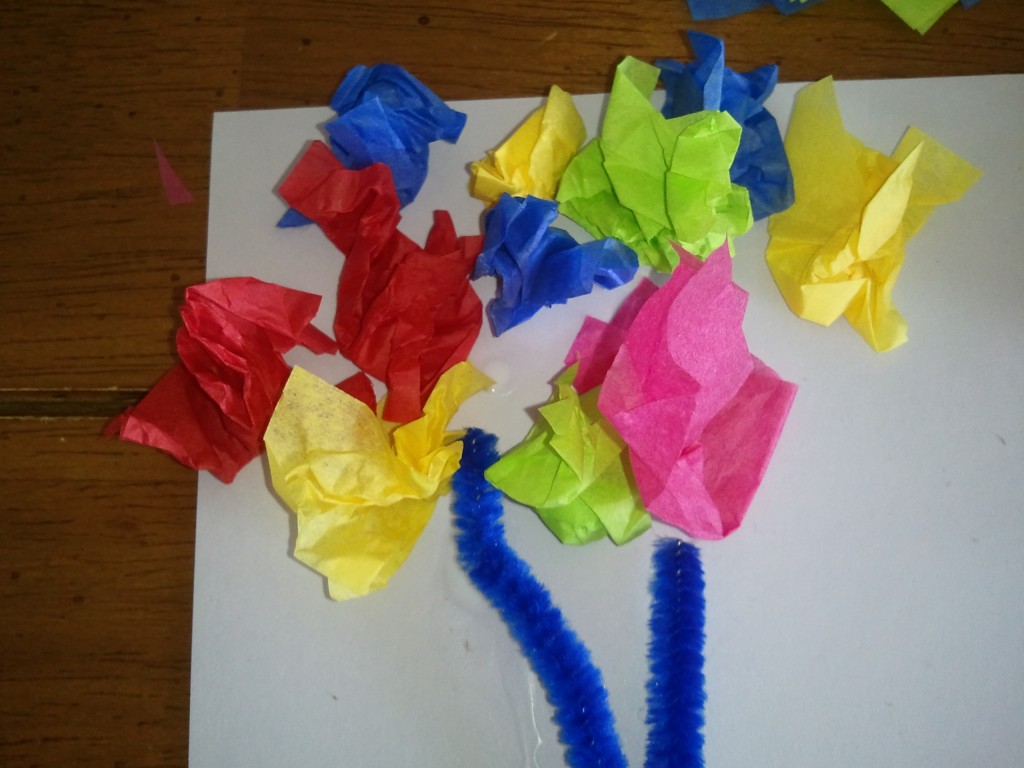
spring flowers


Supplies

  • Colored Tissue Paper, cut into 2 inch squares (not perfect)
  • Cardstock or Construction Paper
  • White Glue
  • Pipe Cleaners or Markers

Instructions

  • Lay out your paper in the direction of choice and spread thin layers of glue in 3 inch circle
  • Scrunch up tissue paper and stick to glue, continue till you have as many filled bouquets as desired
  • Glue pipe cleaners or draw lines with markers for the stems
  • Let dry for 1 hour.

Another craft where a 2 or 3 year old could pretty much do the entire craft on their own.

Stay posted….more to come.


I Disclose