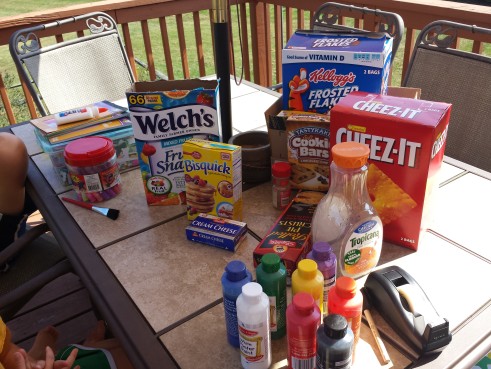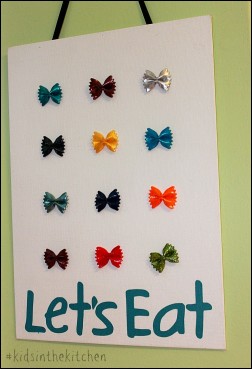
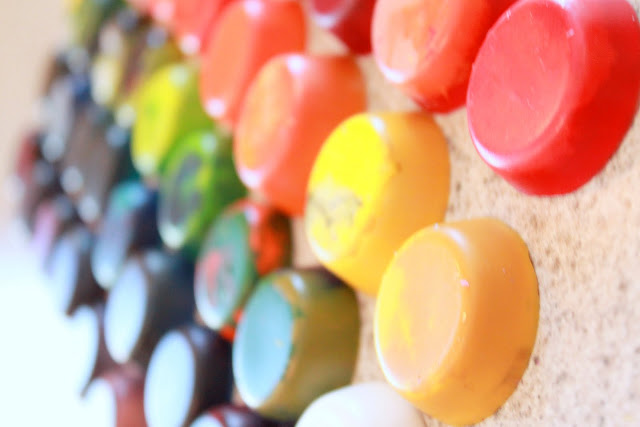
Going to the grocery store can be really inspiring for art and creativity. Our last trip motivated this new art piece in the kitchen. Bow Tie Pasta is not only a tasty addition to salads and soups its utterly adorable in shape. Shae and I created this Painted Bow Tie Pasta Art for the kitchen.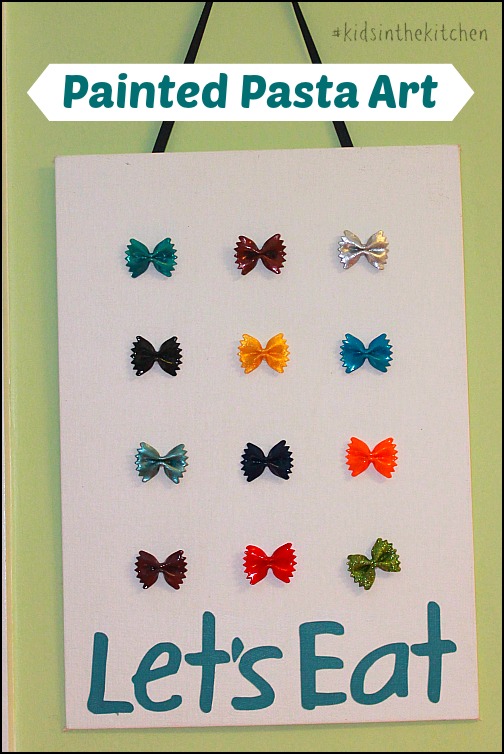
Using mine and Sabreena’s wide array of nail polish choices gave us an endless rainbow of colors to paint the bow ties. The drying time took the longest time and the fumes sometimes were a bit much as both Shae and I had multiple bottles open at once. I encourage this be done in a well ventilated room and with adult supervision.
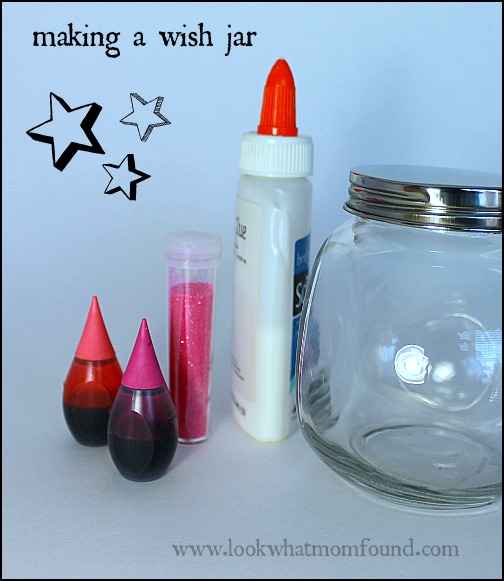
Materials Needed
- Bow Tie Pasta
- nail polish in multiple colors
- school glue
- paper
- Canvas Board or Frame with glass missing
- Permanent Craft Adhesive like Beacon Quick Grip or hot glue
- Lettering of choice
Directions
Start with choosing your bow ties. I went with a uniform look because I knew they would be displayed. Check for broken edges or curled edges.
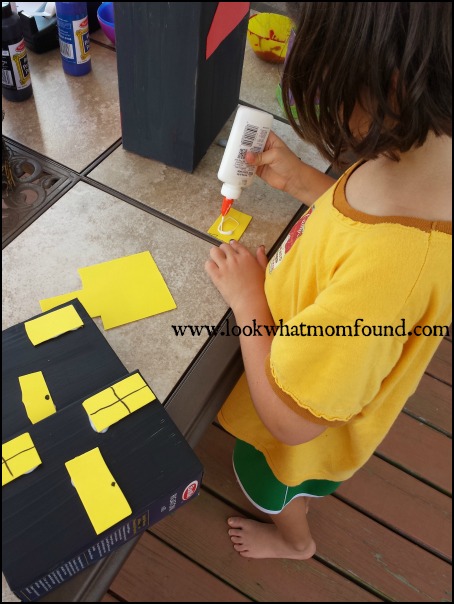
Using just a tiny dab of school glue, attach each bow tie to a piece of scrap paper. Doing this gives a stable foundation to let you paint.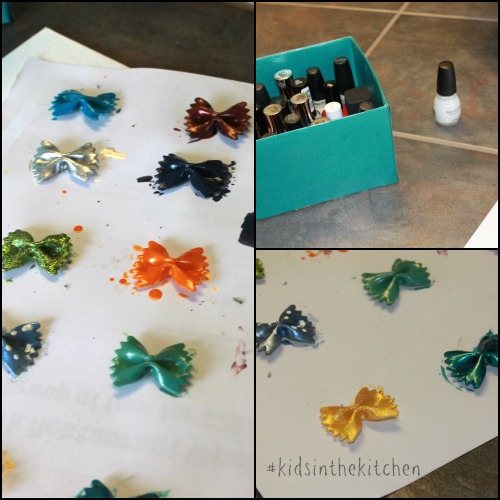
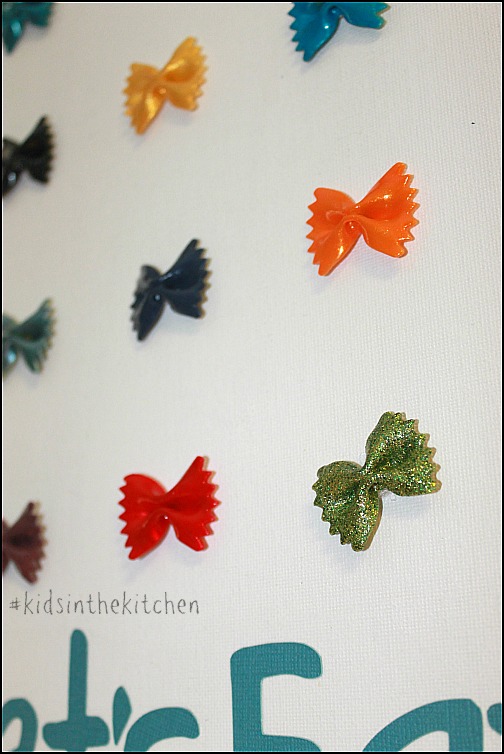
Choose your paint colors and give each pasta shape 2-3 coats. Top come off with glittery or shiny topcoats for added dimension.
Once they’ve completely dried and your happy with the coverage carefully peel them off the scrap paper. Remove as much residual paper as possible but this side won’t be seen.
Arrange your painted bows on your final canvas or frame and then adhere them. Let this set till the glue is completely dried.
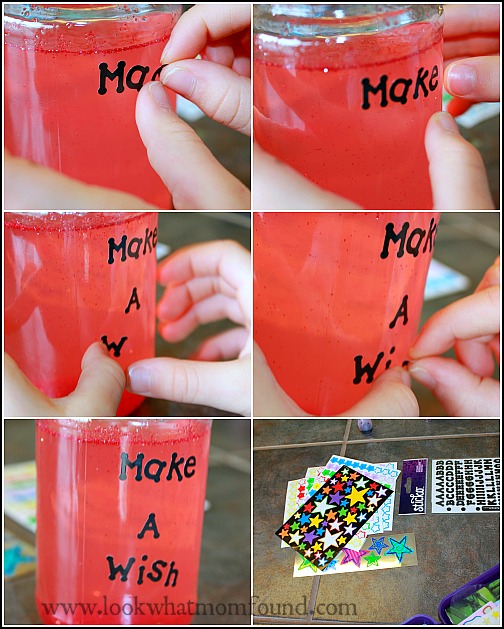
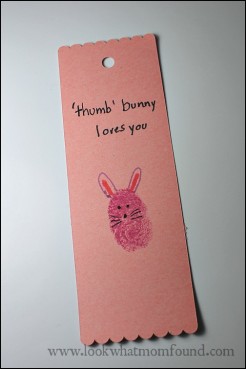
Add lettering or stickers of your choice. I added Let’s Eat but Play With Your Food was another phrase I liked.
I cut my letters out on my Silhouette then mod podged them onto the board. Just 2 coats was all that was needed. This was ready to hang then next day. This is a great rainy or snow day activity for even little hands working on fine motor skills.
After painting we tried adding polka dots and stripes with markers. They didn’t stick. I think toothpicks or super small paint brushes dipped in nail color would work very well to get those details.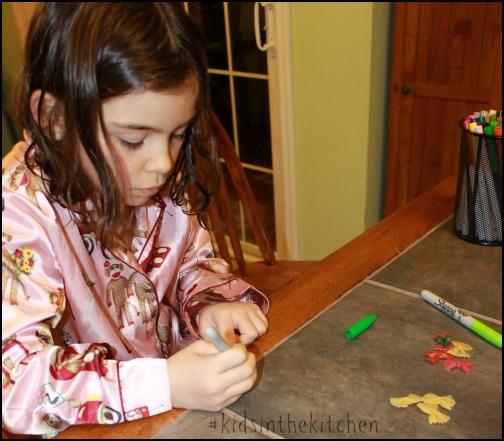
Skip the nail polish and fumes and go for acrylics or poster paints. We used nail polish for the bright intense hues and shiny finish. 
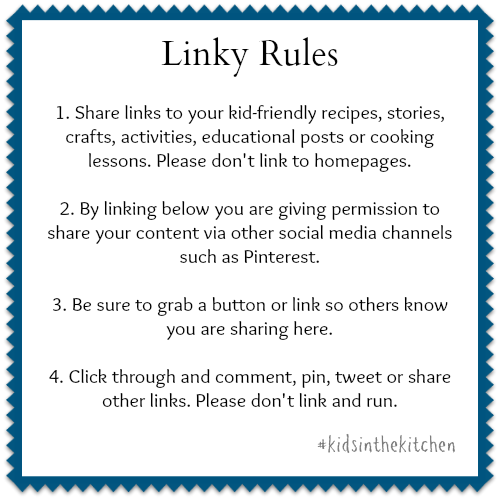
Come join me and my co-hosts, Sarah of Play to Learn with Sarah, Paula at Frosted Fingers and Sara at Sensibly Sara, each week linking up a post, new or old, that feature the theme Kids in the Kitchen. It doesn’t matter what you are doing as long as you are doing it together, enjoying it and learning something along the way.
- preparing healthy snacks
- having a tea party
- counting skills with m&ms
- pouring from measuring cups
- discovering a local restaurant that your kids love
- creating new family friendly recipes
You’ll find so many more ideas on the #KidsintheKitchen Pinterest Board.


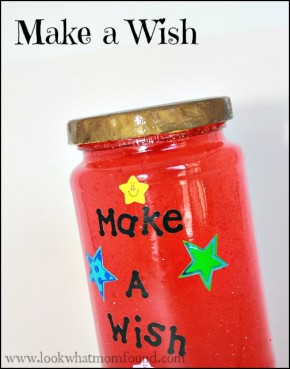
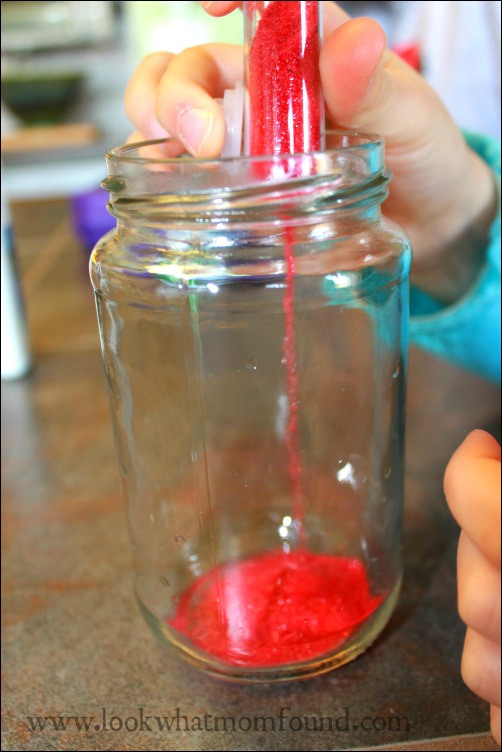
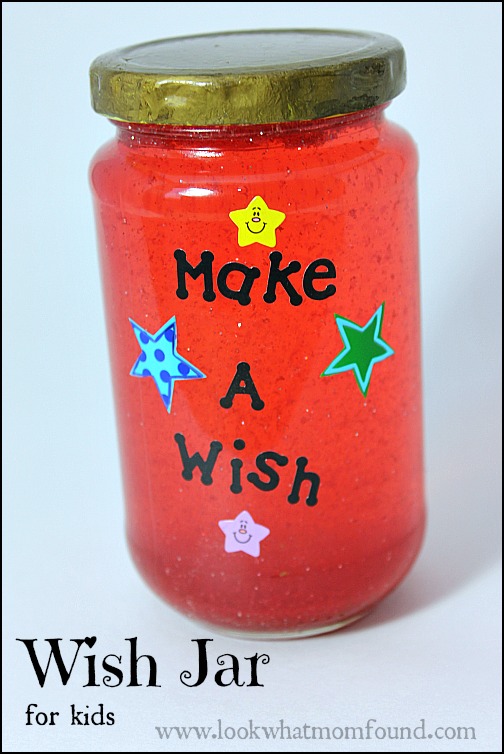 Because of this we thought it would be the best idea ever to make her own Wish Jar. This lets her make wishes anytime she wants for whatever her little heart desires.