RSS Email

Butterfly Clothes Pin Fridge Magnet #kids #diy #craft

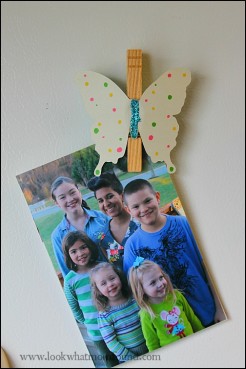
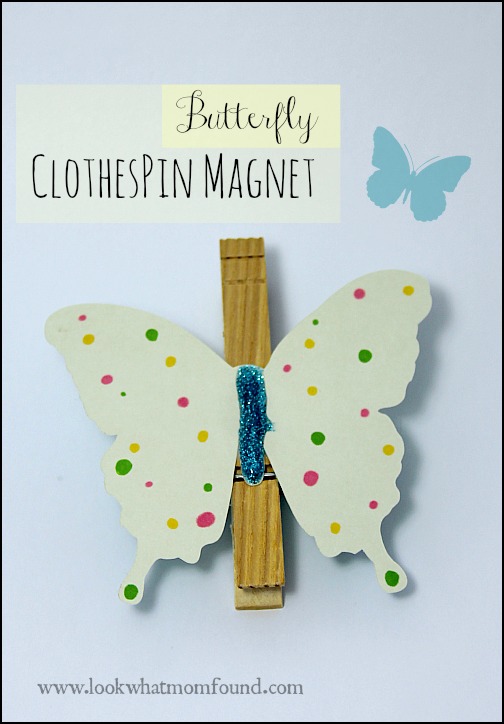
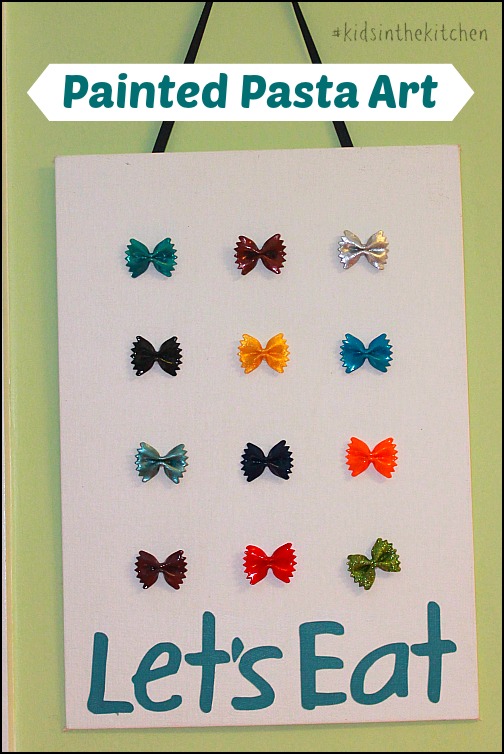
Everyday Shae comes home from school and empties her backpack of a stack of papers. Among these papers are art projects and drawings that she cherishes with every fiber of her being. She’s 6 so every single crayon stroke is important to her. I’ve often turned my kitchen walls into a mini art gallery but there is something about the refrigerator that beckons a masterpiece. That’s why these Butterfly Clothespin Magnets are so handy to have.

ClothesPin Fridge Magnet #kids #diy #craft 
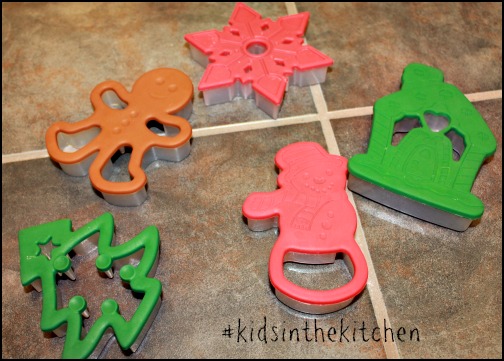
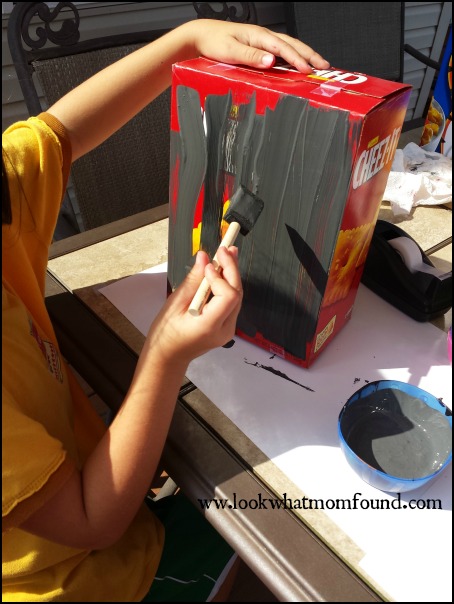
Making these fridge magnets can be done by any child, any age. The materials used can vary from foam sheets to wooden shapes to molded clay.
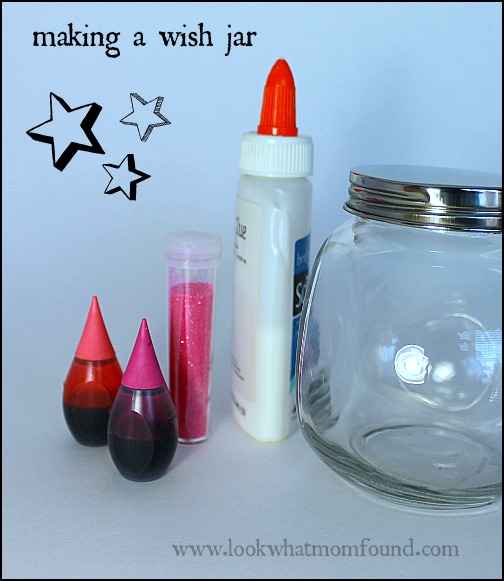
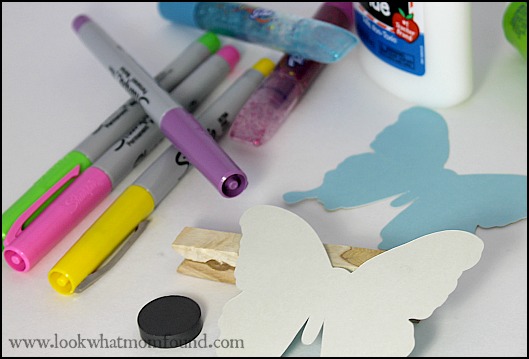
ClothesPin Fridge Magnet #kids #diy #craft

Materials
Cardstock butterfly
Fine point markers
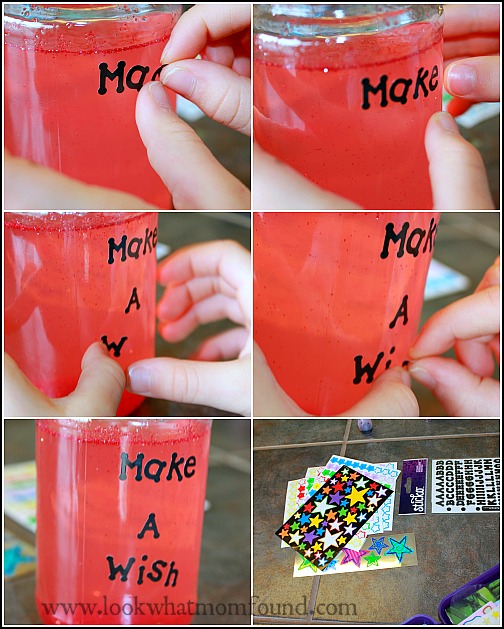
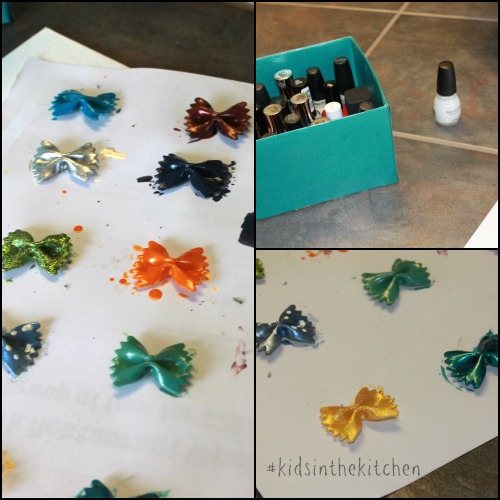
Glitter glue, glitter, sequins, stickers, etc
Clothes pins
Glue (something strong enough to keep magnet attached to clothespin)
Button magnets

ClothesPin Fridge Magnet #kids #diy #craft

Directions
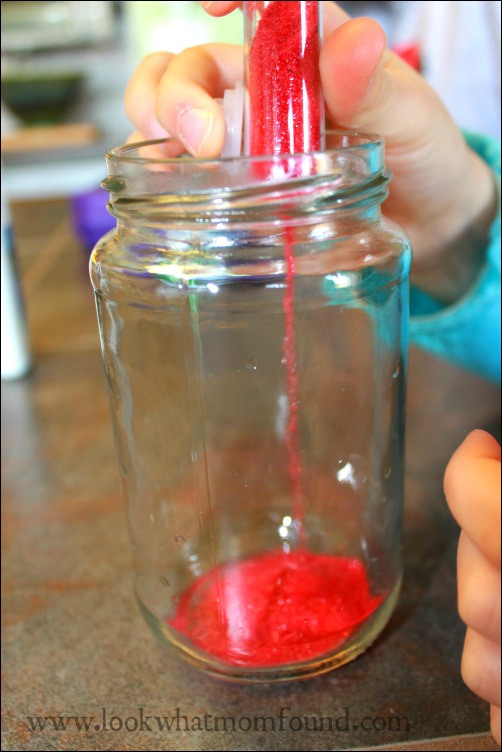
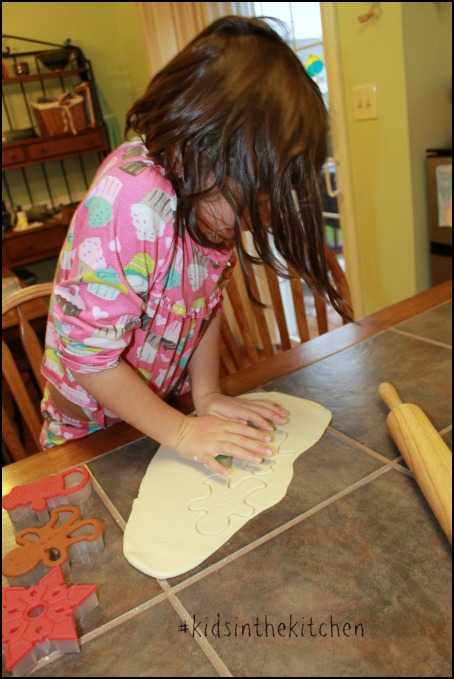
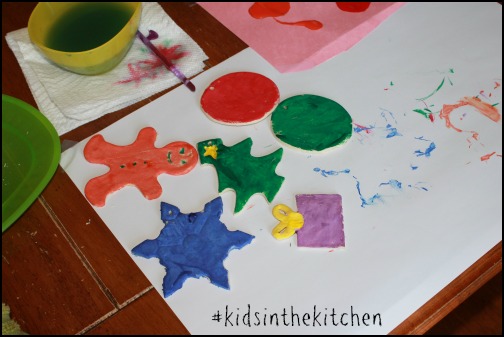
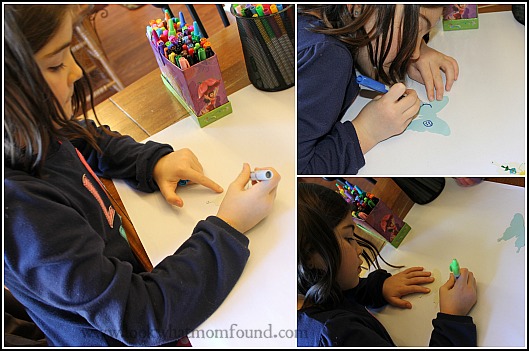
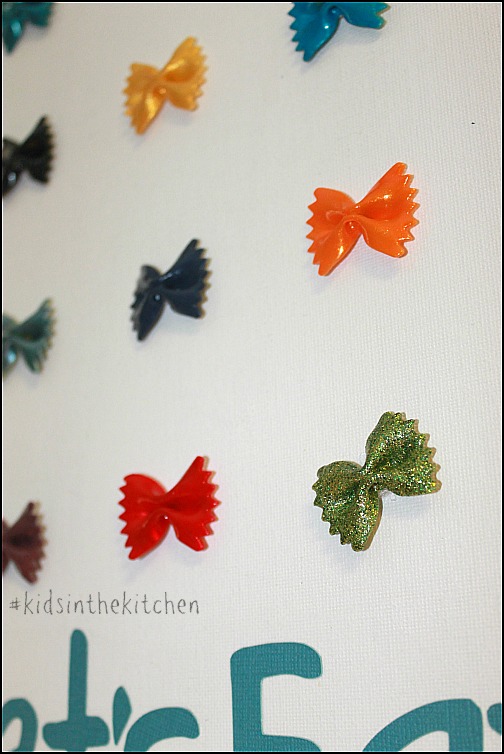
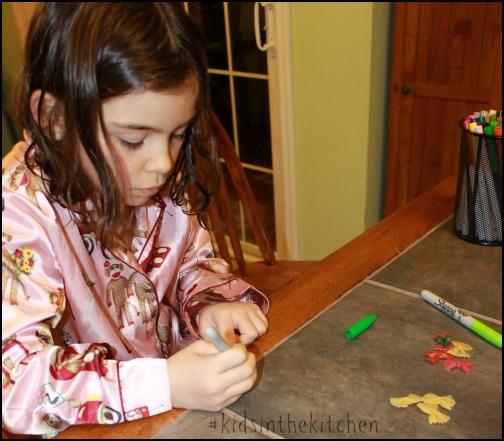
Give your children creative license when decorating their shape. These magnets are to hold not just notes and photos but their artwork. If using glitter glue allow time to dry fully before handling.ClothesPin Fridge Magnet #kids #diy #craft

ClothesPin Fridge Magnet #kids #diy #craft
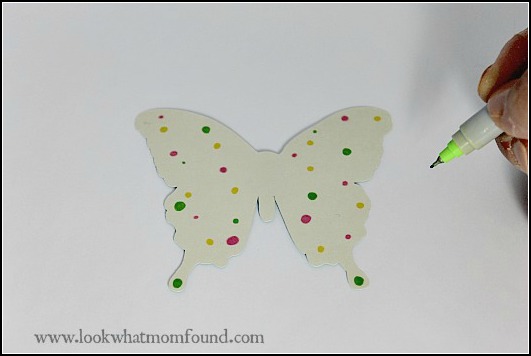
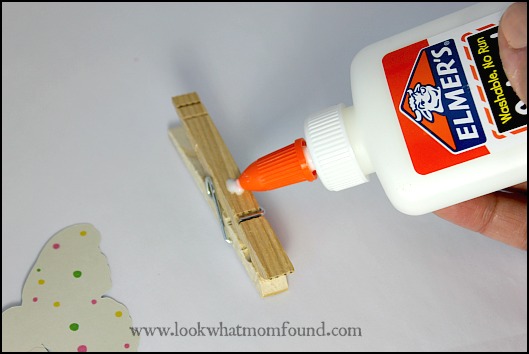
Using a strong adhesive attach the magnet to the lower half of the clothes pin. Set aside to dry.
ClothesPin Fridge Magnet #kids #diy #craft
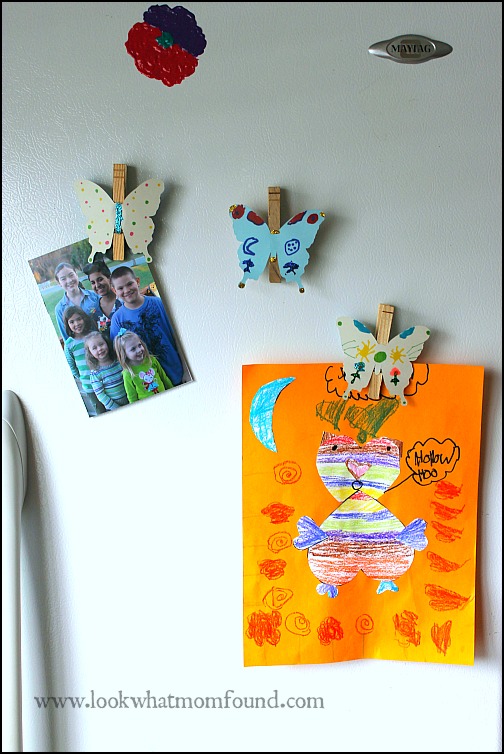
Glue the shape onto the clothespin so the opening is at the bottom. This works best when displaying sheets of paper.
ClothesPin Fridge Magnet #kids #diy #craft
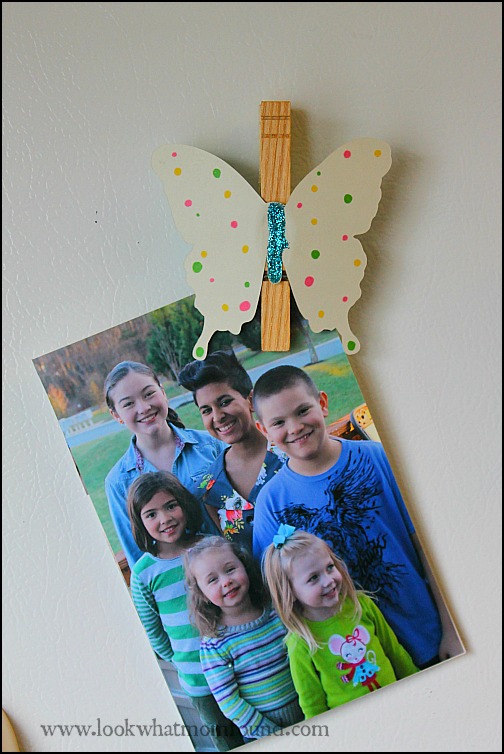
Save the chip clips for the chips & pretzels and make multiple fridge magnets to exhibit the many pieces of artwork your children are creating at school and at home.


Painted Bow Tie Pasta Art #kidsinthekitchen

Going to the grocery store can be really inspiring for art and creativity. Our last trip motivated this new art piece in the kitchen. Bow Tie Pasta is not only a tasty addition to salads and soups its utterly adorable in shape. Shae and I created this Painted Bow Tie Pasta Art for the kitchen.Painted Bow Tie Pasta Art #kidsinthekitchen

Using mine and Sabreena’s wide array of nail polish choices gave us an endless rainbow of colors to paint the bow ties. The drying time took the longest time and the fumes sometimes were a bit much as both Shae and I had multiple bottles open at once.  I encourage this be done in a well ventilated room and with adult supervision.

Materials Needed

  • Bow Tie Pasta
  • nail polish in multiple colors
  • school glue
  • paper
  • Canvas Board or Frame with glass missing
  • Permanent Craft Adhesive like Beacon Quick Grip or hot glue
  • Lettering of choice

Directions

Start with choosing your bow ties. I went with a uniform look because I knew they would be displayed. Check for broken edges or curled edges.

Using just a tiny dab of school glue, attach each bow tie to a piece of scrap paper. Doing this gives a stable foundation to  let you paint.Painted Bow Tie Pasta Art #kidsinthekitchen

Choose your paint colors and give each pasta shape 2-3 coats. Top come off with glittery or shiny topcoats for added dimension.

Once they’ve completely dried and your happy with the coverage carefully peel them off the scrap paper. Remove as much residual paper as possible but this side won’t be seen.

Arrange your painted bows on your final canvas or frame and then adhere them.  Let this set till the glue is completely dried.

Painted Bow Tie Pasta Art #kidsinthekitchen

Add lettering or stickers of your choice. I added Let’s Eat but Play With Your Food was another phrase I  liked.

I cut my letters out on my Silhouette then mod podged them onto the board. Just 2 coats was all that was needed. This was ready to hang then next day.  This is a great rainy or snow day activity for even little hands working on fine motor skills.

After painting we tried adding polka dots and stripes with markers. They didn’t stick. I think toothpicks or super small paint brushes dipped in nail color would work very well to get those details.Painted Bow Tie Pasta Art #kidsinthekitchen

Skip the nail polish and fumes and go for acrylics or poster paints. We used nail polish for the bright intense hues and shiny finish. Painted Bow Tie Pasta Art #kidsinthekitchen
Come join me and my co-hosts, Sarah of Play to Learn with Sarah, Paula at Frosted Fingers and Sara at Sensibly Sara, each week linking up a post, new or old, that feature the theme Kids in the Kitchen. It doesn’t matter what you are doing as long as you are doing it together, enjoying it and learning something along the way.

You’ll find so many more ideas on the #KidsintheKitchen Pinterest Board.

Follow Melinda Babiak’s board #KidsintheKitchen on Pinterest.

Linky Rules, #kidsinthekitchen
#KidsintheKitchen Weekly Linky


Snow Day Unplugged Boredom Buster Indoor Activities

Mother Nature isn’t pulling any punches this year. Snow, rain, sleet, hail and earthquakes are happening all over the country these days, at levels that we’ve never seen before. Schools and activities are being cancelled. Parents are home from work. Conditions are so hazardous that there are no kids playing outside.

What’s a family to do? Get creative that’s what. These indoor activities will keep kids of all ages occupied, entertained and cabin fever free while staying unplugged.
Snow Day Unplugged Boredom Buster Activities & Games

Paper Roadway from Rusty & Rosy

Using paper, cars and  bit of imagination your children can build an entire city in the living room.Paper Roadway Indoor Activity

Circus Clown Flip Book by LookWhatMomFound…and Dad too!

Don’t stop at clowns.  Expand on this Flip Book idea with animals, peoples, occupations and other themes. Using an old notebook and scissors works perfectly for this craft.

Circus Clown Flip Book #unplugged #indooractivity #snowday

Paper Climbers from Housing a Forest

Introduce a little bit of physics and science into the fun with these DIY paper climbers.  Kids can personalize with the designs and characters of choice.Paper Climers #physics #science #educational

Marshmallow Shooters from Come Together Kids

Begin the battle with mini marshmallows or pompoms with this DIY shooter made from materials found around the home.

Marshmallow Shooter

Indoor Putt Putt from The Craft Train

While this activity definitely needs some adult participation to set up, the fun can be had my kids only giving mom and dad time to themselves.Indoor Golf

Bathtub Fishing by The Artsy Mom

We all have some bathtub toys tucked away so why not put them to use and create a game where kids can fish for letters, colors and toys.

Bathtub Fishing

Whether you try one of these activities or come up with your own stay safe, stay warm and enjoy yourself.


Last Minute Valentines for Kids

Did you realize Valentine’s Day is jsut 2 days away?  You’re quickly running out of time to get something together for your kids to hand out to their classmates. Don’t fear.  These crafts are QUICK, EASY and only use 2-3 everyday supplies to complete.

Last Minute Valentines for Kids

BEE Fingerprint Valentine’s Card from Rusty & Rosy Blog

Create this personalized card with some paper, stamp pads or markers and your child’s fingerprints.

Last Minute Valentines for Kids

DIY Mutlicolor Crayons from Hands On As We Grow

Upcycle those broken and mismatched crayon boxes into one kid sized magic crayon. Use a muffin tin or silicone molds in whatever shape you choose.

Last Minute Valentines for Kids

Fingerprint Bookmarks from LookWhatMomFound…and Dad too!

Fingerprints, paper and a little ribbon or yard and you’ve got unique and useful gifts for a crowd.Last Minute Valentines for Kids

Pillow Box for Treats from MomDot

In case you already have a stash of goodies to share why not give them in these adorable treat box made of paper and glue and some embellishments of your choosing.

Last Minute Valentines for Kids

Watercolor Valentines from Nest of Posies

Choose paper of your choice and create a beautiful watercolor masterpiece to hand out with a special handwritten message inside.

Last Minute Valentines for Kids

Arrow Straw Toppers from Wild Olive

Paper and scissors is all that is needed to make these to top off straws or pencils.

Last Minute Valentines for Kids

Sewn Heart Valentine from Tinkerlabs

Let little hands weave a heart through cardboard or cardstock with yarn, thread, twine or ribbon to fashion a little love note.

Last Minute Valentines for Kids

As you can see all of these ideas only need a couple things plus your imagination to make it your own.  You better get moving, time is running out.


Wish Jar for Kids #craft

Shae has a wild imagination. She sits at the kitchen table and draws amazingly odd pictures of pretend creatures. She talks about a future living in Greenland with 10 children married to her classmate Max.  I love this about her. I love that she can turn a dark and dreary day into one full of magic and wonder.

Making a Glitter Wish Jar for Kids #craft
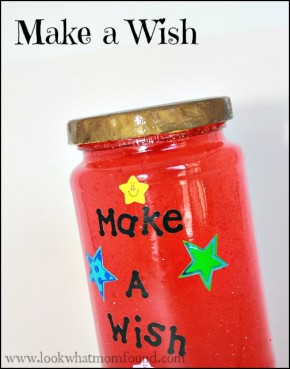
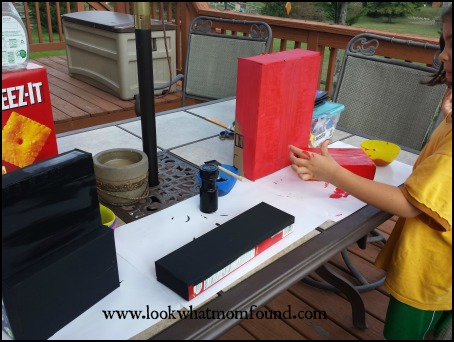
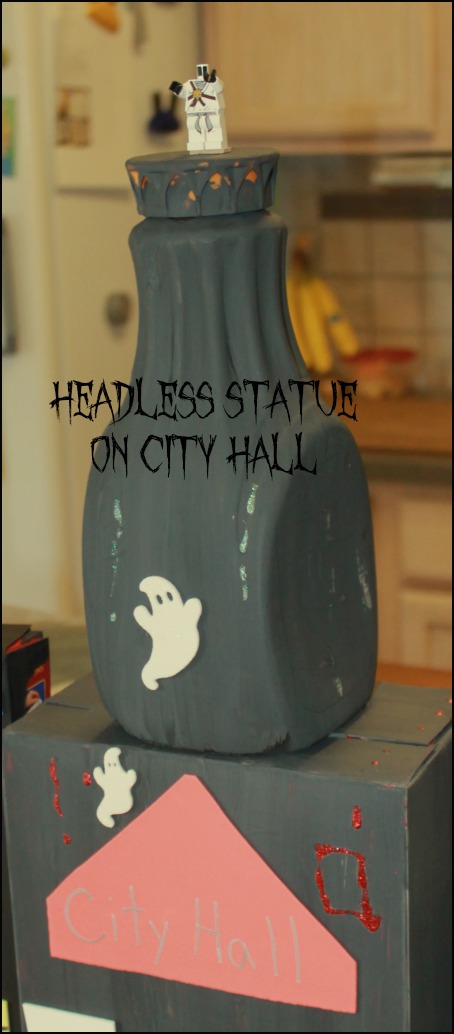
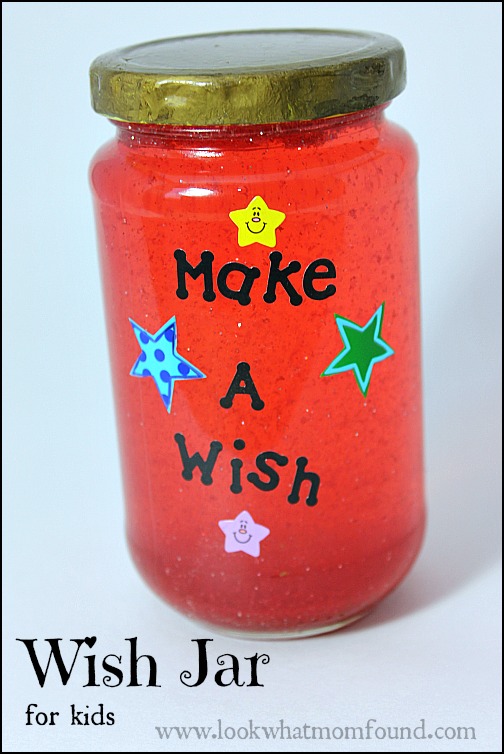
Because of this we thought it would be the best idea ever to make her own Wish Jar. This lets her make wishes anytime she wants for whatever her little heart desires.

Supplies

    • Clear jar with tight fitting lid
    • Fine glitter
    • Food Coloring
    • School Glue
    • Warm water
    • Permanent Glue (I used Beacons Glass, Metal & More)Making a Glitter Wish Jar for Kids #craft


Directions
Start with a super clean jar and lid.  Add in 2-3 tsp of our desired colored glitter. We choose a fine red and then a large cut silver for a touch of sparkle.

Making a Glitter Wish Jar for Kids #craft

Fill not quite to the top your warm water along with your food color. Only add 1-2 drops at a time. Stir to see the final color.

Pour in 2 tsp of school glue. Stir again to help glue melt into water.

Making a Glitter Wish Jar for Kids #craft

Add strong glue to the lid and close tightly.

Let you child decorate their jar & lid and shake away!

Making a Glitter Wish Jar for Kids #craft

Making a Glitter Wish Jar for Kids #craft

Just a couple words of wisdom when making your own Glitter Wish Jar.

  • Do not add too much glue
  • Do not add HOT water. It will cause pressure when putting on the lid.
  • Do not use hot glue or Krazy glue on the lid, they set up too fast to get your lip properly closed.

Try a
How NOT to make a glitter wish jar


Animal Thumbprint Valentine Bookmarks Craft

In a world full of Spongebob, Minecraft, Xmen and Micky Mouse I’m glad I have the craftiness to help my kids stand out in the piles of mediocre. This year for Valentine’s Day Shae will be handing out something more exciting and lovable with these Animal Thumbprint Valentine Bookmarks.

Animal Thumbprint Valentine Bookmarks


Fingerprints make everything cuter. The personal touch shows the recipient that the gift was made especially for them from the heart. These bookmarks are also useful.  Shae is reading more and more each day and I know a bookmark would come in handy for her.

Materials

  • Stamp pads
  • Blank bookmark shapes cut from cardstock
  • Fine point pens
  • yarn or embroidery threadThumbprint Valentine Bookmarks

Directions

Ink thumbs and fingers and press onto bookmarks.

Thumbprint Valentine Bookmarks

Add details to transform in to cute animal shapes. Write your message.

Bunny Thumbprint Valentine Bookmarks

Add yarn to the top of the bookmark.

In just a few short minutes you have an adorable Valentine Card for an entire class.

Animal Thumbprint Valentine Bookmarks


Can you come up with any other thumbprint animal ideas?


Salt Dough Christmas Ornaments

With Christmas coming up in less than 3 weeks Shae’s on a mission to get her ornament making in full swing. Salt Dough is so simple and versatile it only makes sense to make ornaments from them making it a great addition for #kidsinthekitchen. The final product is sturdy enough to last years.
Salt Dough Ornaments #craft #kidsinthekitchen
One tip when making ornaments and decor from the kids, write the date in a hidden spot so you know how long it’s been hanging around.

Salt Dough

Ingredients

  • 1 cup of flour
  • 1/2 cup fine salt
  • 1/2 cup slightly warm water
  • cookie cutters
  • rolling pin
  • Paint & brushes
  • ribbon or twine

Directions
Preheat oven to 250°.

In a large bowl mix flour, salt and water until combined. Turn out onto a smooth surface and knead till smooth. Dough should be soft but not sticky. Add flour or water by the spoonful if needed to achieve the right consistency.

Salt Dough Ornaments #craft Salt Dough Ornaments #craft #kidsinthekitchen

Roll the dough out to 1/4 inch thickness, cut with cookie cutters and place on cookie sheets. Use a toothpick to add hole for hanging and to emphasize details like smiles or eyes.

Salt Dough Ornaments #craft

Salt Dough Ornaments #craft #kidsinthekitchen

Bake for 2 hours. Remove from oven and move to a cooling rack for 1 hour.

Salt Dough Ornaments #craft

Your shapes are ready to decorate however your child pleases. Thread with ribbon and hang. Don’t forget to add your child’s name and the current year.

Salt Dough Ornaments #craft #kidsinthekitchen

These can be made in advanced and painted whenever the chance comes up. We gave some to my nieces on Thanksgiving so they could paint on their own at home.

Aside from removing from the oven Shae did everything thing by herself. You realized this doesn’t have to be a kid only craft.

Come join me and my co-hosts, Sarah of Play to Learn with Sarah, Paula at Frosted Fingers and Sara at Sensibly Sara, each week linking up a post, new or old, that feature the theme Kids in the Kitchen. It doesn’t matter what you are doing as long as you are doing it together, enjoying it and learning something along the way.

Linky Rules, #kidsinthekitchen

Find even more inspiration and ideas for your own home from our #kidsinthekitchen Pinterest Board.


Follow Melinda Babiak’s board #KidsintheKitchen on Pinterest.

#KidsintheKitchen Weekly Linky


kid made Cupcake Ornament

We’re dealing with snow days and I don’t know what you do during snow days but we craft, bake and play video games. Looking at Shae’s tree I noticed she’s needing more decorations.  We set out to create some that should last her years to come, creating memories to last those years. This kid made cupcake ornament came about a bit haphazardly. Cupcake Ornament #craft

What started as a simple idea exploded into something else that focused more on the details.

Materials needed

  • Christmas ball, you choice of color
  • paint, to change Christmas ball color and other items
  • cupcake liner
  • soft air dry clay
  • red pompom or red mini Christmas ball
  • straight pin, thin gauge wire or ornament hanger
  • glitter or beads
  • glue
  • ribbon

Directions

Start with the pieces that need painting first.  Our Christmas ball was gray, Shae painted it yellow.  Also since we didn’t have a red pompom Shae shaped a red sphere from the white clay and painted that red for the cherry. making Cupcake Ornament #craft

As the paint was drying we used some more clay to roll out a LONG snake and then coiled it to resemble frosting.  Using a toothpick make a hole in the frosting big enough to thread your ribbon.making Cupcake Ornament #craft

Tie the ribbon to the top of the ornament and thread the end through a hole in the frosting.  Coat the top nub of the ornament with glue and gently press the frosting on, making sure the ribbon is pulled through.  Make a loop at the top of the ribbon to use as a hanger.

making Cupcake Ornament #craft

Lightly spread some school glue on the frosting and dust it with glitter or beads to make your sprinkles.  Shape your straight pin or wire and insert into your cherry, add glue if you need to.  Glue it to you cupcake. Set aside to dry.

making Cupcake Ornament #craft

making Cupcake Ornament #craft

When everything is dry add a good amount of craft glue to the bottom of your cupcake liner and along the inner wall and place your ball inside. Use a rubber band to gently hold the liner in place against the ball.  You don’t want this to squeeze too hard to crush the paper.  Leave this for 10-15 minutes to make sure the glue bonds.

making Cupcake Ornament #craft

When everything has dried and set your ornament is ready to hang.

Cupcake Ornament #craft

Share your own crafts and DIY projects below and visit the other crafters sharing their posts.


There’s something good coming out of #rainbowloom

We walk in the store and the displays are as big as the kids. I was regretting this moment for weeks.  The Rainbow Loom had infiltrated our usually trend resistant  home. We didn’t fall for Silly Bandz and Scratch Art just sits in a shelf.  Even the elaborate Star Wars Lego sets weren’t ever an attraction.  BUT Rainbow Loom is make an impact. At first I wasn’t too thrilled. I figured the appeal was going to last just a couple of days then end up in the back of the closet but I think we might be buying more rubber bands this weekend.

#rainbow loom fad for boys too

Shaun is spending all of his spare time learning new weaving styles and matching up color combinations.  This is the kid that would put his iPod down if the house was on fire. Shaun is our electronics addict. Between Xbox, computer, iPod, kindle and tv he’s almost always connected if he’s awake.

Something clicked when Rainbow Loom landed in his hands. The need to be creative overtook his desire to plug in. That can’t be a bad thing. He learned the fishtail weave within a few hours, worked on the Hexafish weave the next day and is now teaching Shae how to make her own bracelets.

working on #rainbow loom

I think he appreciates this activity a little more than other toys and games because he was told he had to pay for it himself. He now knows since he made an investment he should actually take the time to enjoy it and learn it. Oh, and he’s selling them too for a couple $$ each.

I can deal with the little rubber bands and c clips on the floor if he’s working with his hands and brain instead of pushing buttons on a device.


Spooky Haunted Village made by kids #halloween #craft

Decorating for Halloween is always fun. Getting the kids to help out if even more fun. I’ve been saving up the boxes and containers from the kitchen so Shae could build her own Haunted Village.Spooky Village #halloween #craft

Using cereal boxes, orange juice bottles, cinnamon shakers and more Shae and I put together a rather large village that is now taking up residence on our bookcase in the living room.

Spooky Village #halloween #craft

Materials

boxes and containers headed for the trash or recycle bin.

paint, themed stickers, foam shapes, glitter glue, construction paper.

Directions

Arrange your boxes into your village. Think about height and dimension  and layers when arranging it. Decide on your buildings and colors and let your child get to work.
Spooky Village #halloween #craft

Spooky Village #halloween #craft

Spooky Village #halloween #craft

Spooky Village #halloween #craft

This activity can be done for any holiday or season just by changing colors and flourishes.